
 Pin
Pin
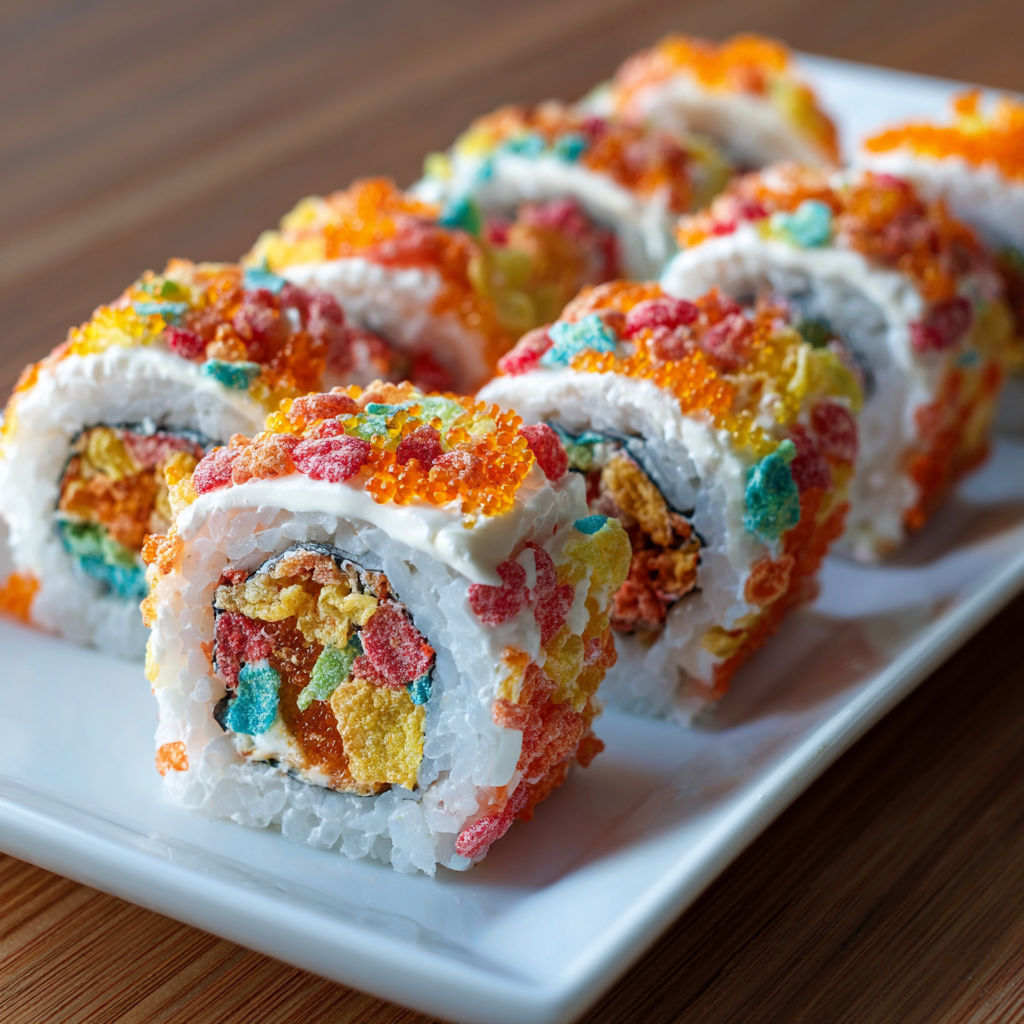
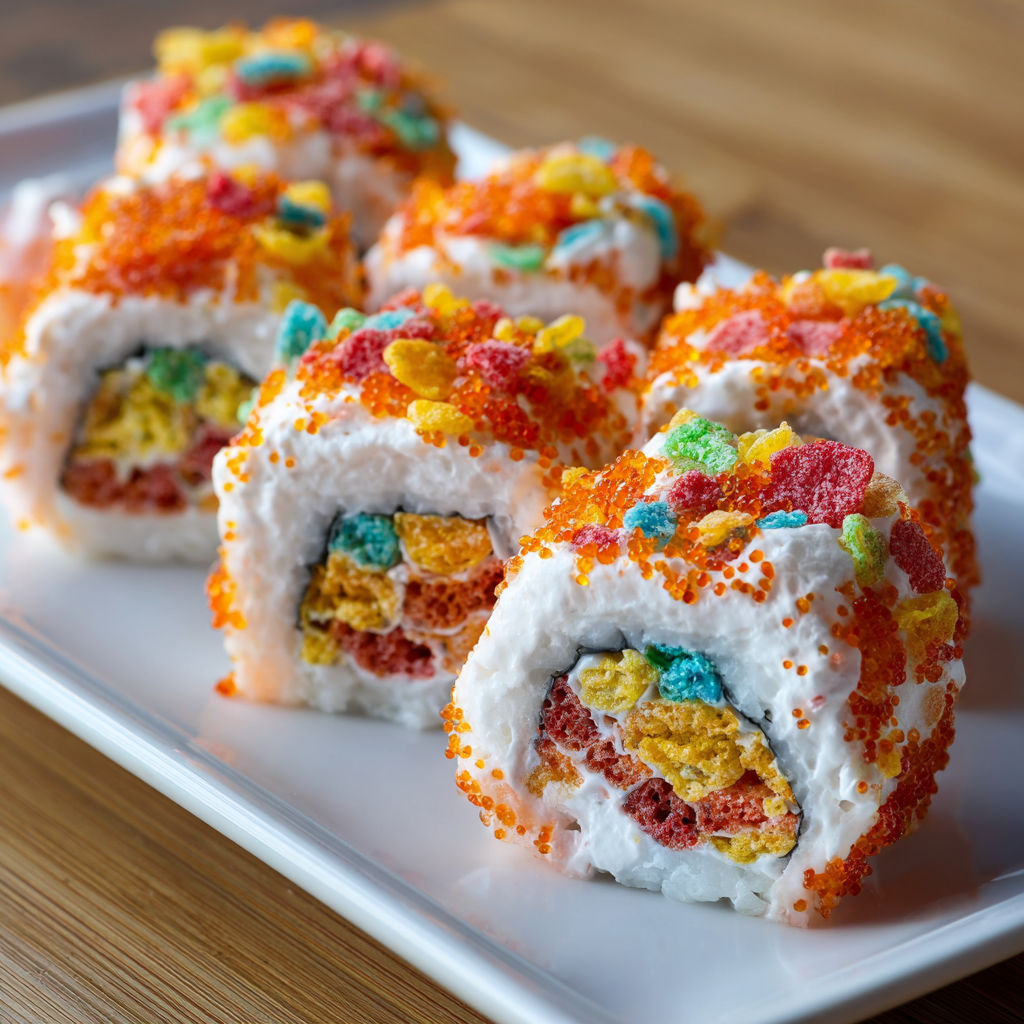
Fruity Pebbles sushi is the kind of playful dessert that always draws smiles at parties and family gatherings. It transforms simple pantry staples into a colorful showstopper that kids and adults love. The cereal’s crunch and fruity fragrance pair perfectly with the smooth marshmallow base, and you can get creative with sweet surprises rolled right inside.
I first tried this on a whim to entertain my niece and nephew and it instantly became our most-requested family treat. Even adults cannot resist reaching for another piece.
Ingredients
- Unsalted butter: three tablespoons — This helps the marshmallows blend smoothly and prevents sticking. Choose fresh butter for the best flavor and texture
- Mini marshmallows: one 280 gram bag — Mini size melts quickly and evenly. Opt for plump and pillow soft marshmallows for optimal melt
- Fruity Pebbles cereal: about six cups — This is your color and crunch so pick the brightest freshest box. Avoid stale cereal for the best crunch
- Optional fillings: Have fun using gummy worms, Swedish Fish, or Fruit Roll Ups. These extra treats surprise everyone with bursts of flavor or color inside
Instructions
- Prepare Your Workstation:
- Line a nine by thirteen inch baking tin or a large tray with baking parchment making sure there is extra hanging over the sides. Lightly grease the tin and parchment so you can lift your sushi sheet out smoothly
- Melt the Marshmallows:
- In a heavy bottomed saucepan gently melt three tablespoons of butter over low heat. Add all your mini marshmallows and stir constantly. Let the marshmallows become fully melted silky and glossy before moving ahead. This slow melt prevents any burning or gritty patches
- Combine with Cereal:
- Remove the saucepan from the burner. At once pour in your Fruity Pebbles cereal and use a greased spatula to fold and mix. Coat every bit of cereal while keeping the mixture airy and not crushing the pebbles too much
- Press and Flatten:
- Move quickly to turn the warm mixture out onto your lined baking tray. Place another greased sheet of parchment over it. Using your hands or a rolling pin press and flatten the mix into a rectangle that is about a quarter inch thick. This sets the perfect base for rolling
- Add Your Fillings:
- Lift off the top parchment. Arrange any gummies or candy in a long row along one of the longer sides of the rectangle. Spread fillings right to the ends so each piece will have a sweet surprise
- Roll It Up:
- Using the baking parchment to help you tightly roll the cereal sheet from the filled side into a snug log. Shape and squeeze gently to keep everything compact and even
- Chill and Set:
- Wrap the sushi log in parchment or cling film. Place it in the refrigerator for twenty to thirty minutes to set. This step helps keep your slices clean and firm
- Slice and Serve:
- Once cooled unwrap the log and place it on a sturdy chopping board. Grease a big sharp knife and cut the sushi roll crosswise into one inch thick rounds. Arrange on a platter and watch them disappear in minutes

The mini marshmallows are my favorite part since they melt so dreamily creating a pillowy base that hugs the crunchy cereal. Watching my niece’s eyes light up when she chooses her own fillings is a memory I cherish every time we make these together.
Storage Tips
Keep leftovers in an airtight container at room temperature and they will stay soft for up to four days. If you want to keep them longer you can freeze them tightly wrapped for up to three months. Thaw at room temperature for about an hour before eating
Ingredient Substitutions
You can use rice crisp cereal in place of Fruity Pebbles for a less sweet version. If you are dairy free try coconut oil in place of butter. It gives a subtle tropical note. Vegan marshmallows work just as well for a plant based option but may set a little firmer
Serving Suggestions
Set your sushi rolls on a platter with chopsticks and a drizzle of white chocolate or even a sweet dip. For birthday parties decorate the top with more gummy candies or rainbow sprinkles to wow your guests. For a sushi platter effect group them with candy “ginger” and licorice “seaweed”
Cultural and Holiday Fun
This recipe is said to have started as a quirky twist on traditional rice crispy treats popular at children’s parties in America. It is especially popular during spring break sleepovers or as an edible party craft. Swap out candies to fit any theme. St Patrick’s Day means green candies. Halloween means gummy spiders
Seasonal Adaptations
Try different types of marshmallows such as fruity flavors for a spring brunch. Use pastel colored cereals for Easter celebrations. Add chopped dried strawberries or freeze dried fruit for a tart flavor lift. Easy to double for big parties. Gluten free if you use gluten free cereal. Let the kids add their own creative touches
Success Stories
Families love making this for sleepovers and bake sales. Kids enjoy rolling the sushi and picking fillings. It can be a creative cooking project for school events or a sweet finale to a sushi dinner night. You will find these disappear quickly no matter the crowd
Freezer Meal Conversion
For long storage wrap your sushi log in plastic and freeze slices. Spread slices on a tray and freeze then move to a zip bag. Thaw individual pieces at room temperature for snacking or lunchbox treats. Texture is best if eaten within a month but they are still good after longer storage
These bright sushi treats are always a conversation starter. Your guests will be amazed at how easy they are to make!
Recipe Q&A
- → What can I use as fillings for Fruity Pebbles sushi?
Popular choices include gummy worms, Swedish Fish, licorice laces, or fruit roll-ups for a fun surprise inside each roll.
- → How do I prevent the mixture from sticking?
Grease your baking tin, spatula, rolling pin, and parchment to keep everything smooth and easy to handle.
- → Can I use regular marshmallows instead of mini?
Yes, but mini marshmallows melt more quickly and evenly for a smoother mixture.
- → How long should I chill the sushi log?
Chill in the refrigerator for at least 20-30 minutes to achieve clean, well-defined slices that hold together.
- → What’s the best way to slice Fruity Pebbles sushi?
For neat rounds, use a sharp knife lightly greased with butter or spray to prevent sticking.
- → Can I make Fruity Pebbles sushi ahead of time?
Yes, you can make it a few hours in advance and store it wrapped in the refrigerator until ready to serve.