
 Pin
Pin
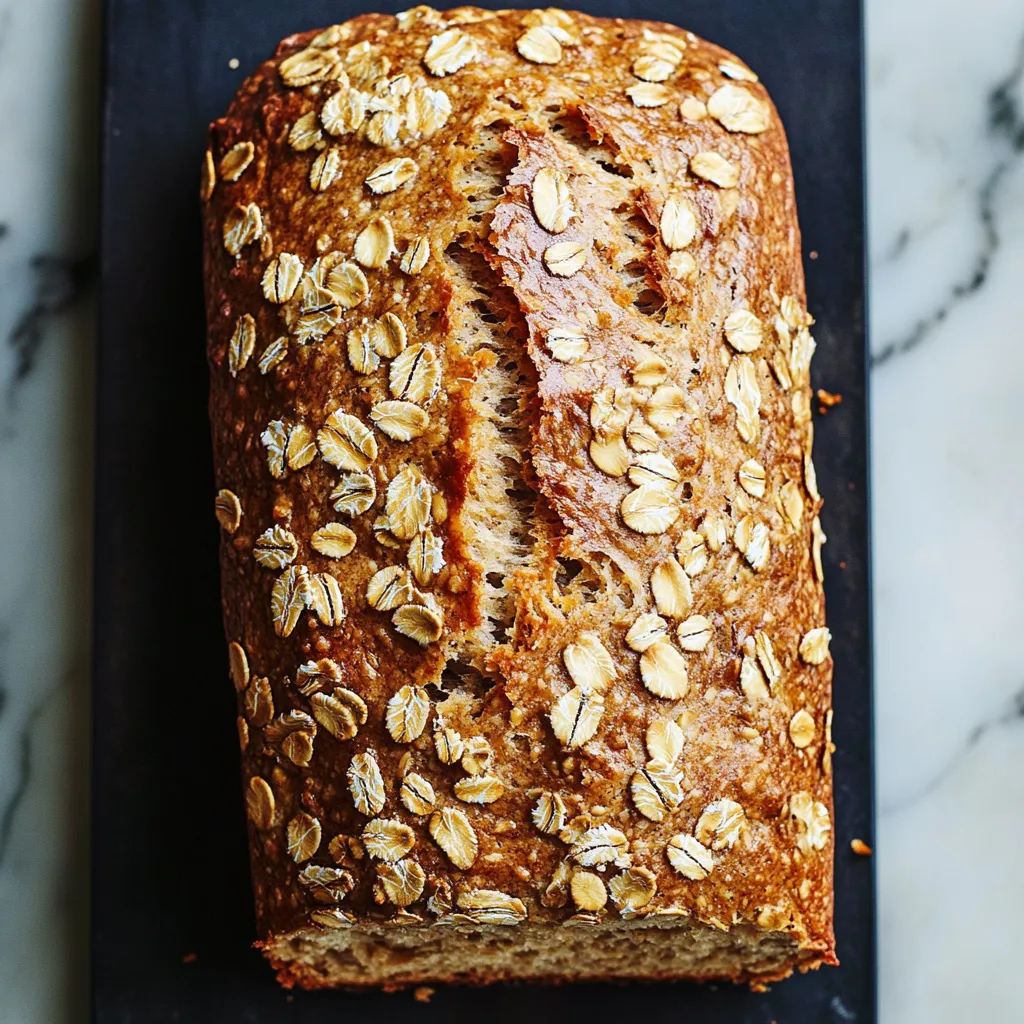
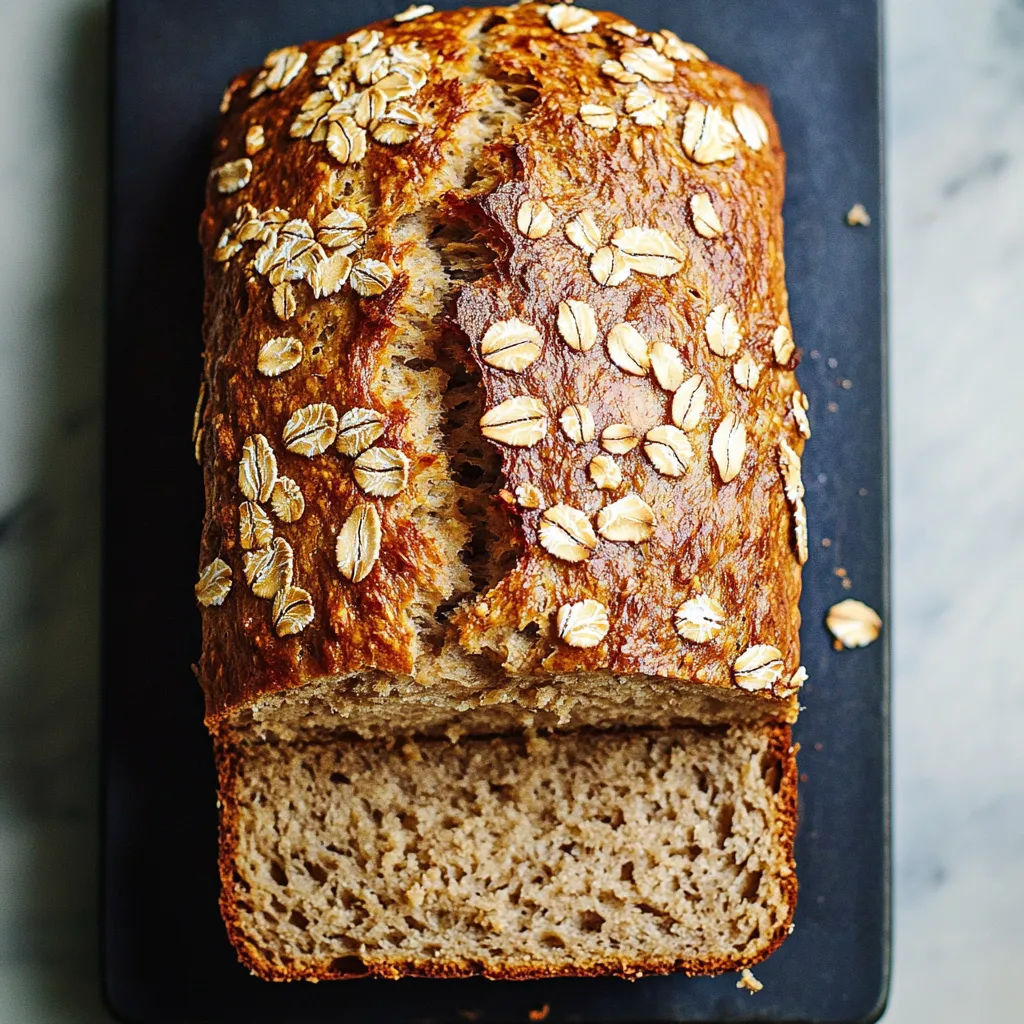
This simple honey oat bread turns basic pantry staples into an amazing homemade loaf without much work. Letting the dough sit overnight builds deep flavor, while the honey-oat combo creates a soft, lightly sweet texture that's perfect for everything from breakfast toast to lunch sandwiches.
I first whipped up this bread during a hectic time when I wanted something homemade but straightforward. These days, it's become our weekly tradition to mix it up Sunday evening, giving us the joy of fresh bread with barely any morning fuss.
Ingredients
- Water: Warm but not hot to wake up the yeast without damaging it
- Instant yeast: Gives consistent rising without separate proofing - grab one labeled instant or quick-rise
- Honey: Adds sweetness, moisture and helps with that golden color - local honey tastes best
- All-purpose flour: Forms the bread's foundation - unbleached gives better results
- Rolled oats: Brings hearty bite and nutty taste - stick with traditional old-fashioned instead of quick oats
- Salt: Boosts all the flavors and keeps yeast in check - kosher or sea salt works great
- Olive oil: Makes the bread more tender - extra virgin adds nice subtle flavor
Step-by-Step Instructions
- Activate the yeast:
- Mix warm water about 100°F with honey and instant yeast in a big measuring cup. Stir it up to melt the honey. Let it sit for 5 minutes until it's bubbly and smells yeasty, showing your yeast is good to go.
- Combine dry ingredients:
- In a big bowl or your stand mixer bowl with the dough hook, stir together flour, oats and salt so everything's well mixed, especially the salt since it can harm yeast with direct contact.
- Mix the dough:
- Pour your bubbly yeast mix and the olive oil into your dry stuff. Stir with a wooden spoon or mix on low speed until everything's blended. Don't worry if it looks a bit rough but make sure there aren't any dry spots. Don't mix too much or the bread might get tough.
- Cold fermentation:
- Cover the bowl tightly with plastic wrap and stick it in the fridge overnight or up to a day. This slow, cold process builds amazing flavor and improves the texture without any extra work. The cold slows down the yeast, letting deeper flavors develop.
- Bring to room temperature:
- Take your dough out of the fridge about an hour before baking time. Keep it covered at room temp for 45-60 minutes. This warms up the dough so it's easier to shape and gives the yeast one last chance to work before baking.
- Shape the loaf:
- Turn your dough onto a slightly floured counter and shape it by folding edges toward the middle, then roll it into a log about as long as your bread pan. Don't handle it too much or you'll end up with tough bread.
- Final rise and preparation:
- Put your shaped dough in a greased 9x5 inch loaf pan. Scatter some extra oats on top for a pretty rustic look, pressing them gently so they stick during baking. The loaf will puff up a bit during this final rest.
- Bake to perfection:
- Bake in a 350°F preheated oven for 45 minutes until the top turns golden brown and the inside hits about 190°F. When you tap the bottom, it should sound hollow, telling you it's fully baked.
The oats really make this bread special. My grandma always put oats in her bread, saying they added both goodness and personality to a loaf. I can still picture her showing me how to sprinkle extra oats on top, telling me that good bread should show what's inside. Now when I bake this, my kitchen gets that same warm, cozy smell that I remember from her country kitchen.
Storage Solutions
This honey oat bread stays good on your counter for up to 3 days when kept in a sealed container or bread bag. Thanks to the olive oil, it stays moist longer than most homemade breads. If you want to keep it longer, slice the cooled loaf, wrap it tight in plastic then foil, and pop it in the freezer for up to 3 months. Just grab slices as needed and thaw them on the counter, or toast them straight from frozen for quick mornings.
Delicious Variations
The basic recipe is amazing, but try adding 1/4 cup of mixed seeds like pumpkin, sunflower or flax for extra crunch and nutrition. Want more flavor? Mix in 1 tablespoon of orange zest and 1/2 teaspoon cinnamon with the dry stuff. You could also swap 1/4 cup of the regular flour with whole wheat or rye for a deeper, more rustic taste. In fall, I love throwing in 1/3 cup of chopped dried cranberries for a seasonal touch.
Serving Suggestions
This bread tastes amazing when it's still a bit warm with some salted butter, which really brings out the honey flavor. It makes the best grilled cheese ever, with the slight sweetness working so well with sharp cheddar. For breakfast, try thick toasted slices topped with mashed avocado and a runny egg. The firm texture also works great for french toast - just dunk slices in beaten eggs, milk, vanilla and a bit of cinnamon before cooking in butter till golden.
Trust me, this bread is totally worth making—you'll get bakery-quality results right in your kitchen.
Recipe Q&A
- → Why does this bread need to rise overnight in the refrigerator?
The overnight chill lets slow cooling happen, which makes the bread taste way better and gives it a nicer feel. This cold rising step allows the yeast to create more complex flavors while making your job easier since most of the work happens as you're sleeping.
- → Can I use active dry yeast instead of instant yeast?
Sure thing, active dry yeast works too. Just remember you'll need to wake it up first by mixing it with the warm water and waiting about 5-10 minutes until it gets foamy before adding your honey and moving forward with the steps.
- → How should I store this bread to keep it fresh?
After it's totally cool, put the bread in a sealed container or wrap it tight with plastic at room temp for up to 3 days. If you want it to last longer, cut it into slices and stick them in a freezer bag for up to 3 months, so you can just grab and thaw what you need.
- → Can I add seeds or nuts to this bread?
For sure! This bread plays well with add-ins. Try mixing in 1/4 cup of sunflower seeds, pumpkin seeds, chopped walnuts, or flaxseeds with your dry stuff for extra crunch and nutrition. You can also toss some on top with the oats before baking.
- → How do I know when the bread is fully baked?
The bread should look golden brown on top and make a hollow sound when you tap the bottom. If you've got a food thermometer, the middle should hit about 190°F (88°C). If the top's getting too brown but it's not done inside, just cover it loosely with some foil until it finishes baking.
- → Can I make this bread without a stand mixer?
Definitely! Making this bread by hand is no problem. Just throw all your ingredients in a big bowl and stir with a wooden spoon until they come together, then knead by hand on a floured counter for about 8-10 minutes until it feels smooth and stretchy before the overnight cooling.