
 Pin
Pin
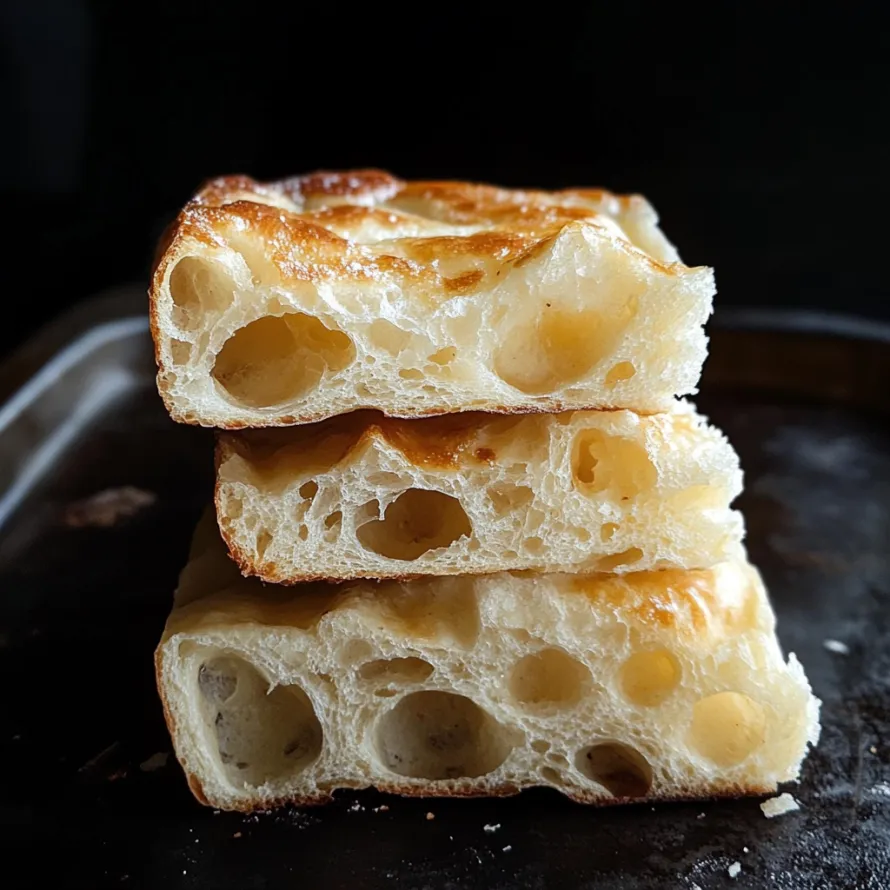
This fluffy sourdough focaccia turns basic staples into a cloud-like bread with an addictively crunchy bottom. The extended ferment builds deep flavor notes and that classic sourdough bite, while plenty of olive oil creates a lush, soft interior that goes well with just about anything you're eating.
I came up with this recipe during a long weekend when I couldn't stop thinking about the amazing focaccia I'd eaten in Italy. Through lots of testing and adjusting, this version became my go-to bread that everyone in my circle now asks for whenever they stop by.
What You'll Need
- 125 grams ripe sourdough starter: The key element that adds complexity and helps the bread rise naturally
- 375 grams water: Provides the right moisture level for those beautiful air pockets
- 10 grams sugar: Feeds the starter and helps the crust turn golden
- 500 grams bread flour: Gives the perfect chew and structure; try to find one with 11-13% protein content
- 15 grams olive oil: Adds flavor throughout the dough; pick something tasty since you'll notice it
- 10 grams salt: Boosts all the flavors and helps manage the fermentation
- 1/4 cup olive oil: For the top layer; splurge on good extra virgin here
- 1 teaspoon flaky salt: Creates tasty little bursts across the surface
- Fresh or dried rosemary: Brings wonderful aroma; fresh works best if you can get it
Cooking Method
- Combine Starter and Dry Ingredients:
- Mix your active sourdough starter with water, sugar, and bread flour until you get a rough, sticky ball. Don't worry about making it perfect—just make sure all the flour gets wet. Cover your bowl with a damp towel or plastic and let it sit somewhere warm for exactly 60 minutes, letting the autolyse process work its magic on the gluten.
- Work in Seasonings:
- When the hour's up, add your salt and olive oil to the mixture. Adding these later keeps the salt from slowing down the initial fermentation. Squeeze and pinch the ingredients into the dough with your fingers—really get in there and feel how the texture changes as you mix. At first the oil will seem to separate, but keep going and it'll all come together.
- Begin Fermentation with Stretching:
- Move your dough to a clean, oiled container that has a lid. Let it rise for around 90 minutes in a warm spot, ideally about 75°F. Every half hour, do a stretch and fold—grab each side of the dough, pull it up and fold it over the center, turning the container quarter turns until you've done all four sides. This builds strength without tiring the dough. Try to shape it roughly square to match your baking pan.
- Second Rise:
- Transfer the dough to a well-oiled baking sheet or parchment-covered pan. Let it spread out on its own and rise for another 3-4 hours until it's puffy and bubbly. The dough should look lively and expanded. If your kitchen's on the cool side, this might take longer. You can also stick the dough in the fridge overnight at this point for more flavor development, letting you bake tomorrow or even a few days later.
- Get Ready to Bake:
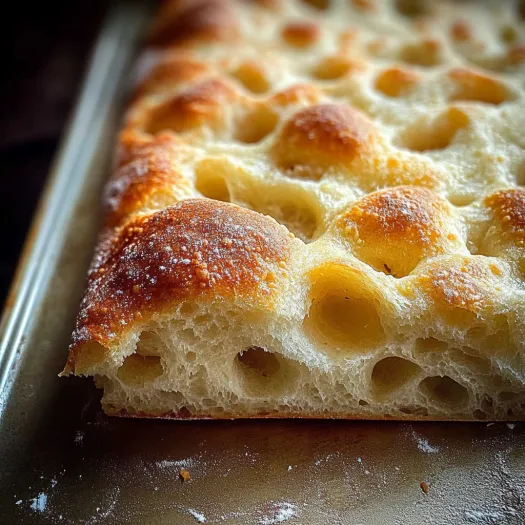
- Heat your oven to 450°F with a baking stone inside if you have one. Right before baking, make the classic focaccia dimples by pushing your fingertips down firmly through the dough in many spots. Don't be shy—press all the way to the pan bottom. These dents will catch the olive oil and create that distinctive texture.

This focaccia became something I make every week after I realized how the dough can hang out in the fridge until I'm ready. I especially adore how the olive oil makes those crunchy edges that work so well with the soft middle. My favorite moment with this recipe was when my kid said it was better than restaurant bread and then ate almost half the pan by herself.
Prep Ahead Ideas
The dough works amazingly well with refrigeration. You can make it through the first rise, then pop it in the fridge for up to three days before baking. This cold slow-down creates incredible flavor while letting you fit baking into your life. The longer it sits in the cold, the tastier it gets.
Different Toppings to Try
While the classic combo of rosemary and salt tastes fantastic, focaccia works as a blank slate for tons of flavor ideas. Try thin tomato slices with oregano during summer or sweet cooked-down onions with thyme anytime. For something different, push fresh grapes into the dough and sprinkle with sugar before baking for a sweet Italian-style grape bread.
Ways to Enjoy It
Focaccia works great on its own or alongside your meals. Serve warm chunks with a dish of good olive oil mixed with balsamic for dipping. It makes fantastic sandwiches when you cut it through the middle horizontally.
This focaccia never fails to wow friends or treat yourself. The simple process and deeply satisfying taste will have you making it over and over.
Recipe Q&A
- → Can I refrigerate the dough overnight instead of the 3-4 hour rise?
For sure! You can stick the dough in the fridge overnight or even for 2-3 days. Just cover it loosely with some oiled plastic wrap so it won't stick. You can bake the focaccia straight from the fridge, and this cold fermentation often makes it taste even better.
- → Why is dimpling the focaccia important?
Dimpling does several things at once: it gives focaccia its signature look, stops it from puffing up too much in the oven, and makes little pockets where the oil and toppings can pool, spreading their flavors all through your bread.
- → How can I ensure my focaccia has a crispy bottom?
To get that crunchy bottom, try using a hot baking stone or steel. If you don't have those, just put your focaccia in the lower third of your oven. Also make sure your baking pan has plenty of oil or parchment paper so the bread won't stick.
- → Can I use different toppings besides rosemary?
You bet! While rosemary's a classic choice, focaccia works great with tons of toppings. Try small tomatoes, olives, cooked onions, thin potato slices, garlic, or other herbs like thyme or oregano.
- → What's the purpose of the stretch and fold technique?
Stretching and folding builds up gluten without hard kneading, which creates that open, airy texture we love. It also helps mix the salt and oil evenly through the dough while keeping all those tiny air bubbles that make focaccia so special.
- → How do I know when my focaccia is properly baked?
Your focaccia should be golden brown on top with a crunchy bottom when it's done. Tap it - if it sounds hollow, that's good. If you want to be really sure, the inside temperature should be around 200°F (93°C) when you check it with a food thermometer.