 Pin
Pin
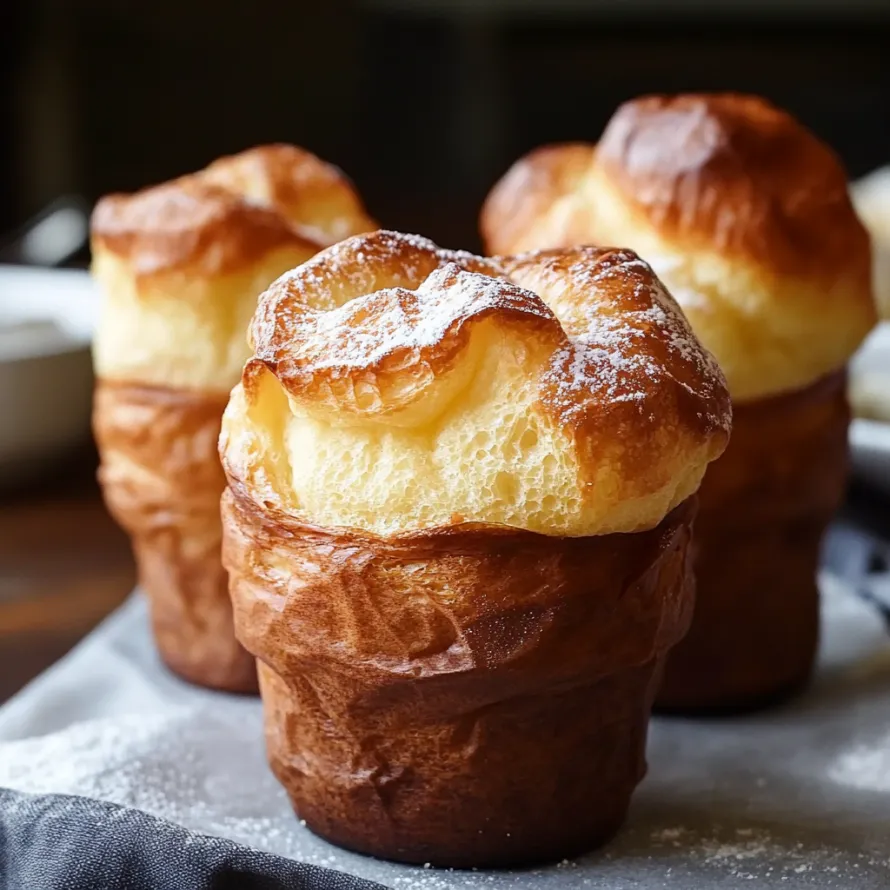
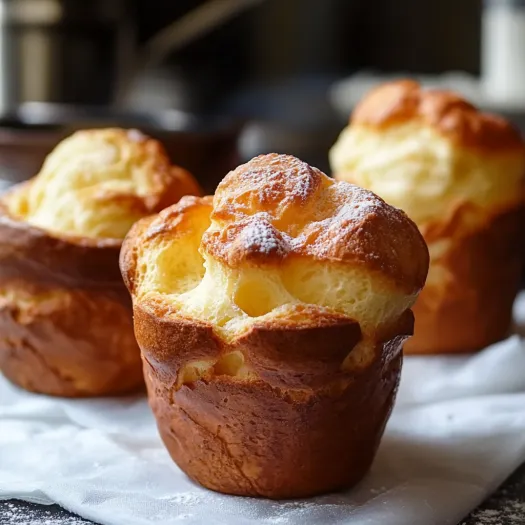
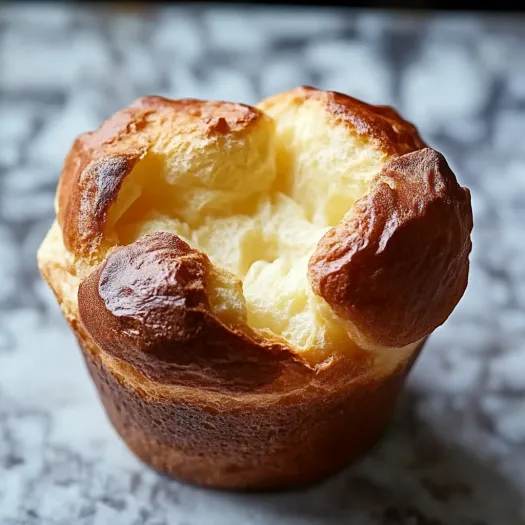
My popover technique gives you the tallest, fluffiest treats with crispy edges and soft centers you've ever made at home. I've spent tons of time tweaking this method to make sure you get that amazing height every time you bake them.
I ran into popovers for the first time at my grandma's place during a holiday meal. Her old recipe had tiny handwritten tips about getting the eggs warm and keeping the oven shut while baking - those little tricks really made them special.
Ingredients
- Eggs: They must be at room temp for the best possible height
- Milk: Full-fat gives the best taste but you can use whatever you've got
- Salt: Brings out all the good flavors and cuts through the richness
- All purpose flour: Gives just the right amount of structure without getting heavy
- Melted butter: Adds a lovely richness and helps create that beautiful brown outside
Step-by-Step Instructions
- Warming the Eggs:
- Put your whole eggs in a bowl of warm tap water for about 10 minutes. This warm-up helps your batter shoot up dramatically in the oven. Using cold eggs straight from the fridge will really limit how tall your popovers get.
- Preparing Your Oven and Pan:
- Put your oven rack in a low position to make room for your super tall popovers. Heat it to 450°F to create that initial steam burst that makes them pop up. Make sure you grease your pan really well, including the top edges, since the batter will rise up and might stick.
- Creating the Base Batter:
- Mix eggs, milk and salt until they're fully blended with no egg white streaks left. Your mixture should look uniform and a bit bubbly, which shows you're getting air in there - that's super important.
- Incorporating the Flour:
- Throw in the flour and whisk hard until the batter gets frothy and most lumps are gone. Don't mix too much or you'll make the gluten tough, but make sure it's well combined. A few tiny lumps won't hurt anything.
- Adding the Butter:
- Stir the melted butter into the mix quickly. The butter should be warm but not hot enough to start cooking the eggs. This last addition makes them richer and helps create that gorgeous golden crust.
- Filling and Baking:
- Pour your batter into the ready cups, filling each about 3/4 full. Put them straight into your hot oven. The high starting temp makes the steam that creates that amazing rise. Lowering the temp halfway through lets them set properly without burning.

I figured out the warm egg trick after many failed attempts with flat popovers. Now my family knows not to mess with my egg warming routine before our Sunday brunch - it's become an important part of our tradition and you can really see the difference.
The Perfect Popover Pan
Getting a special popover pan is totally worth it if you love making these. The deep cups with straight sides let them rise as much as possible with air flowing around each one. If you don't have one, you can use a muffin tin, but they won't rise quite as dramatically. Metal works better than silicone or glass because it conducts heat better, giving you the crispiest outside.
Sweet and Savory Variations
These popovers work as a blank canvas for so many different flavors. For sweet ones, mix in 2 tablespoons of sugar and serve them with jam, butter and powdered sugar. Savory versions are great with 1/4 cup of grated parmesan and 1 tablespoon of chopped herbs mixed in just before baking. My family loves them with 1 teaspoon of fresh lemon zest and some poppy seeds sprinkled in.
The Science Behind the Rise
Knowing what makes popovers puff up helps you get it right every time. That amazing inflation happens from steam forming as the liquid in the batter heats up. The proteins in eggs create a structure that holds this steam, letting the popover expand. You need that high heat at first to create the steam, then lower heat so they can set without burning. That's why warm ingredients and a hot oven aren't just suggestions - they're must-haves for tall, impressive popovers.

Your guests will definitely be impressed by these popovers and they'll probably ask for more—enjoy them!
Recipe Q&A
- → Why bother warming the eggs?
Warming the eggs makes the batter blend better. It also traps more air when whisked, which gives your popovers that extra fluffiness and height.
- → Muffin tin versus popover pan: does it matter?
You can definitely use a muffin tin if you don't have a popover pan, though the results won't be as tall. Make sure to grease the cups thoroughly, fill them 3/4 of the way, and watch the timing—they may cook a little faster.
- → How do I stop my popovers from collapsing?
To avoid collapsing, don’t peek or open the oven while they’re baking. A well-aerated batter and cooking them long enough—especially at the two-temperature stages—are key to holding their shape.
- → Can I prepare the batter in advance?
It’s best to bake the batter right after mixing. If you must, store it in the fridge for up to an hour. Just let it warm to room temp and give it a quick whisk before baking for the best lift.
- → What sets popovers apart from Yorkshire pudding?
The batter's almost identical, but Yorkshire pudding is baked with drippings from roasted meat, giving it a savory edge. Popovers, on the other hand, are baked in a buttered pan, so their flavor is more neutral.
- → Can I play with flavors in my popovers?
Of course! Add any extras after mixing the batter. Try herbs like thyme, a sprinkle of cheese, or something sweet like cinnamon sugar. Just keep things light to maintain the texture.
