
 Pin
Pin
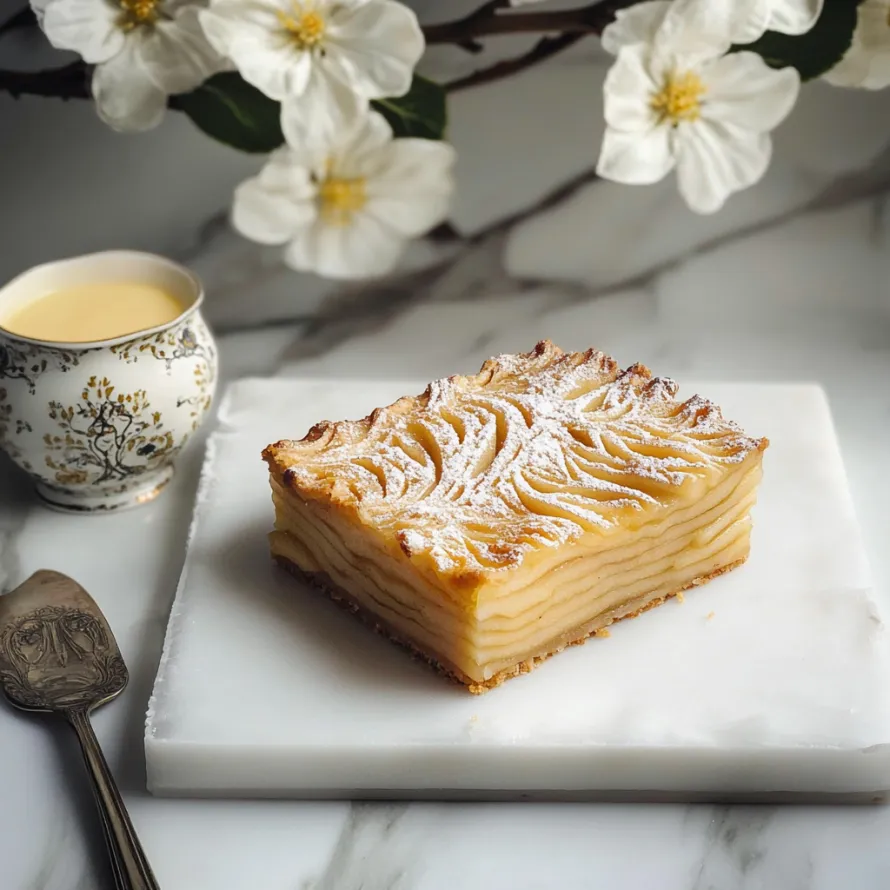
This enchanting Vanishing Apple Treat turns ordinary apples into a classy dessert that mixes the tastiest bits of apple cake, sweet sauce, and frozen cream. I whipped up this crowd-pleaser for my kid's special day when she wanted something apple-based that wasn't "just plain apple pie," and watching everyone's plates end up spotless told me everything about how good it was.
I came up with this treat when I needed to wow my partner's parents during their first visit. The mix of sweet sauce and apples got them so hooked that my mother-in-law actually wanted my recipe, something I never thought would happen.
What You'll Need
- Apples: Go for hard types that won't turn mushy when you cook them – try Honeycrisp, Granny Smith, or Gala for top results
- Sugar: Turns into sweet sauce and makes the cake sweet too, giving you lots of yummy layers in every bite
- Eggs: Help hold the cake together while making it slightly custardy where it touches the apples
- Melted butter: Makes everything richer and gives the cake a soft, delicate texture
- Milk: Adds wetness and helps get the mix just right
- Vanilla extract: Brings out all the cozy flavors and works great with the sweet sauce
- Flour: Builds the cake's body but lets the apple taste be the main attraction
- Salt: Cuts through the sweetness and makes all other flavors pop
- Baking powder: Makes sure your cake rises properly even with all those apples weighing it down
- Vanilla ice cream: Gives you that perfect creamy cold feeling against the warm cake and sweet sauce parts
How To Make It
- Make Your Apple Stars:
- Cut cool eight-point stars into your apple tops by taking out small triangle chunks. Don't rush this part—go slow to make neat, even cuts about an inch from each apple's top. After you've got your star tops separated, cut the same pattern on the bottom of each star chunk so light can shine through them. Then dip these stars fully in your sweet sauce to make them shiny and tasty.
- Fix The Apple Bottom:
- Cut what's left of your apples into skinny slices to make a bed for your cake. Pack them close in your baking dish and pour your mix over them, making sure it gets between all the apple pieces.
- Put It All Together:
- After baking, turn the cake upside down onto a plate so the sugary apple layer is on top. Add some ice cream scoops and put your saucy apple stars on top for a look that'll drop jaws.
My favorite thing about this treat is seeing everyone's reaction when I bring it out. My grandma actually started clapping the first time I served it at a family dinner, saying it was "too pretty to eat"—though she still polished off her whole piece anyway.
Do Some Parts Early
You can fix the apple stars and sweet sauce up to a day before you need them, which makes things much easier when it's time to serve. Keep your sauce-covered stars on baking paper somewhere cool and dry—don't put them in the fridge or they'll get sticky and cloudy. You can bake the cake part earlier in the day and leave it at room temp, then warm it up for 10 minutes in a 300°F oven before flipping it and adding ice cream and your pretty decorations.
Change It Up By Season
This treat works best with fall and winter apples, but you can switch things up all year round. In hot months, try using peaches for some of the apples in the bottom layer—their sweetness works great with the sauce. For Christmas or Thanksgiving, throw in a bit of cinnamon and a tiny bit of nutmeg to make it cozier. When apples are fresh in season, mix different kinds in the cake base for more interesting tastes and textures that make the whole thing even better.
Ways To Serve It
This jaw-dropper needs to be front and center when you bring it out. Serve it right after you put it all together while the cake's still warm and the ice cream's nice and cold. For extra yumminess, bring out small jugs of extra warm sauce or whipped cream with cinnamon mixed in. This treat tastes amazing after meals with pork or chicken since apple flavors go so well with these meats. It's big enough to feed 8-10 people, especially after they've already had dinner.
This treat looks just as amazing as it tastes—it's perfect for making special moments with your family and friends that they won't forget.
Recipe Q&A
- → Can I use store-bought caramel sauce instead of making it from scratch?
Sure, you can grab a jar of caramel from the store to cut down on time, though homemade gives you better taste. If you go with ready-made sauce, just heat it up a bit before putting it on the apple stars so it sticks well.
- → What type of apples work best for this dessert?
Go for crisp apples that aren't too sweet or too tart, like Honeycrisp, Braeburn, or Granny Smith. These kinds keep their shape when baked and taste great against the sweet caramel.
- → Can this dessert be prepared in advance?
You can make the caramel and slice your apples a day early (just add some lemon juice to keep them from turning brown). Bake the cake part on the day you'll serve it. Add the ice cream and apple stars right before bringing it to the table for the best look.
- → How do I prevent the apple stars from browning?
As soon as you cut them, cover the apple stars with caramel sauce, which will lock out the air and stop them from turning brown. If you're working ahead of time, you can also rub them with lemon juice before adding the caramel.
- → What can I serve with this dessert?
This sweet stands on its own, but you can jazz it up with a bit of cinnamon, some powdered sugar on top, or even splash some warm bourbon or rum into the caramel sauce for a grown-up twist.
- → Why is it called 'disappearing' apple pie?
It got this name because it gets eaten so fast once it's served! The mix of caramel apple stars, soft cake, and ice cream makes such a tasty treat that it's gone from plates in no time flat.