
 Pin
Pin
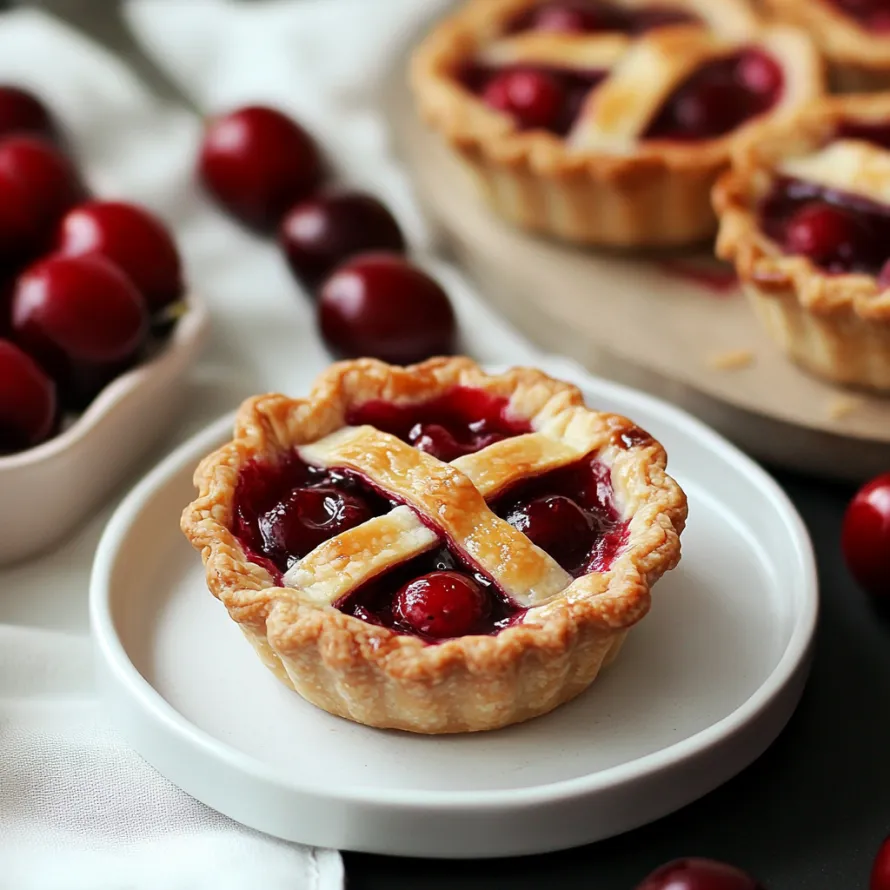
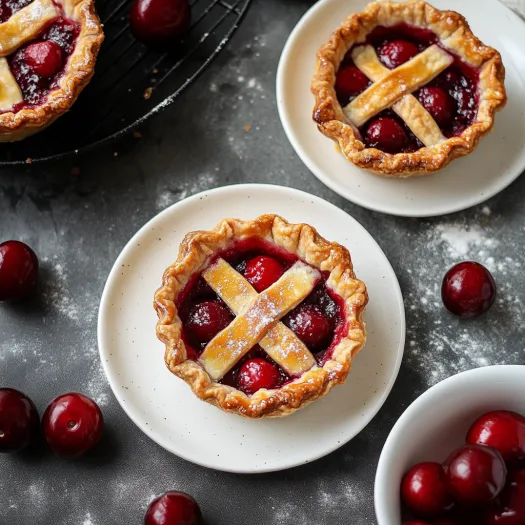
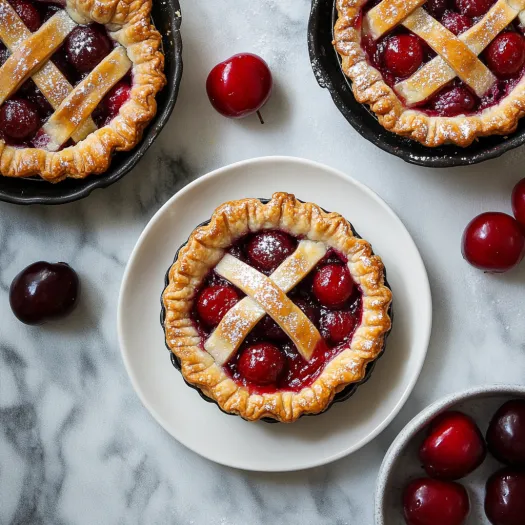
These cute handheld cherry treats pack summer's sweetest fruit into individual portions with crispy shells and thick, juicy centers. You'll fall for the way tangy cherry goodness mingles with buttery crust in these grab-and-go desserts that work for any occasion.
I whipped up these tiny cherry pies for our big family get-together when I needed something folks could easily grab. Everyone thought I'd slaved away for hours when they spotted those woven tops, but truth is, they come together way faster than you'd think.
Ingredients
- Fresh cherries: Gives you that perfect sweet-tart combo - go for dark sweet varieties for the best flavor
- Cornstarch: Keeps your filling from running all over and helps each mouthful stay together
- Almond extract: Brings out more cherry goodness but you can skip it if someone can't eat nuts
- Coarse sugar: Makes tops look like they came from a fancy bakery and adds a nice crunch
- Dark muffin pan: Gets your crusts crunchier and more golden than the light-colored ones
Step-by-Step Instructions
- Mix up your filling:
- Toss cut, pitted cherries with sugar, cornstarch, salt, lemon juice, and your extracts in a bowl. Let everything sit for 10 minutes so the sugar pulls juice from the cherries, making that sticky-good filling we want.
- Get your dough ready:
- Take your cold pie crust and roll it out on a floured counter to about 11-12 inches across. Keep turning it a quarter turn as you go so it won't stick. Always roll from the middle out for the best texture. Cut out 8 or 9 circles using a 4-inch cutter.
- Shape your tiny crusts:
- Push each circle carefully into your muffin cups. Use one hand to guide the edges down while your fingertips press the middle. Don't worry if you get tiny tears - just patch them with extra dough.
- Add your cherry mix:
- Put a spoonful of cherries in each crust, then share all that good cherry juice between them (about a spoonful per pie). Doing it this way makes sure everyone gets the same amount of filling.
- Make your lattice:
- Cut your other dough into skinny strips about a quarter-inch wide. Lay some facing one way, then fold every other one back. Put a strip going the opposite direction, then fold your strips back down. This makes that criss-cross pattern. Cut these into 2.5-inch circles to top each pie.
- Last touches before baking:
- Brush some beaten egg on the tops and sprinkle with chunky sugar for shine and extra crunch. Pop in a 375°F oven for 22-25 minutes until they're golden and the filling bubbles.
- Let them rest:
- Keep pies in the pan for 5 minutes, then move them to a cooling rack. This stops the bottoms from getting soggy from steam.
I swear by the almond extract in this. My grandma always put it in anything with cherries. She told me it makes cherry flavor pop. I skipped it once and everyone noticed right away - they kept asking what was different.
Make Ahead Options
These tiny pies keep really well, so you can plan ahead. Once they've cooled down completely, put them in a sealed container at room temp for up to 2 days. Want them to last longer? Stick them in the fridge for up to 5 days, but know the crust might get a bit soft. You can crisp them back up in a 300°F oven for about 5 minutes before you serve them.
Fruit Variations
Cherries work great here, but you can swap in other fruits too. If you use blueberries, cut back on cornstarch a bit since they don't release as much juice. For apples, chop them up and cook them on the stove for about 5 minutes first to soften them. A mix of different berries looks amazing with all those colors, but add an extra tablespoon of cornstarch because they tend to be juicier.
Serving Suggestions
These little guys taste awesome on their own, but you can jazz them up even more. Try a tiny scoop of vanilla ice cream on top for that hot-cold magic. Or go with lightly sweetened whipped cream with a drop of almond extract to match the cherry flavor. Want to get fancy? Dust some powdered sugar on the plate and add a little mint leaf.
These tiny treats aren't just tasty - they're also a fun way to enjoy cherry season with friends and family. Everyone loves grabbing their own personal pie, and they'll disappear fast whenever you bring them out!
Recipe Q&A
- → Can I use frozen cherries for these mini pies?
You bet! Frozen cherries work fine! Just make sure they're fully thawed and drained before mixing them with the sugar and cornstarch. You might need to bake them a couple minutes longer.
- → How do I store leftover mini cherry pies?
Keep the cooled tarts in a sealed container at room temp for up to 2 days, or in the fridge for up to 5 days. Want them crispy again? Pop them in a 300°F oven for 5-10 minutes.
- → Can I make these without the lattice top?
Sure thing! You can go with a full top crust with a few cuts for steam to escape, or try a crumbly topping made from butter, flour, and sugar for something different.
- → What's the best way to pit cherries?
A cherry pitter works great, but you can also use a bent paperclip, a pastry tip, or even push the pit out with a chopstick through where the stem was.
- → Can I make these mini cherry pies ahead of time?
For sure! You can get the filling and dough ready up to 2 days early and keep them separate in the fridge. Or you can bake the whole batch, let them cool completely, and freeze them for up to 3 months in an airtight container.