
 Pin
Pin
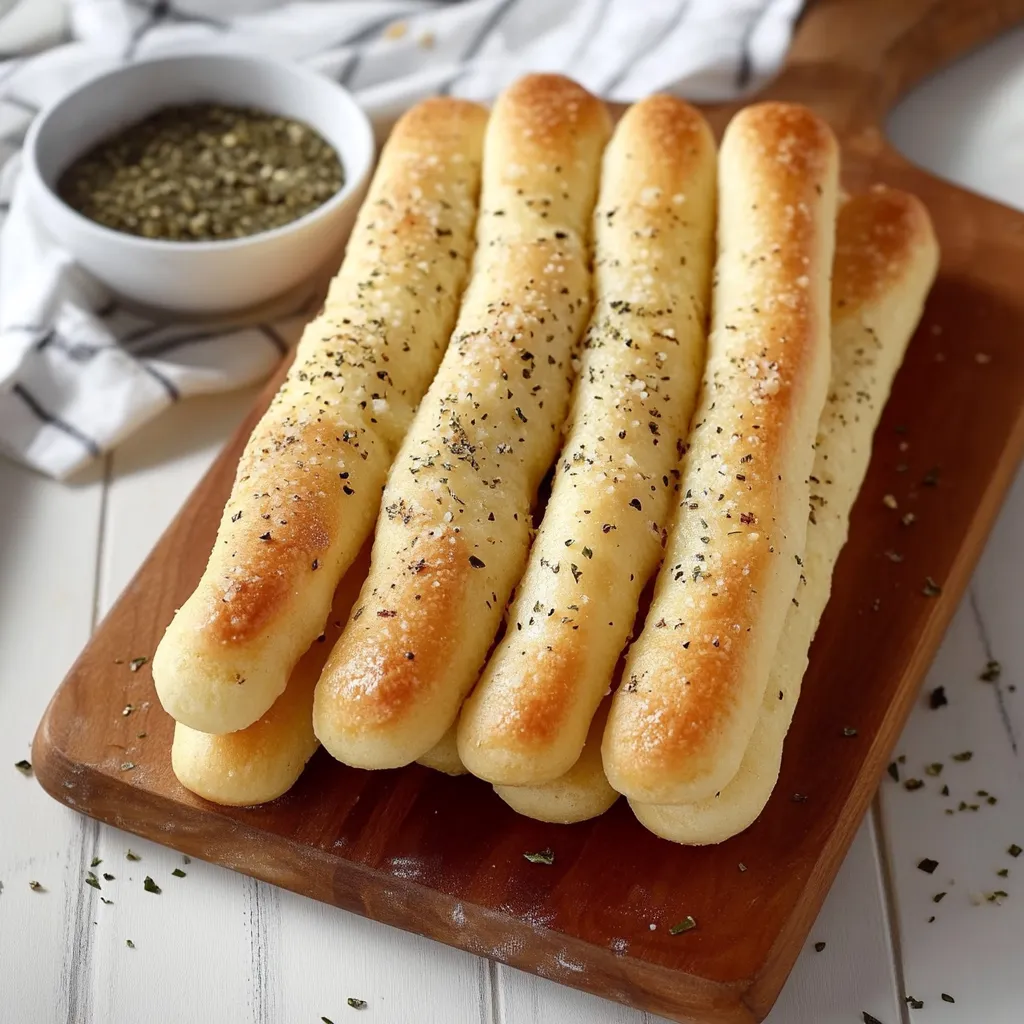
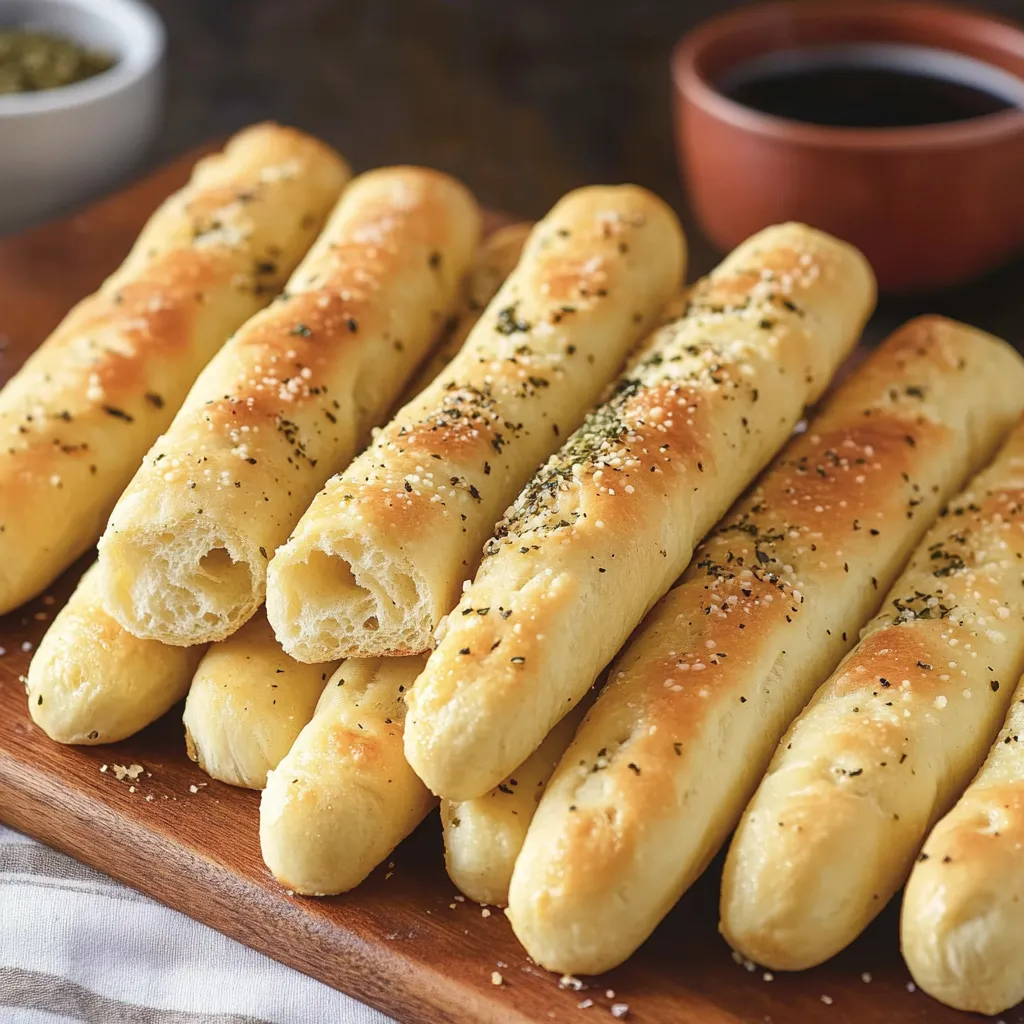
Nothing beats the aroma and taste of homemade Italian breadsticks fresh from the oven. With a perfectly soft, pillowy interior and light crisp exterior, these breadsticks match the beloved Olive Garden version in both texture and flavor. The rich garlic butter coating creates that signature taste that keeps everyone reaching for more.
Through extensive testing of different flours and techniques, this recipe yields consistently perfect results. The breadsticks have become a staple at family gatherings, where they never last long.
Key Ingredients
- Active dry yeast: Fresh yeast ensures proper rising and flavor development
- All-purpose flour: Standard unbleached flour with 10-12% protein content works best
- Butter: High-quality salted butter enriches the dough
- Sugar: Regular granulated sugar feeds yeast activity
- Salt: Sea salt or kosher salt balances flavors
- Garlic powder: Provides consistent flavor throughout baking
- Oregano: Mediterranean or Turkish varieties add authentic taste
Step-by-Step Method
- Prepare Yeast:
- Combine 110°F water with yeast in glass bowl. Let stand until foamy. Measure flour accurately using spoon-and-level method.
- Mix Dough:
- In stand mixer, blend room temperature butter with sugar and salt. Gradually incorporate flour until smooth dough forms.
- First Rise:
- Place in oiled bowl, cover with damp cloth, let rise in warm spot until doubled.
- Shape:
- On floured surface, roll portions into even ropes using gentle outward pressure from center.
- Second Rise:
- Arrange on parchment-lined sheets, cover, let rise until puffy.
- Finish:
- Brush with garlic butter before and after baking for layered flavor.
Traditional Italian bread making requires patience and care. Taking time with each step ensures these breadsticks achieve that perfect balance of texture and taste that makes them irresistible.
Serving Suggestions
Serve these warm breadsticks alongside pasta dishes, hearty soups, or fresh salads. They're especially good for soaking up rich sauces, from classic marinara to creamy alfredo.
Variations
Experiment with roasted garlic in the dough, add seeds or seasonings on top, or incorporate herbs into the butter coating. For a healthier option, substitute some whole wheat flour while maintaining the tender crumb.
Storage Tips
Keep in paper bags at room temperature for 2 days. Refresh in a 350°F oven with light water misting. Shaped unbaked breadsticks freeze well for up to 3 months.
These breadsticks consistently bring warmth and comfort to any meal. The aroma of fresh-baked bread has a way of gathering people around the table, creating memorable moments with every batch.
Recipe Q&A
- → Is it okay to freeze these breadsticks?
- Absolutely! You can freeze them after baking for up to three months. Just let them thaw completely and reheat in the oven when ready.
- → What’s the proper way to keep leftover breadsticks?
- Keep them in a sealed container at room temperature for no more than two days. Before eating, pop them in the oven or microwave for a quick warm-up.
- → Why didn’t my dough rise like it should?
- It could be that the yeast wasn’t active anymore or the water temperature wasn’t right. Make sure to use warm water (110-115°F) and fresh yeast.
- → Can I prepare the dough ahead of time?
- Yep! Knead the dough and refrigerate it for up to 24 hours. Let it reach room temperature before shaping it into breadsticks.
- → How should I reheat these breadsticks to keep them soft?
- The best way is to wrap them in foil and heat them in a 350°F oven for about 5-7 minutes. You can also microwave a single breadstick for 15-20 seconds.