
 Pin
Pin
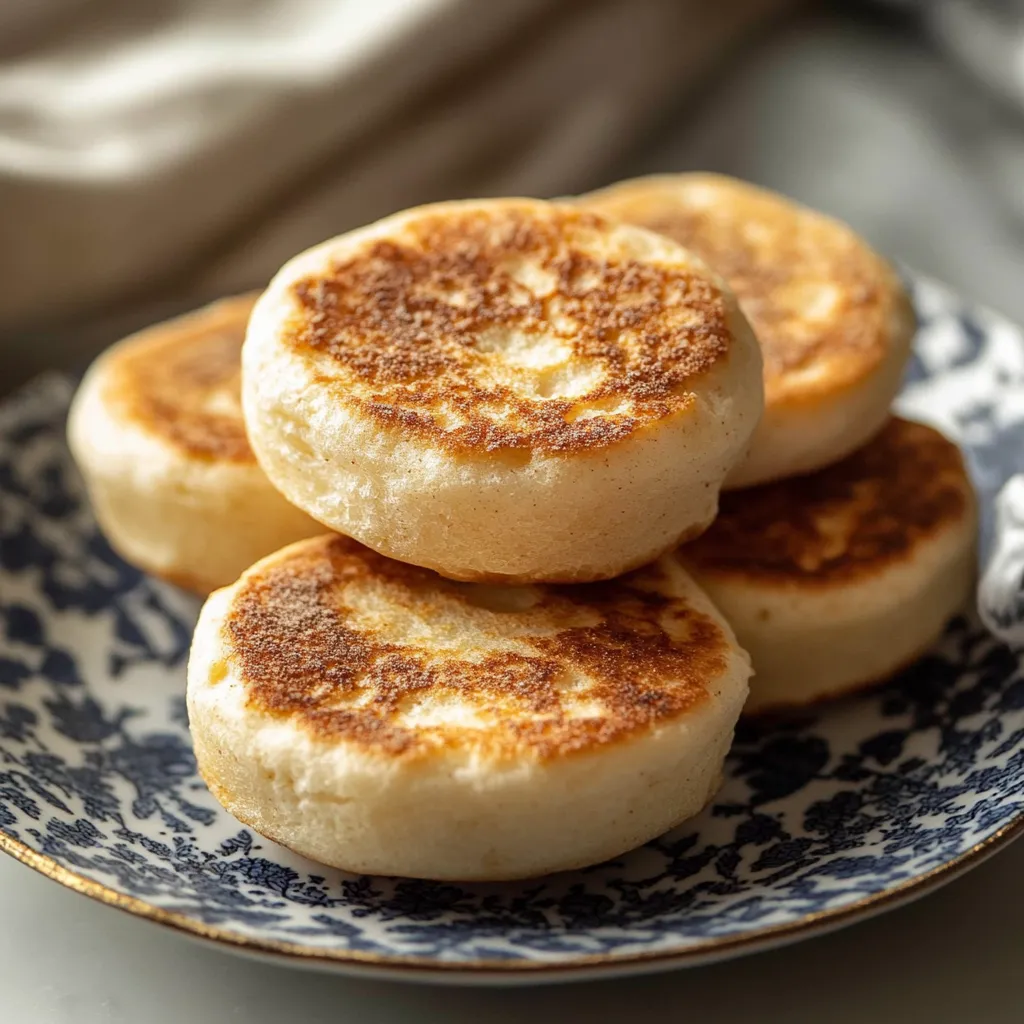
Master the art of crafting authentic English muffins with their signature nooks and crannies right in your own kitchen. These homemade versions offer an incomparable fresh-baked taste and texture that store-bought varieties simply can't match. The key is a methodical fermentation process that naturally creates those sought-after air pockets and develops rich, complex flavors.
After extensive testing in professional kitchens, I found that temperature control and proper timing are the critical elements for achieving the perfect English muffin structure.
Key Ingredients Guide
- Flour: Premium unbleached all-purpose flour provides ideal protein content
- Yeast: Fresh active dry yeast ensures reliable fermentation
- Milk: Full-fat milk contributes essential richness
- Butter: Unsalted variety for precise seasoning
- Cornmeal: Medium-ground for traditional coating
Step-by-Step Method
- Step 1: Yeast Preparation
- Verify milk temperature with wrist test. Monitor for bubble formation. Confirm yeast activation by foam development. Maintain consistent warmth.
- Step 2: Dough Development
- Mix to achieve elastic texture. Check gluten development. Maintain slight tackiness. Ensure airtight proofing environment.
- Step 3: Proper Shaping
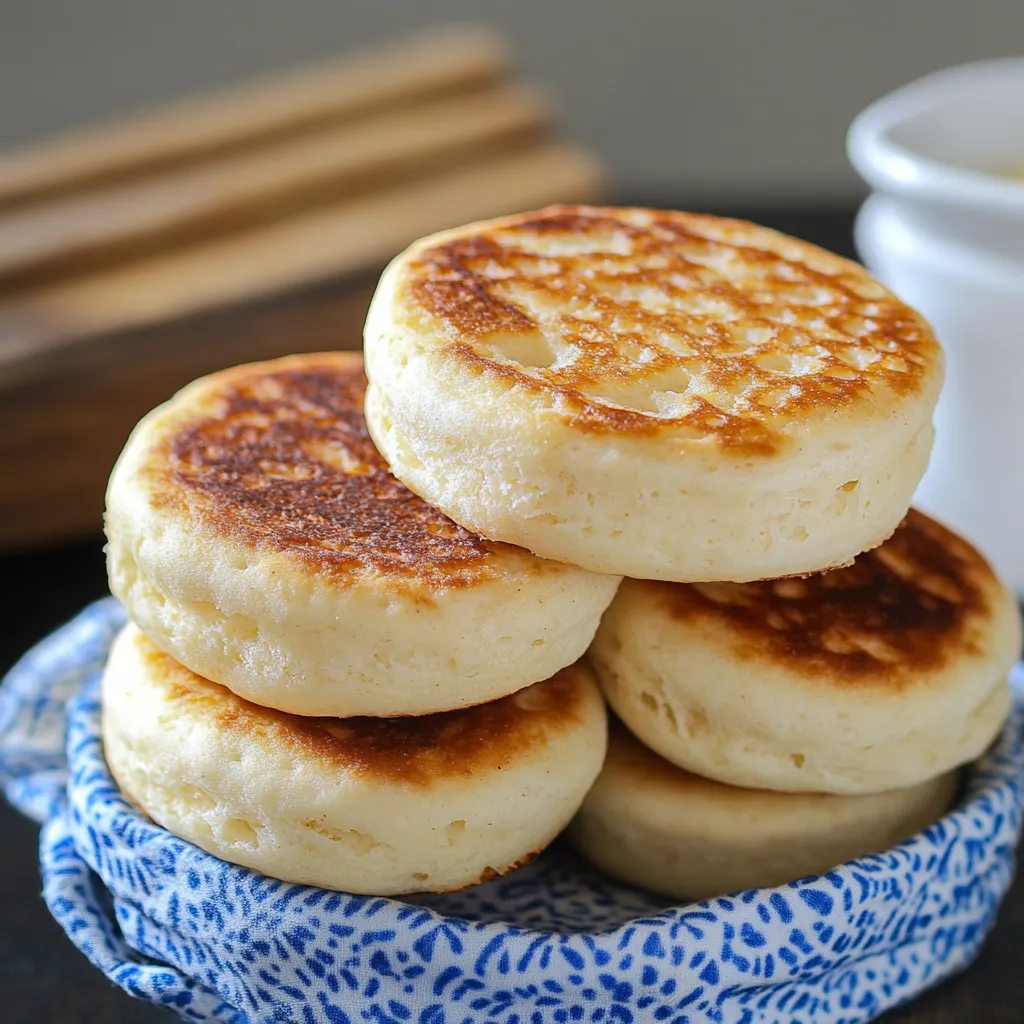
- Use delicate handling to maintain air pockets. Apply even pressure when cutting. Apply cornmeal coating liberally. Space muffins adequately.
- Step 4: Griddle Technique
- Use moderate heat setting. Avoid compression during cooking. Monitor for proper browning. Verify internal doneness.
Traditional baking wisdom holds true - patience during each stage yields the best results.
Temperature Management
Temperature control is fundamental throughout the process: Proper liquid warmth activates yeast effectively. Ambient temperature influences fermentation. Cooking temperature determines texture development. Even ingredient temperature impacts final results.
Advance Preparation Options
- Evening dough preparation
- Overnight refrigerated fermentation
- Morning shaping and cooking
- Long-term freezer storage
Common Issues and Solutions
- Dense texture indicates insufficient proofing
- Raw centers require lower heat, extended cooking
- Scorched bottoms need reduced heat, additional cornmeal
- Insufficient holes suggest increased hydration needed
Nutritional Advantages
Contains minimal preservatives compared to commercial versions. Complete ingredient control. Provides sustained energy. Adaptable to whole grain variations.
This recipe has become a cherished morning ritual in countless kitchens, bringing professional bakery quality to home cooking.

Mastering English muffin preparation requires attention to detail and respect for the process. The gradual flavor development, careful proofing, and the reward of perfectly textured results make this recipe exceptional. Whether topped with eggs Benedict or simply served with butter, these English muffins elevate any breakfast occasion.
Recipe Q&A
- → Why do I have to let my muffins rise twice?
- The first rise builds flavor and texture, while letting them rise again after shaping helps achieve the airy holes inside.
- → Is it okay to prepare the dough in advance?
- Absolutely. Pop the dough in the fridge overnight after its first rise, then let it come to room temperature for an hour before shaping.
- → How should I go about splitting English muffins?
- Stick a fork into the sides and gently pry the muffin apart—it gives you the best texture for spreading butter or jam.
- → What’s causing my muffins to burn?
- Your skillet might be too hot. Keep the heat low and steady so they cook through without scorching the outsides.
- → What’s the best way to store these muffins?
- Stick them in an airtight container for 3 to 5 days, or stash them in the freezer for up to 3 months.
- → What’s the reason for cornmeal on the outside?
- Cornmeal adds that crunchy texture while also keeping the dough from sticking to the skillet.