
 Pin
Pin
Every Halloween I pull out this recipe for Mummy Oreo Balls because nothing gets more giggles from the kids or disappears from the dessert table faster at parties. Each bite is sweet creamy and crunchy with the perfect level of spooky cuteness that never fails to be a hit.
I made this for the first time as a quick treat when I needed something festive for a classroom party and ever since it has become our October tradition.
Ingredients
- Golden Oreos: crushes into fine crumbs for the richest buttery flavor choose fresh ones for best texture
- Cream cheese: softens and binds everything into bite sized truffle centers use full fat and let it come fully to room temperature for smoothest mixing
- Vanilla candy melts or dipping wafers: coat each ball with a sweet shell you want a high quality brand for flavor and the best melt
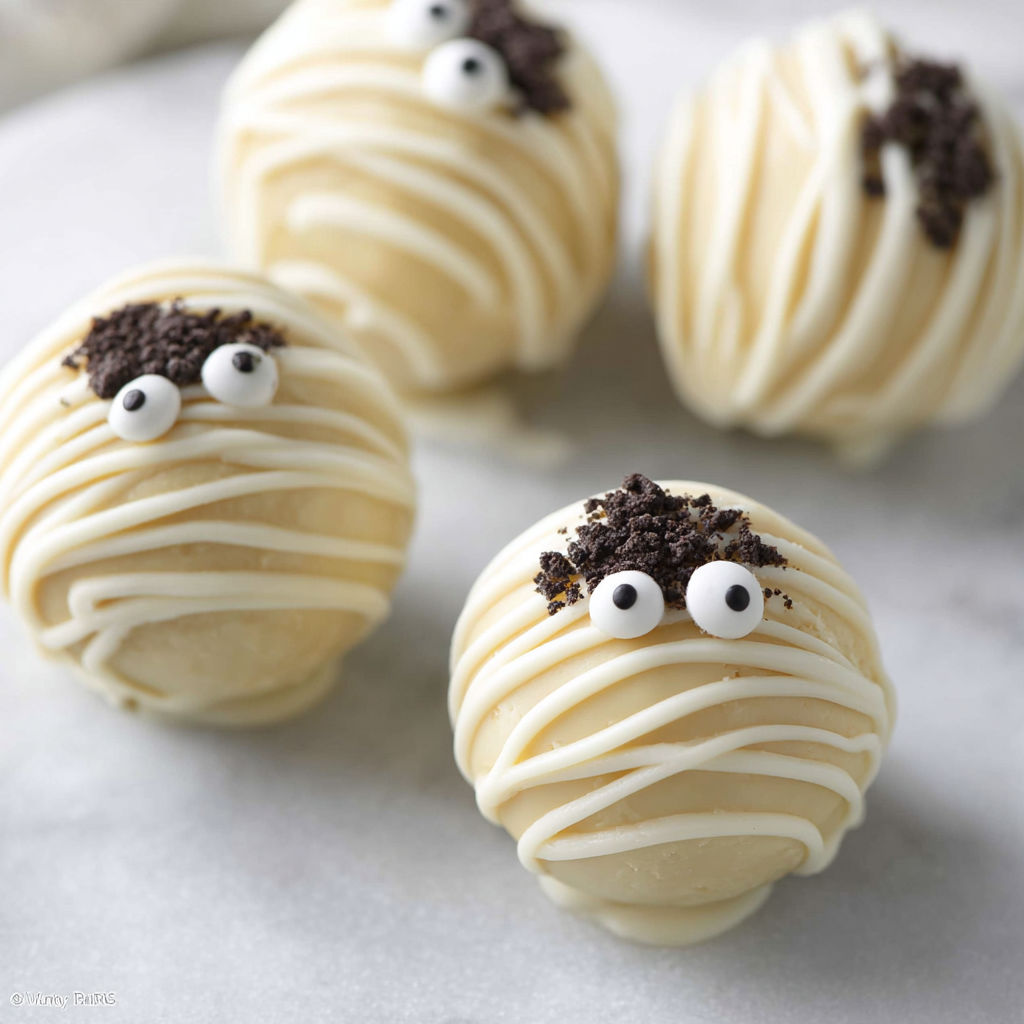
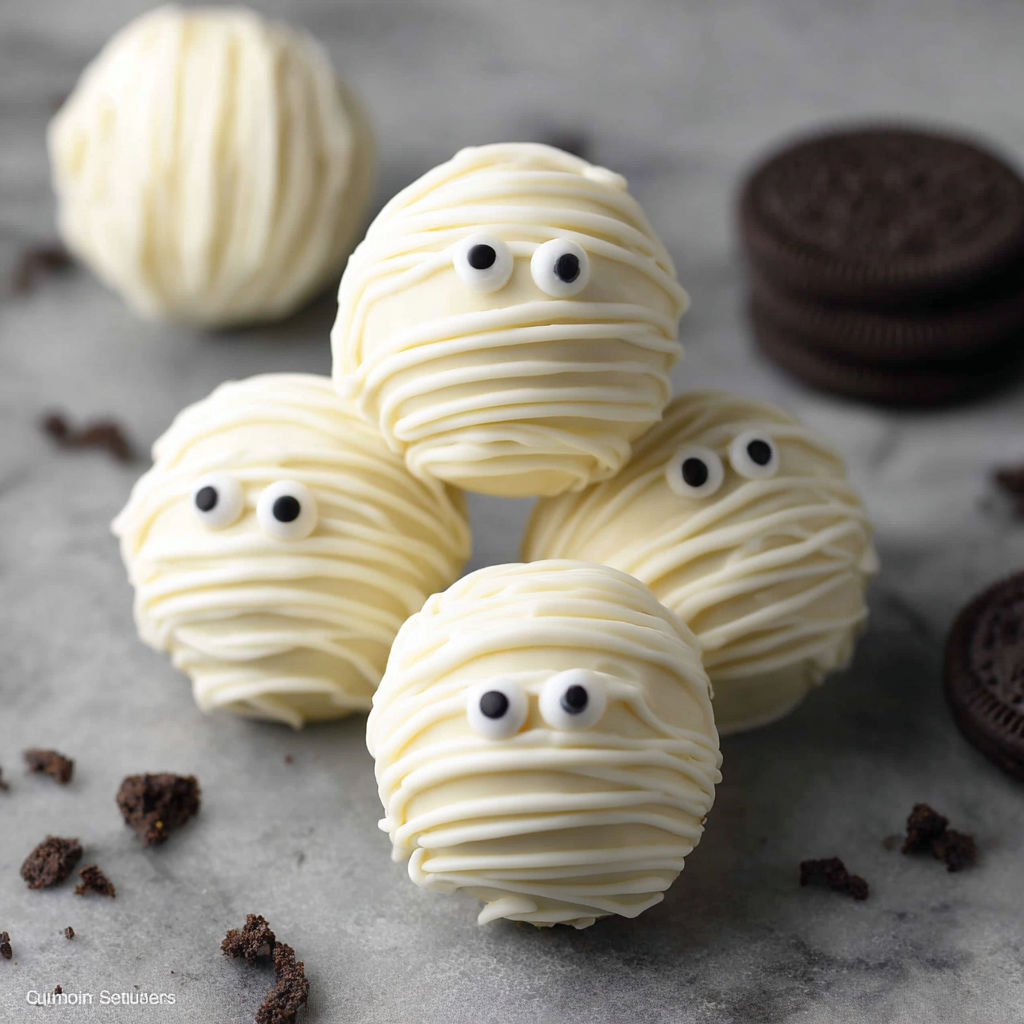
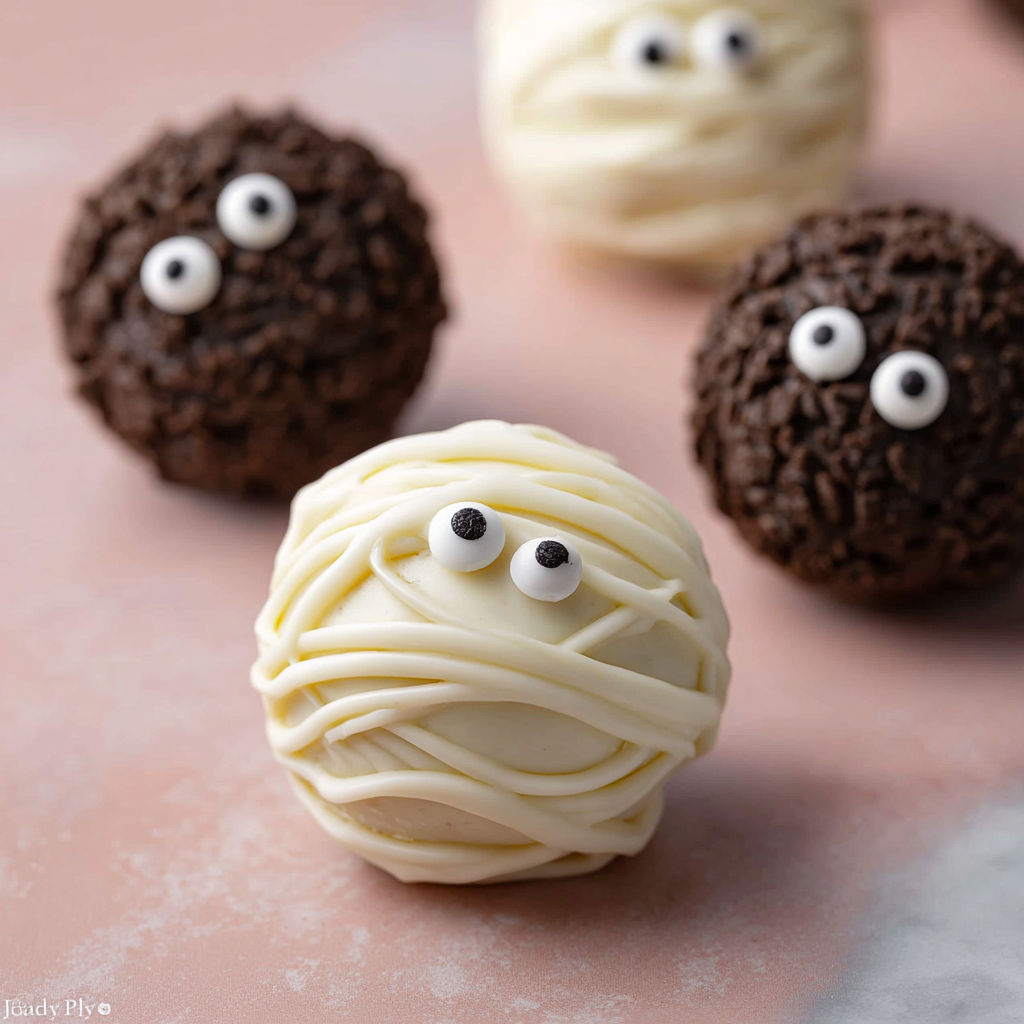
- Candy eyes: turn your Oreo balls from regular truffles into edible mummies find them in baking aisles or craft stores
- Parchment paper: ensures your treats will not stick and makes cleanup easy
- Choose ingredients from fresh sealed packages: for optimal taste and smooth dipping
Instructions
- Line Your Tray:
- Line a large baking sheet with parchment paper making sure it covers the entire surface to prevent sticking
- Crush the Oreos:
- Pulse the Golden Oreos in a food processor until they are a super fine crumb so there are no lumps this is key for truffles that hold together
- Make the Truffle Dough:
- Pour the crumbs into a mixing bowl add softened cream cheese and stir thoroughly until you get a smooth even mixture with no white streaks
- Shape the Balls:
- Scoop about a tablespoon of mixture and roll it between your hands to make 1 inch balls aim for uniform size so they chill and dip evenly
- Chill the Dough Balls:
- Place all truffle balls on your lined tray and freeze them for 30 minutes this keeps the centers from melting when dipped
- Melt the Candy Coating:
- Heat the vanilla candy melts in a microwave or double boiler following the package instructions stir frequently for smoothness
- Dip Each Ball:
- Using a fork gently lower each chilled truffle ball into the melted coating roll to cover completely tap off extra coating by tapping the fork on the bowl edge do not pierce with the fork
- Decorate Like Mummies:
- Arrange dipped balls back on the tray drizzle extra melted coating in zigzags for the wrapped look this works best by filling a zip top bag with coating and snipping a corner
- Add Candy Eyes:
- Press two candy eyes onto each ball while the coating is still wet if it hardens add a little extra melted coating to glue the eyes
- Chill Until Set:
- Refrigerate for 15 to 20 minutes so the coating hardens before serving or packaging
Bringing my family into the kitchen to make these is always a joyful mess Little hands love rolling the dough and decorating their mummy faces Sometimes we make a few extra just to use up leftover candy eyes and turn them into friendly monster balls The best memories come from those perfectly imperfect decorations
Storage Tips
Store Mummy Oreo Balls in an airtight container in the refrigerator where they stay fresh for up to one week You can also freeze them for up to two months just place parchment between layers to prevent sticking Allow to thaw in the fridge before serving for best texture
Ingredient Substitutions
If you cannot find Golden Oreos regular chocolate Oreos work just as well for a classic flavor For the coating almond bark or white chocolate chips can be swapped in just be sure to melt gently to avoid scorching If you want a dairy free version use dairy free cream cheese and vegan white dipping chips
Serving Suggestions
These mummy treats are the ultimate Halloween party dessert Serve on a platter with candy corn or gummy worms for a full themed spread They also make great edible gifts packaged in cellophane bags with festive ribbon or arranged in cupcake liners for a fun classroom treat
Seasonal Adaptations
Try using orange or purple candy melts for a different Halloween twist Add flavored extract like almond or orange zest to the cream cheese for variety Sprinkle with colored sugars or nonpareils after drizzling for extra sparkle
Success Stories
I once brought these to a neighborhood block party and watched everyone from toddlers to grandparents grab seconds My friend who claimed not to care for sweets ended up asking for the recipe They are unbeatable for bringing a smile to every Halloween gathering
Freezer Meal Conversion
If you want to prep far ahead roll and freeze the undipped balls Place them on a tray until solid then transfer to a freezer bag When ready to serve dip and decorate as usual no need to thaw first I always keep a stash for last minute parties
This is one Halloween recipe everyone will be excited to help make and eat. Don't be afraid to let each mummy look a little different — that's part of the fun!
Recipe Q&A
- → Can I use regular Oreos instead of Golden Oreos?
Yes, regular Oreos work just as well and provide a chocolatey twist to the final treat.
- → How do I make the coating smooth and even?
Melt the candy melts fully and use a fork to dip each ball, tapping off excess coating for a smooth finish.
- → What if I can't find candy eyes?
You can use mini chocolate chips or icing dots as substitutes for the candy eyes.
- → How long do these keep in the fridge?
Store in an airtight container in the fridge for up to one week for the best texture and flavor.
- → Do I need a food processor?
No, you can crush the Oreos in a sealed bag using a rolling pin if you don't have a food processor.