
 Pin
Pin
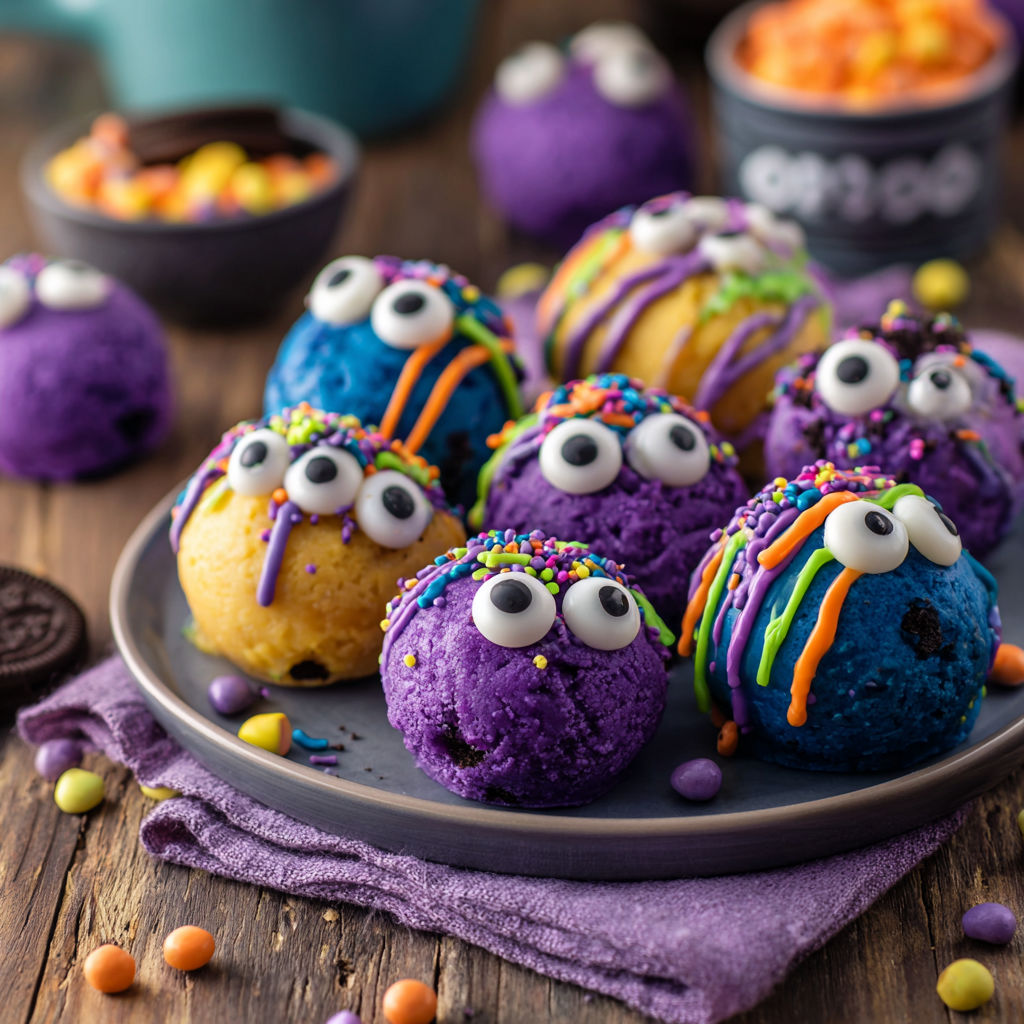
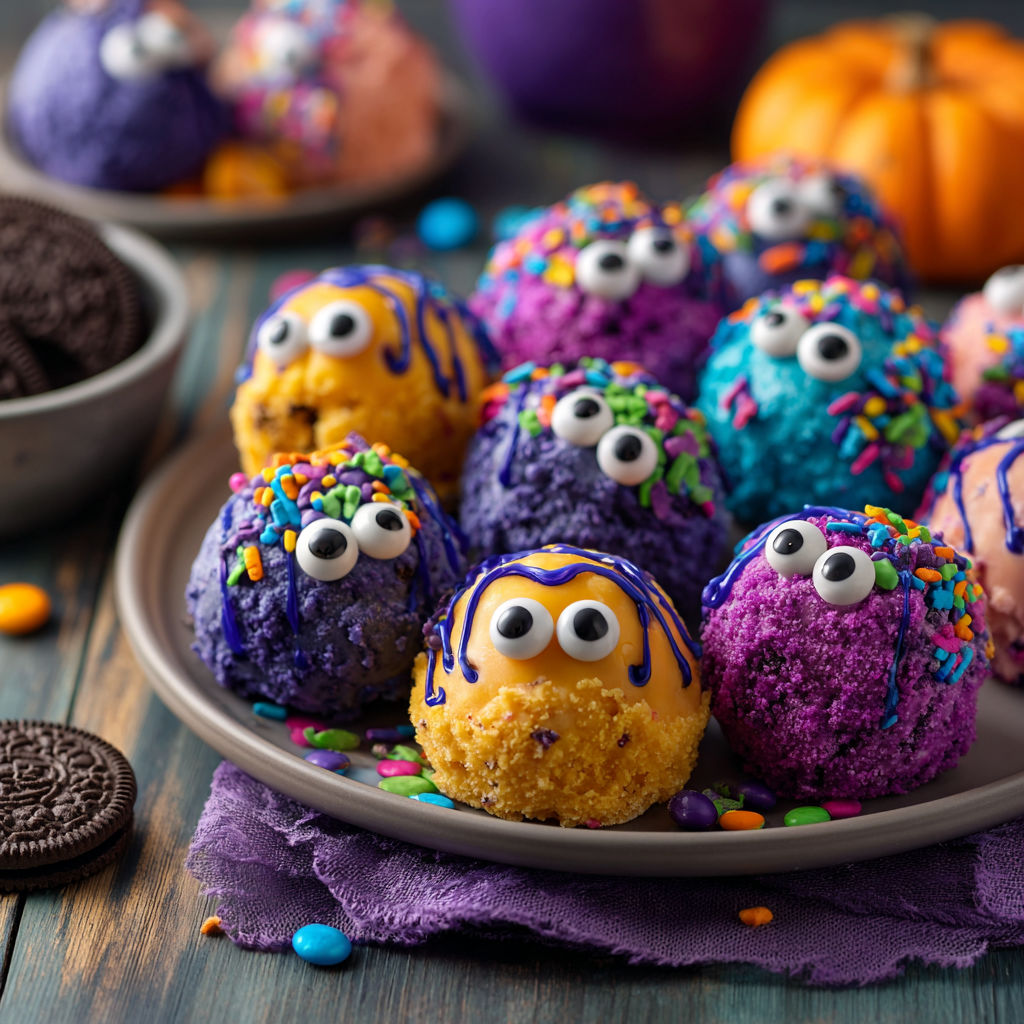
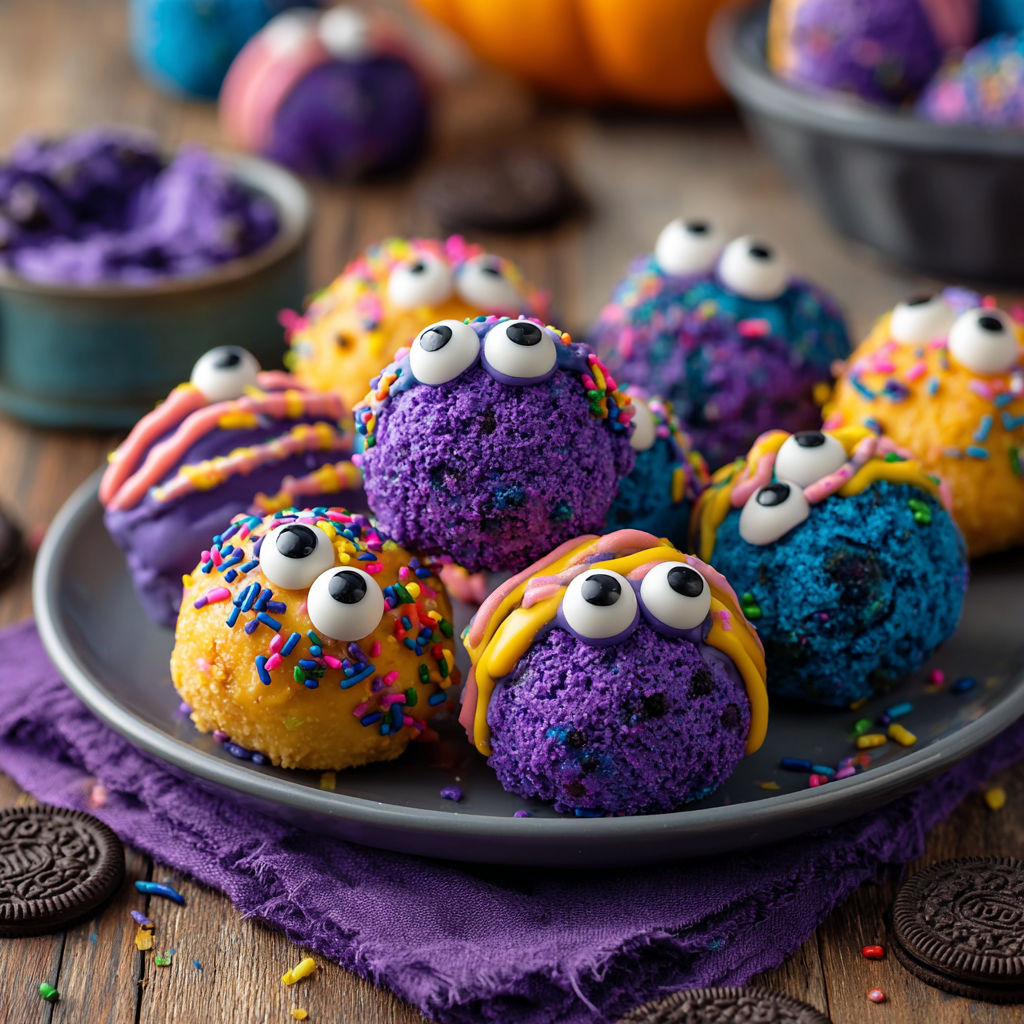
Every year around Halloween my kitchen transforms into a workshop for quirky treats and nothing brings more giggles than these Monster Eyeballs. With a creamy Oreo center and playful decorations they always disappear faster than I can make them and are perfect for parties or class events.
I started making these with my niece and nephew during a rainy October afternoon and now it is our quirky family tradition
Ingredients
- Golden Oreos: give a rich buttery base with great texture look for the freshest package so the cookies are crisp
- Cream cheese: binds and softens the truffle filling always use room temperature for easy mixing
- Colored candy melts: provide a smooth vibrant outer shell choose fresh bags so the melts are glossy and not clumpy
- Color matching sprinkles: add a fun pop and “hair” always double check no clumps or sticky bits
- Large candy eyes: bring playful character try to find clear bright ones for extra monster charm
Instructions
- Prep the Cookie Crumbs:
- Crush all the Golden Oreos in a food processor until they are completely crumbed which ensures a smooth texture for the truffles and no big chunks
- Blend with Cream Cheese:
- Add room temperature cream cheese to the crumbs and pulse until the mixture is cohesive and forms a dense dough this is important so every eyeball holds together after dipping
- Shape the Eyeballs:
- Use a cookie scoop to portion the dough into even scoops about one and a half tablespoons each roll them firmly between your hands to form perfect balls for a uniform look
- Chill the Centers:
- Arrange all dough balls on a parchment lined cookie sheet refrigerate them for at least fifteen minutes so they firm up which helps them keep their shape when dipped
- Melt the Candy Coating:
- Place the candy melts in a microwave safe bowl and heat for forty five seconds stir thoroughly then continue melting in shorter bursts just ten to twenty seconds each until completely smooth and glossy
- Coat the Eyeballs:
- Working in batches drop each chilled ball into the melted candy use a fork to roll it around for even coverage lift out letting excess drip off and set on a clean sheet of parchment
- Decorate with Eyes and Sprinkles:
- While the coating is still warm firmly press a candy eye onto the front this is the monster face then quickly sprinkle colored sprinkles on top to make wild hair before the coating sets
- Final Set:
- Once all truffles are decorated return them to the refrigerator for at least thirty minutes this lets the candy coating harden completely for easy handling and transport
My favorite part is watching the kids design their own monsters every time there is always at least one with extra eyes or wild hair and it never fails to spark laughter around the table
Storage Tips
Store any leftovers in an airtight container in the refrigerator to keep the chocolate coating crisp and the filling fresh. They hold up for up to five days just let them sit at room temperature for fifteen minutes before serving for the best texture. Do not freeze after coating since the candy shell may crack and sweat as it thaws.
Ingredient Substitutions
You can swap chocolate sandwich cookies for the golden ones which gives a more classic cookies and cream flavor if desired. White chocolate melting wafers work well in place of colored melts just add a few drops of gel food coloring for fun effects. Vegan cream cheese and plant based sandwich cookies can be used for a dairy free version and still taste delicious.
Serving Suggestions
Serve these eyeballs at Halloween parties on a spooky tray or tuck a few in kids’ lunchboxes for a holiday surprise. Pair them with other no bake treats or set up a “decorate your own monster” station for birthday parties. They are especially cute on a stick for a monster truffle pop effect.
Cultural Context
No bake truffles like these began as creative family kitchen projects popularized in the early 2000s. They are perfect for holidays because they are fuss free and accessible for bakers of every skill level. Monster themed treats are now a staple at children’s parties inspired by Halloween traditions in the US.
Seasonal Adaptations
Switch the candy melt colors for different seasons think red and green for winter pastels for spring or orange and purple for autumn. Use mini eyes and various sprinkle shapes to create woodland creatures for fall or bright critters for summer. Try adding flavored extracts to the cream cheese for a twist think peppermint for winter or coconut for summer.
Success Stories
I have received dozens of requests for these at school parties and bake sales they are always a hit with both kids and adults. Multiple friends who say they cannot bake have mastered these on the first try. They doubled as edible table décor at my niece’s monster birthday party and were the first treat to vanish. If you make them once expect them to become a yearly tradition by popular demand.
Freezer Meal Conversion
If needed you can freeze the uncoated truffle centers for up to a month just let them thaw in the fridge overnight before coating and decorating. Once coated enjoy them fresh for the best candy crunch. This trick helps with holiday prep especially if you like to plan ahead.
Have fun making Monster Eyeballs and don’t be surprised if they vanish before the party is over. They really do bring out everyone’s inner monster in the sweetest way!
Recipe Q&A
- → Can I use chocolate Oreos instead of golden Oreos?
Yes, chocolate Oreos work well and give a deeper cocoa flavor to the truffles.
- → How do I ensure the coating is smooth?
Melt candy melts fully and stir until smooth before coating, working in small batches for best results.
- → Can these truffles be made in advance?
Absolutely, store completed truffles in an airtight container in the fridge for up to one week.
- → Are candy eyes edible?
Yes, candy eyes are decorations made from sugar and are safe to eat with the truffles.
- → Can I freeze the truffles?
Yes, place the truffles in a single layer in a freezer-safe container for up to two months.