
 Pin
Pin
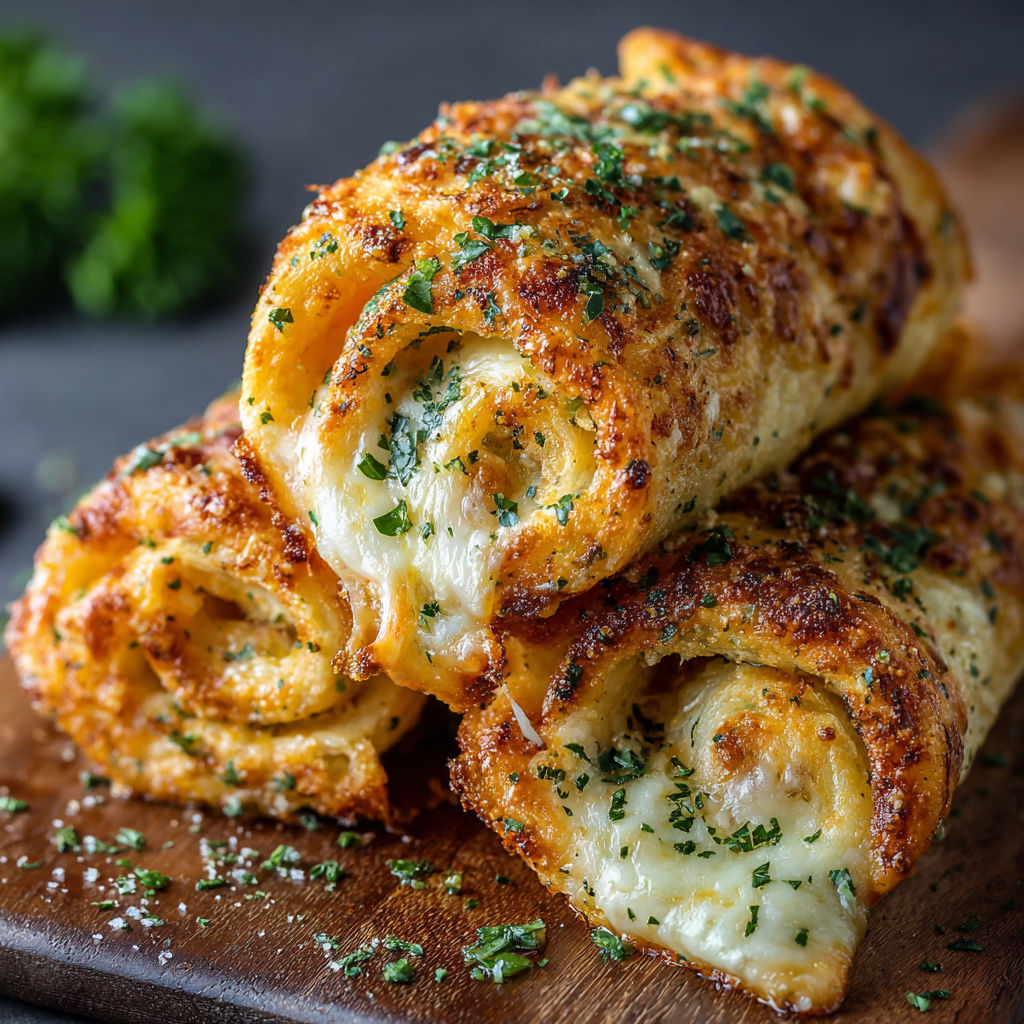
Imagine a tray piled high with golden crispy Cheesy Garlic Butter Rollups that disappear faster than you can refill the plate. These are the ultimate mashup of garlic bread and oozy cheese, perfect for parties, game day or just a savory snack attack. They are impossibly easy to make and you probably already have everything on hand. The cheesy pull and buttery aroma is literally irresistible.
You will love the balance of mozzarella melting stretchiness mingled with the sharpness of cheddar and that real garlicky kick. I first put these out on a movie night platter and now they are the most requested snack in the family rotation.
Ingredients
- White or whole wheat sandwich bread: Skip the crusts—makes a uniform roll and toasts evenly
- Shredded mozzarella cheese: For maximum stretch and creaminess, look for soft moist mozzarella
- Shredded cheddar cheese: For sharp flavor and pretty color, use freshly shredded for best melt
- Grated parmesan cheese: Optional but it adds salty depth, use freshly grated from a block if possible
- Unsalted butter: Brings richness and helps crisp up every edge, European style butter adds extra flavor
- Fresh garlic: For classic aromatic punch, use plump garlic cloves with firm skin
- Garlic powder: Deepens the garlic flavor and ensures even coating, use a high quality garlic powder
- Fresh parsley or dried parsley: For a pop of color and a hint of herby freshness
- Salt: Enhances all the savory notes, choose flaky sea salt if you have it
- Dipping sauces: Like marinara, ranch, or spicy ketchup make these rollups extra fun and customizable
Instructions
- Prep and Preheat:
- Preheat your oven to three hundred seventy five degrees Fahrenheit or one hundred ninety degrees Celsius. Line a baking sheet with parchment paper or use a silicone baking mat so nothing sticks.
- Flatten the Bread:
- Lay out the slices of bread and remove crusts. Using a rolling pin, firmly and evenly flatten each slice until thin and flexible. This helps your rollups seal tightly and cook into crispy golden logs.
- Add the Cheese:
- Evenly sprinkle mozzarella and cheddar cheese along the lower third edge of each flattened bread slice. If using parmesan, add that now too. Resist the urge to overstuff so the rolls do not burst later on.
- Roll and Seal:
- Starting at the cheese end, roll each bread slice up tightly into a log shape. As you roll, use your fingers to gently press so the bread holds together. If the edge will not stick, brush a dab of melted butter along the seam for a secure seal.
- Make the Garlic Butter:
- In a small bowl, stir together melted butter, minced garlic, garlic powder, fresh or dried parsley, and salt. Make sure everything is evenly mixed so every brush packs a punch of flavor.
- Brush and Bake:
- Place each rollup seam side down on your lined baking sheet, leaving space between each. Generously brush all sides with garlic butter, paying attention to the ends. Bake on the middle rack for twelve to fifteen minutes until the rollups turn deeply golden and crisp at the edges. For an air fryer, cook at three hundred sixty degrees Fahrenheit or one hundred eighty degrees Celsius for eight to ten minutes, flipping halfway for even browning.
- Cool and Serve:
- Let the rollups rest for about one minute to firm up. Serve warm and gooey alongside bowls of dipping sauce like marinara, ranch, or whatever you love.
My absolute favorite part about these is the garlicky butter that soaks into the bread and crisps everything up just right. Once my kids started making their own variations these rollups turned into a mini family competition to see who could hit the cheesiest pull.
Storage Tips
Cool rollups completely before storing to keep them crisp. Place leftovers in an airtight container lined with a paper towel and refrigerate for up to three days. To reheat, pop them in a toaster oven or bake at three hundred fifty degrees Fahrenheit for a few minutes until heated through. They will stay crisp and piping hot. If you are freezing, arrange cooled rollups on a tray, freeze until solid, then transfer to a freezer bag. Reheat from frozen in the oven for a low effort snack.
Ingredient Substitutions
If you are out of mozzarella, try a mix of provolone, fontina, or Monterey Jack cheese for a gooey melt. Vegan butter and plant based cheese can make these dairy free. Use gluten free sandwich bread for a gluten free version and add a pinch of Italian seasoning if you like extra herb flavor.
Serving Suggestions
Pile them up on a platter with different dipping sauces for a party appetizer spread. Serve with soup instead of croutons, or alongside a crisp salad for lunch. I love topping each rollup with an extra bit of parmesan and parsley for a pretty finish.
Cultural Context
The idea for these rollups comes straight from classic garlic bread but rolled up into snackable finger food. Many cultures have cheesy bread snacks but this version borrows from Italian flavors with all the garlic butter and cheese.
Seasonal Adaptations
Mix finely chopped fresh basil with the parsley in the summer. Use smoked cheddar in the fall for cozy vibes. Sprinkle in red pepper flakes during the holidays for a touch of heat.
Make a double batch to freeze, and you will always have a crispy cheesy snack ready in minutes. They are guaranteed to be devoured at any party or when an after school hunger attack hits.
Recipe Q&A
- → How do I prevent rollups from unrolling during baking?
Seal the edges with a bit of melted butter and place them seam-side down on the baking sheet before baking.
- → Can whole wheat bread be used?
Yes, both white and whole wheat sandwich bread work well for these rollups and crisp up nicely in the oven.
- → What cheeses work best for the filling?
Mozzarella and cheddar create a gooey filling, and a sprinkle of Parmesan adds extra flavor if desired.
- → Are dipping sauces necessary?
Dipping sauces like marinara, ranch, or garlic herb sauce enhance the flavor but are entirely optional.
- → Can these be made ahead of time?
You can assemble them a few hours in advance and bake just before serving for best crispiness.
- → Is air frying possible instead of baking?
Yes, air fry at 360°F (180°C) for 8–10 minutes, turning halfway for a golden, crispy texture.