
 Pin
Pin
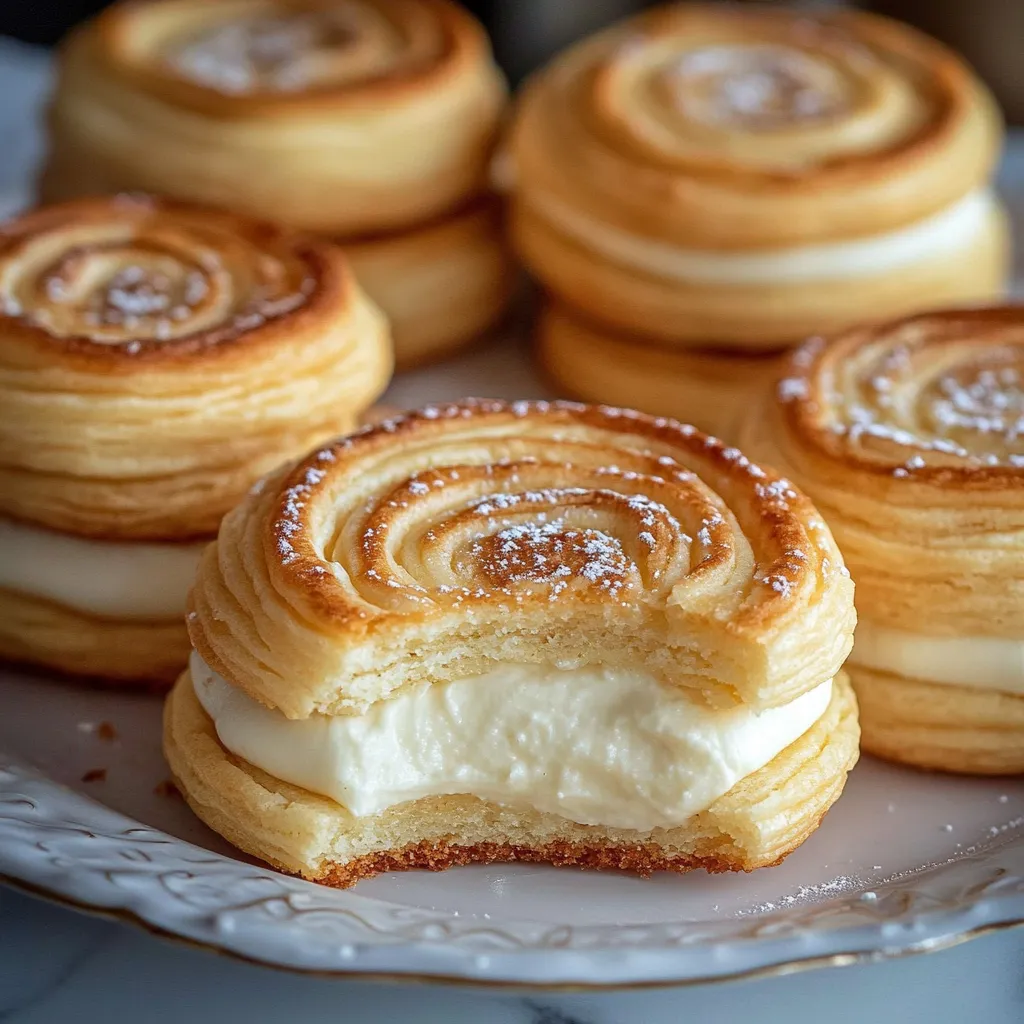
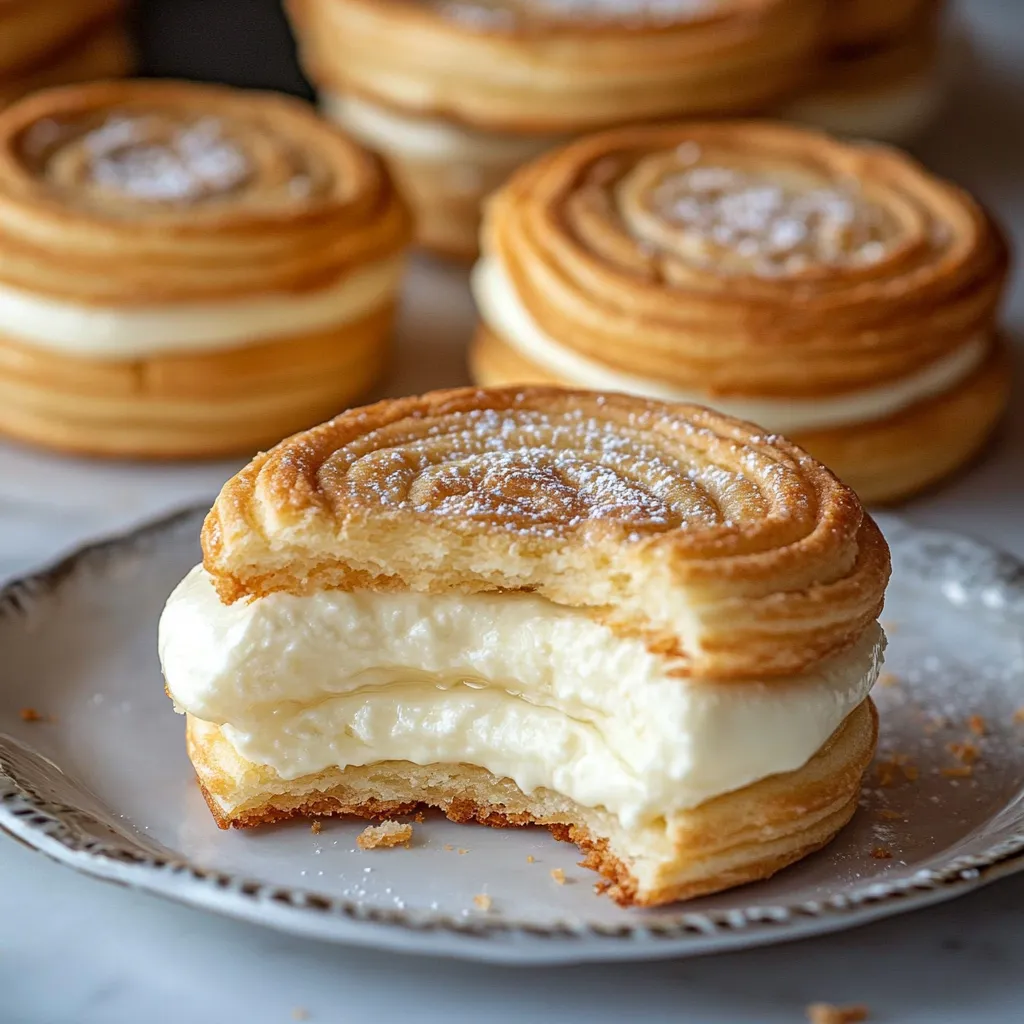
This bite-sized treat brings together the beloved New York cheesecake in cookie form, where crispy graham bases meet smooth cheesecake middles. You'll get all the amazing cheesecake taste you crave but in a handy, grab-and-go package.
I came up with these treats when my little girl wanted cheesecake for her birthday but needed something easy to take to class. They turned out so good that now we bring them to every potluck and holiday cookie swap we attend.
What You'll Need
- Graham crackers 1 1/4 cups finely crushed: Forms the backbone of that real cheesecake taste. Pick plain whole crackers without added sugar for best results.
- All purpose flour 1 cup: Holds the cookie base together. Try soft wheat flour if you want them extra tender.
- Baking powder 1 1/2 teaspoons: Makes the cookies slightly puffy without going cakey. Double-check it's fresh for best lift.
- Unsalted butter 1 stick softened: Brings richness and helps everything stick together. Let it sit out for half an hour before using.
- Brown sugar 1/2 cup packed: Adds wetness and caramel hints that work well with the graham taste. The darker the sugar, the deeper the flavor.
- Egg 1 separated: The white goes in the cookie part while the yolk makes the filling richer. Warm eggs mix in better.
- Cream cheese 3 oz softened: The main player that brings the real cheesecake magic. Philly brand works most reliably.
- Granulated sugar 1/4 cup: Balances the tangy cheese without going overboard. Finer sugar blends in more smoothly.
- Lemon zest 2 teaspoons: Adds a fresh zip to the filling. Go for organic lemons if you can to avoid chemicals.
- Vanilla extract 1/2 teaspoon: Ties all the flavors together nicely. Real vanilla makes a big difference compared to the fake stuff.
How To Make Them
- Get Your Oven Ready:
- Warm up your oven to 350°F before you start mixing things. Put the rack right in the middle so everything cooks evenly. A hot oven means your cookies will start baking right away and keep their shape better.
- Combine Your Dry Stuff:
- Put your super fine graham crumbs, flour, and baking powder in a big bowl. Stir them really well so the baking powder gets spread out evenly. Your graham crumbs should be almost like dust to make smooth dough later, so blitz them good in a food processor if needed.
- Mix Your Wet Ingredients:
- In another bowl, beat your soft butter and brown sugar with your mixer for about 3-4 minutes until it looks fluffy and light. You'll notice the color getting paler. Then add your egg white and beat for another half minute to mix it in. This step puts air in your dough for better texture.
- Put Everything Together:
- Slowly add your dry stuff to your butter bowl, mixing on low just until it comes together. The dough might look a bit crumbly but should stick when you squeeze it. Don't mix too much or your cookies will get tough.
- Whip Up The Filling:
- In a new bowl, mix your softened cream cheese, white sugar, egg yolk, lemon zest, and vanilla until it's silky smooth, about 2 minutes. You don't want any lumps. If your cream cheese is still cold, you'll end up with bumpy filling.
- Get Your Dough Ready:
- Use a small scoop or spoon to make 2-tablespoon balls of dough. Put them on your baking sheet covered with parchment, keeping them 2 inches apart. They'll spread a little while baking.
- Make Indents For Filling:
- Gently press each dough ball with your hand until it's about 1/2 inch thick, then push your thumb or a spoon into the middle to make a deep hole. Make sure the hole is big enough to hold plenty of filling without spilling over.
- Add Your Cheesecake Filling:
- Spoon about 1 to 1 1/2 teaspoons of your cream cheese mix into each hole, filling level with the cookie top. Don't overfill since the filling puffs up a bit when it bakes.
- Cook Your Cookies:
- Put your filled cookies in the hot oven for 12 minutes, or until the edges turn light gold and the filling looks just set but still wiggles slightly. If they bake too long, they'll dry out.
- Let Them Rest:
- Leave the cookies on the baking sheet for 5 minutes so they can firm up, then carefully move them to a cooling rack. The filling will keep setting as they cool. They taste even better after sitting in the fridge for at least an hour.
The lemon zest is my top secret ingredient here. My grandma always put a bit of lemon in her cheesecakes, claiming it brought out the cream cheese tang. When I bake these cookies, the citrus smell always takes me back to waiting in her kitchen on Sundays, dying to try her famous cheesecake before it cooled.
How To Keep Them Fresh
You'll need to keep these cookies in the fridge because of the cream cheese. Store them in a sealed container for up to 5 days. Put some parchment between layers so they don't stick together or get messed up. Want to save them longer? These freeze really well for up to 3 months. Just wrap each cookie in plastic, then put them in a freezer bag. Let them thaw in the fridge overnight before eating.
Mix It Up
The basic version gives you that classic New York cheesecake taste, but you can switch things up easily. For chocolate fans, mix 2 tablespoons of cocoa in the cookie base and throw some mini chocolate chips in the filling. Make them strawberry by stirring 2 tablespoons of strawberry jam into the cream cheese mix. In fall, try adding 1/2 teaspoon of pumpkin pie spice to the cookies and 2 tablespoons of pumpkin puree to the filling.
Ways To Enjoy
These cookies taste great on their own but can be dressed up for fancy occasions. Sprinkle some powdered sugar on top right before serving for a pretty look. On a dessert tray, pair them with fresh berries and some chocolate drizzle. They go really well with afternoon tea, especially Earl Grey or chamomile. For a super indulgent treat, put a small scoop of vanilla ice cream between two fully cooled cookies to make a cheesecake cookie ice cream sandwich.
These handy treats pack all the amazing flavor of traditional cheesecake into a portable snack you can enjoy anywhere, anytime.
Recipe Q&A
- → Can I prep these cookies beforehand?
Sure thing! They’ll last in the fridge for up to 3 days. Keep them sealed tightly and let them sit at room temp for a bit before enjoying for ideal taste and texture.
- → How do I know when they're done baking?
You’ll want the edges turning a light golden color while the filling looks just set (around 12 minutes). The center might seem underdone at first, but it firms up as it cools.
- → Can these cookies be frozen?
Yes! Once they’re completely cool, freeze in a single layer on a tray, then move to a freezer-safe container. Thaw overnight in the fridge before serving. They’ll keep for about a month in the freezer.
- → What if I don’t have lemon zest?
It’s okay! Swap lemon zest for orange or even skip it. For a twist, mix 1/4 teaspoon almond extract into the filling for a unique flavor.
- → Can I use light cream cheese?
Yes, light cream cheese is fine, but the filling won’t be as rich. Avoid fat-free cream cheese, as it might not set well while baking.
- → Why did my cookies spread too much?
Warm butter is usually the culprit. Chill your shaped dough for 20 minutes before baking. Make sure your baking sheet isn’t hot when placing new dough on it too.