
 Pin
Pin
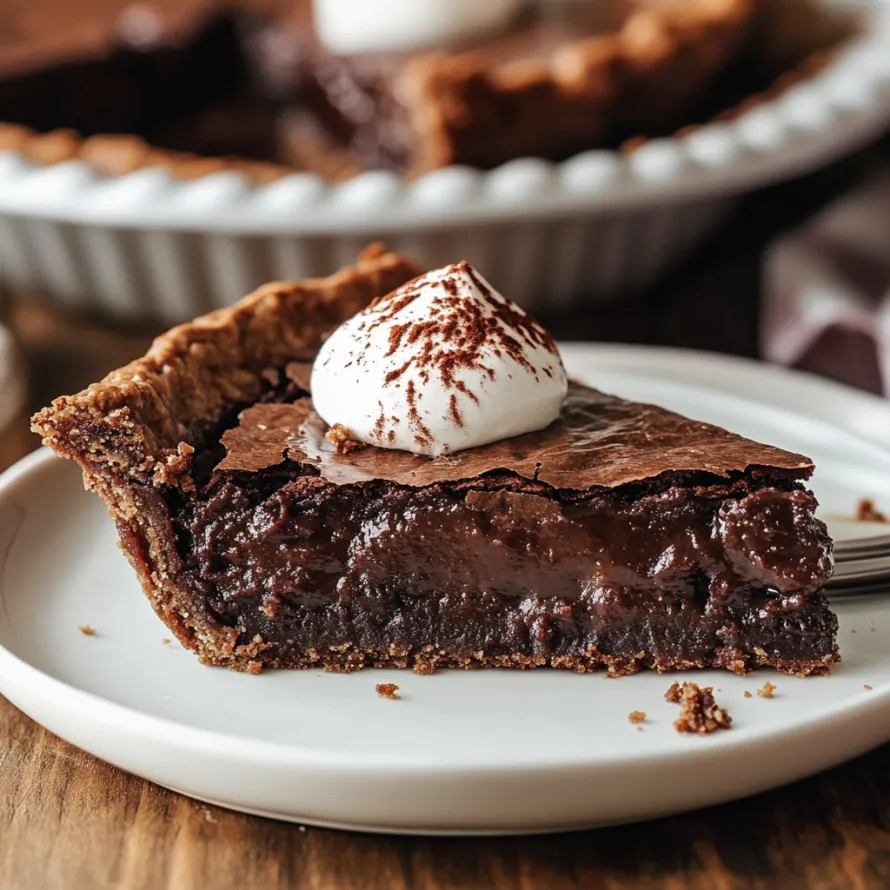
This sticky chocolate treat turns basic pantry items into a luxurious sweet that'll crush any chocolate hankering. The crispy exterior breaks open to reveal a soft, gooey middle that dissolves on your tongue, striking just the right balance between a traditional brownie and a warm chocolate pudding cake.
I whipped up this brownie pie during a rushed dinner gathering when fancy desserts weren't an option. My friends thought I'd slaved away for hours, and now it's my backup plan whenever chocolate fans come around.
Ingredients
- Unsalted butter: Adds moisture and flavor without extra salt
- Semisweet chocolate chips: Deliver that deep chocolate punch, grab premium ones for maximum taste
- Large eggs: Hold everything together and help create that crackly surface
- Granulated sugar: Sweetens without overwhelming the chocolate taste
- Vanilla extract: Boosts chocolate notes, stick with real extract instead of artificial
- All purpose flour: Provides minimal structure while keeping things gooey inside
- Baking powder: Creates subtle rise but maintains the rich density
- Salt: Brings out all flavors, especially chocolate, kosher works best
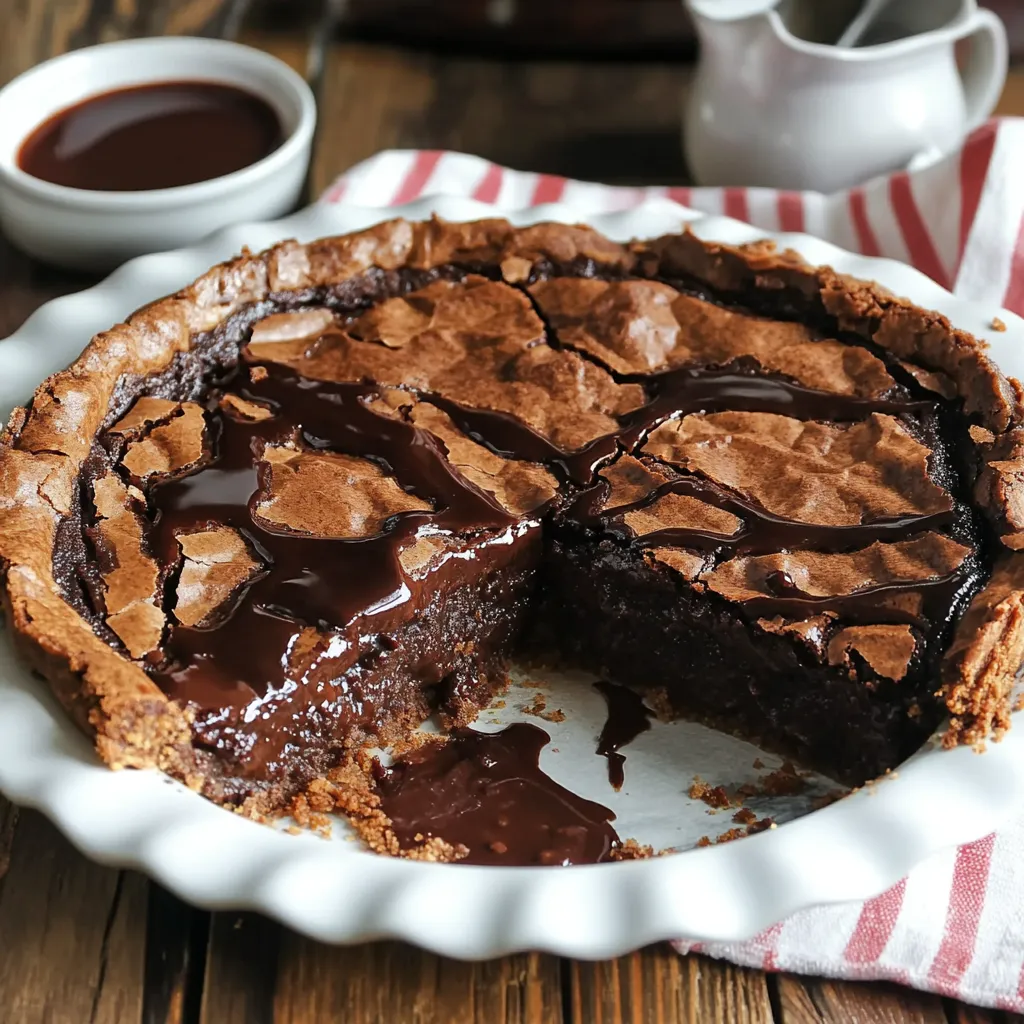
- Hot fudge sauce for serving: Takes this treat to the next level
Simple Preparation Steps
- Prep your dish:
- Coat your 9inch pie plate or springform pan completely with nonstick spray, getting into every edge and side. Don't skip this—the sticky texture can make removal tough if not greased well.
- Mix chocolate and butter:
- Put 2 cups of chocolate chips with all the butter in a microwave-safe container. Warm in 30second bursts, mixing well between each, until smooth. It should look glossy but feel just warm. Let it cool a bit so eggs don't cook when added.
- Beat egg mix:
- In a big bowl, whip eggs, sugar, and vanilla using a hand mixer for 3 minutes straight. This step matters because it adds air that forms the crackly surface. The mix will look pale and bigger, almost like thin cake batter.
- Blend mixtures together:
- While mixing on low speed, slowly pour your melted chocolate into the egg mixture. Add it gradually to prevent eggs from cooking and keep all that air you've worked in. Mix just enough to remove any streaks.
- Mix in dry stuff:
- Carefully fold flour, baking powder, and salt using a rubber spatula with gentle cutting movements instead of stirring. Stop once the dry bits disappear to keep the brownies soft not tough.
- Throw in extra chips:
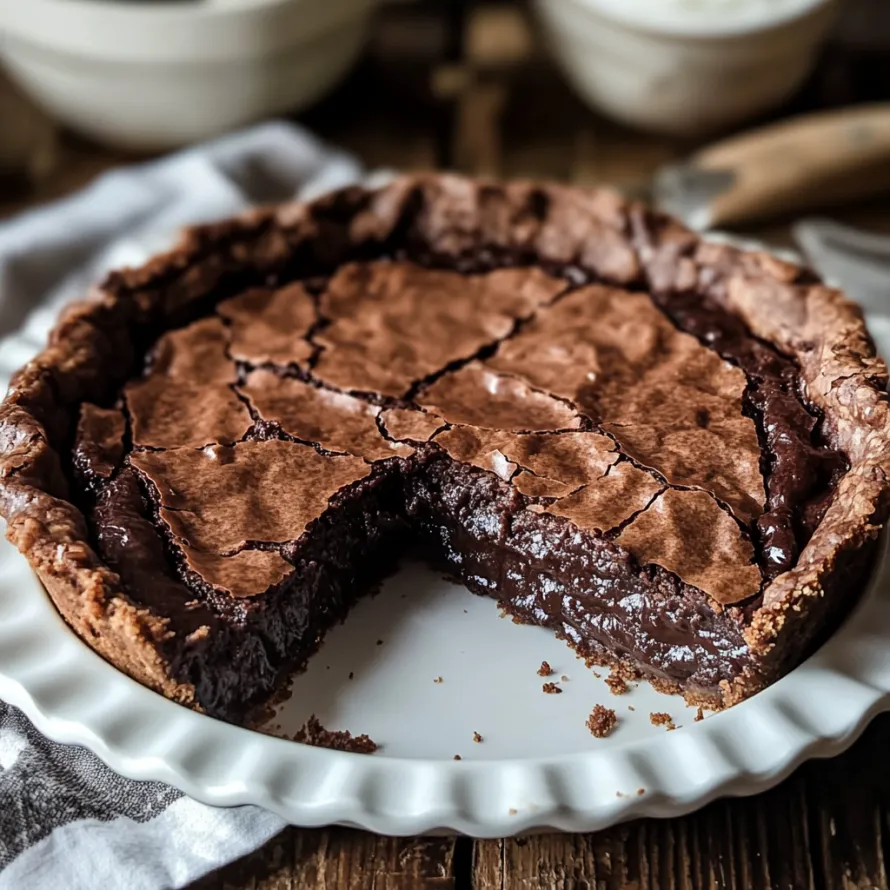
- Fold in the last cup of chocolate chips by hand. These create melty chocolate spots throughout your pie that make each bite more interesting.
- Bake it right:
- Pour your mix into the greased pan and bake at 350°F for 3540 minutes exactly. You'll know it's done when the top looks crackly and the middle has puffed but still wobbles slightly when moved. Don't leave it too long or you'll lose the gooey middle.
- Let it rest:
- Wait for the brownie pie to cool completely before cutting. This cooling time lets the center set to the perfect soft texture. Cutting too soon makes a mess, though it'll still taste great.
The semisweet chocolate really makes this dish special. I tried it once with milk chocolate chips, and while it wasn't bad, it missed that rich intensity that makes this dessert so memorable. My kid now asks for this instead of regular cake every birthday, showing how the easiest recipes often turn into family favorites.
Tasty Pairing Ideas
This brownie pie works with so many different sides. For a fancy dinner setup, warm each slice in the microwave for 10 seconds then add a scoop of vanilla bean ice cream and pour some warm hot fudge on top. The mix of warm, gooey brownie and cold ice cream creates an amazing combo of textures.
Keeping It Fresh
To keep your brownie pie tasting perfect, store leftovers at room temperature under a cake cover or loosely wrapped in foil for up to 3 days. Don't put it in the fridge as this makes it too dense and ruins the gooey texture. For longer storage, wrap slices tight in plastic then foil and freeze up to 3 months. Let them sit out for about an hour before eating.
Custom Touches
This basic recipe can be changed up in so many ways. Try adding a teaspoon of espresso powder to your melted chocolate to bring out more chocolate flavor without tasting like coffee. Want some crunch? Mix in half a cup of toasted chopped walnuts or pecans with your chocolate chips. During Christmas, a few drops of peppermint extract and some crushed candy canes on top make a festive version everyone will love.
This treat will definitely win over any chocolate fan and might just become your go-to dessert for all your gatherings!
Recipe Q&A
- → How do I know if the pie's baked properly?
You'll know it's time when the top is crackly, and the center inflates slightly—around 35–40 minutes at 350°F. Expect a jiggly middle when pulling it out; the signature gooey texture forms as it cools. Overbaking will ruin its molten charm.
- → Can I swap out the type of chocolate?
Sure! You can trade in semi-sweet chips for milk chocolate for a sweeter spin, dark chocolate for boldness, or even fun flavors like peanut butter or mint. Just stick to the three-cup amount for that perfect texture.
- → Why do I have to mix the eggs and sugar so long?
Whipping sugar and eggs for three minutes pumps in air. This ensures that flaky top crust everyone loves. Skip this, and you'll miss out on the pie's unique texture and gorgeous look!
- → Can I prep it ahead of time?
Yep! Make it 1–2 days early. After cooling fully, cover it with plastic wrap and leave it out at room temp. Reheat slices for 10–15 seconds in the microwave to revive that gooey goodness before serving them with fudge.
- → What else goes well with it besides fudge?
Though fudge is a top pick, there are plenty of tasty pairings. Vanilla ice cream, caramel syrup, powdered sugar, or even a dollop of whipped cream are great. Need something fancy? Try combining vanilla ice cream and fudge together!
- → Why is my pie too gooey even when cool?
If it’s still overly gooey after firming up, it might’ve been taken out too soon. It’s supposed to have a soft middle but still be slicable. Next time, add 3–5 more baking minutes, keeping that center wobbly when removed!