
 Pin
Pin
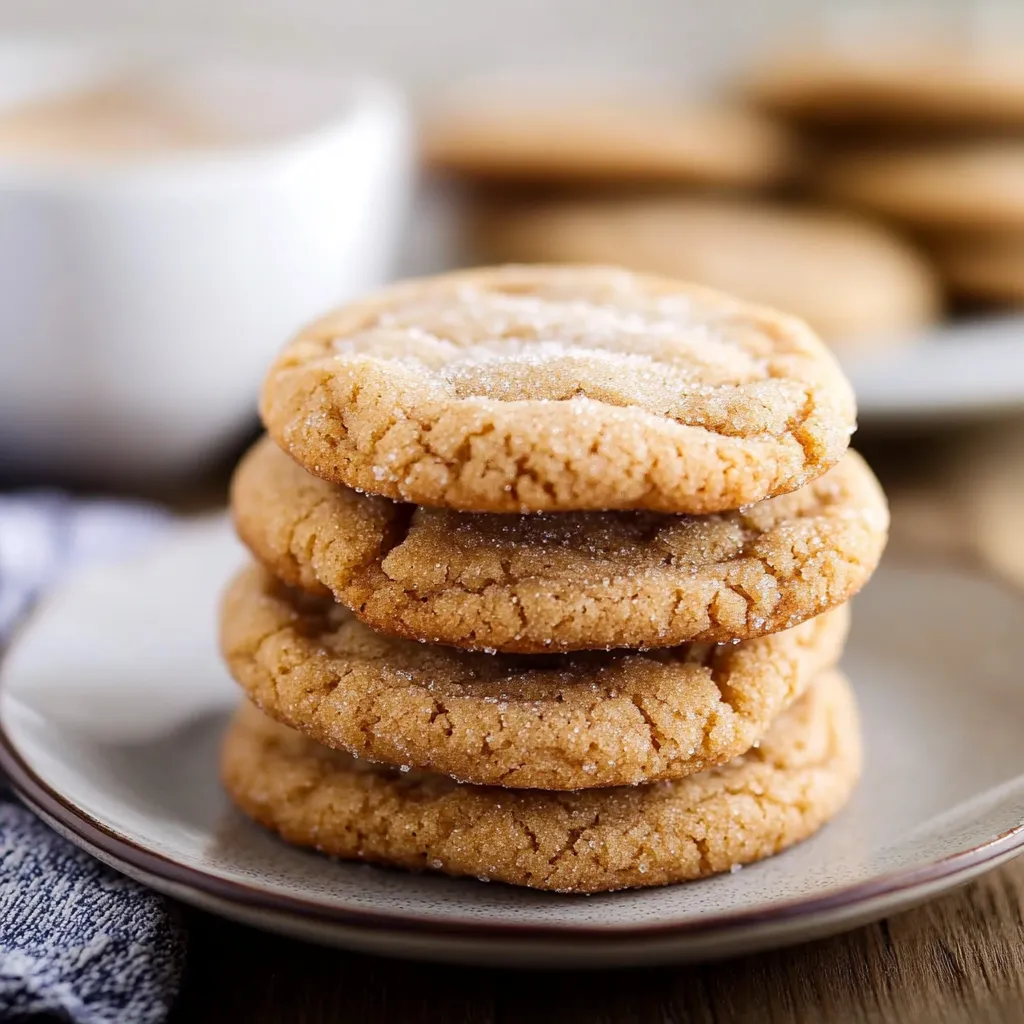
The scent of warm butter mixed with brown sugar floating through the house brings me back to baking days with my grandma. I've tweaked these brown sugar cookies over many batches until they hit that sweet spot - soft in the middle with just a bit of crunch around the edges. What makes them stand out is that rich, caramel-like taste from brown sugar that you just can't get enough of.
I baked these for my kid's study buddies last weekend and they were gone in a flash. One girl mentioned they tasted like her grandma's special cookies, which really made my day.
Essential Cookie Components
- Dark brown sugar: Gives that deep, molasses-like flavor and keeps cookies moist
- Melted unsalted butter: Mixes in easier and makes chewier cookies compared to when it's just softened
- Large egg: Should be room temp to hold everything together and build structure
- All-purpose flour: Makes the ideal base for chewy cookies
- Cornstarch: My hidden trick for super soft, tender cookies
- Ground cinnamon: Brings warmth and extra flavor depth
- Baking soda: Helps cookies rise and get those golden edges
- Fine sea salt: Brings out all the tastes and cuts the sweetness
- Granulated sugar coating: Adds a nice crackly outside and pretty sparkle
Baking Cookie Wonders
- Making Your Base:
- First, stir the melted butter and brown sugar until they're completely blended into a smooth, tan mixture that smells amazing.
- Adding The Egg:
- Drop in your room-temp egg and mix for about 2 minutes until everything looks shiny and thick.
- Mixing In Dry Stuff:
- Gently fold in your flour mix and watch how it changes from wet to just right. You'll see tiny flecks of cinnamon throughout.
- Cooling Down:
- Let your dough chill in the fridge so the flour can soak up moisture and flavors can get friendly with each other.
- Forming Cookies:
- Roll the dough into big balls, coat them in sugar, and set them carefully on your lined cookie sheets.
- Oven Magic:
- Keep an eye on how they spread and puff up, then lightly press them down to get those classic cracks.
- Cooling Off:
- Let them cool until they reach that perfect chewy texture with pretty crackling on top.
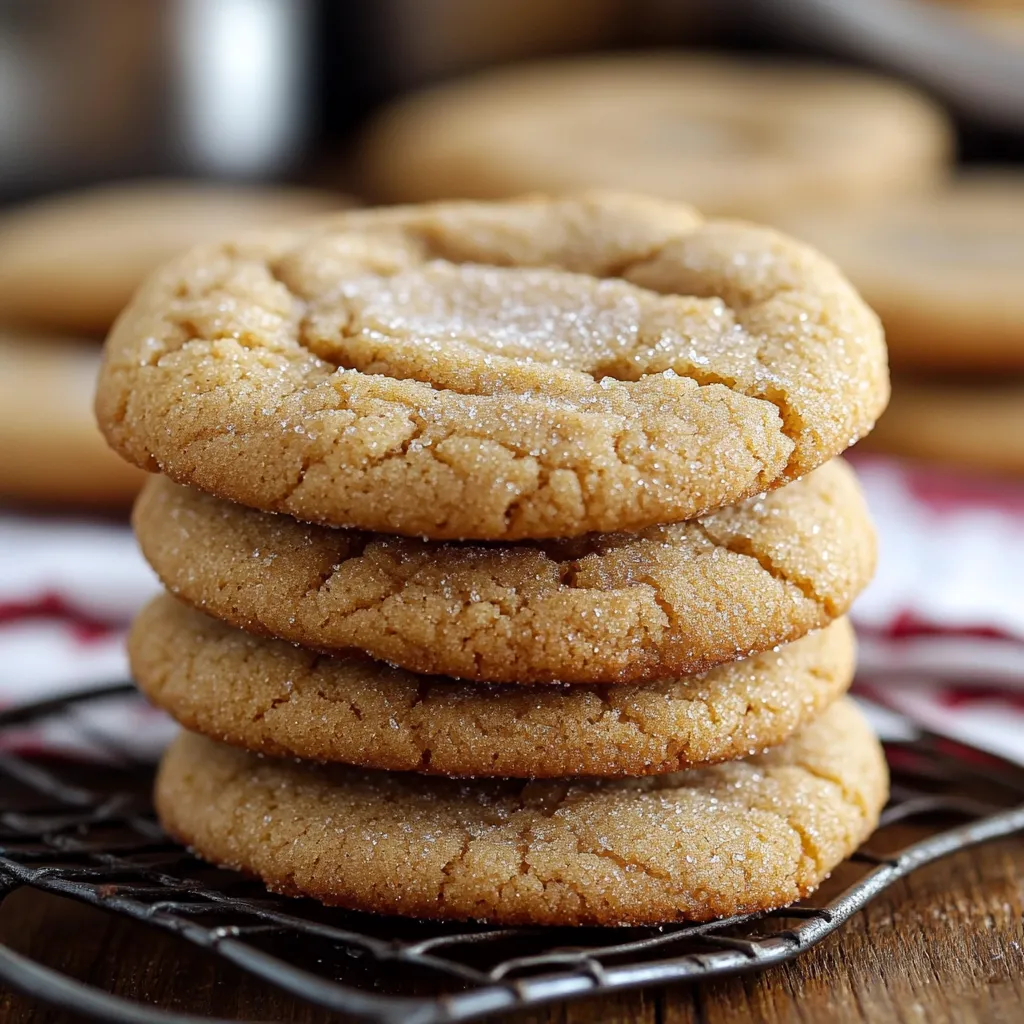
The rich caramel flavor from dark brown sugar is what my family can't get enough of. My husband swears these beat any cookie from a bakery, and I've gotta agree - there's something extra special about making them at home.
Tasty Cookie Companions
These cookies go great with both hot and cold drinks. Try sandwiching vanilla ice cream between two for a fancy treat, or enjoy them with a hot coffee in the afternoon. They're also perfect for gifting since they stay fresh and chewy for several days.
Flavor Twists
You can mix things up by adding some crunchy toasted nuts or bits of toffee for extra caramel flavor. Dark chocolate chips work wonderfully with the brown sugar base if you love chocolate. During holiday time, throw in some ginger and nutmeg to make them more festive.
Keeping Cookies Fresh
Put your cookies in an airtight box at room temp and they'll last about five days. A neat trick is to toss in a slice of bread to keep them moist and chewy down to the last one. You can also freeze them for up to three months if they last that long!
I get asked for this brown sugar cookie recipe more than any other, and it's easy to see why. Something about their simple goodness combined with that deep, caramel flavor just hooks people. Each time I make them, I'm reminded that the easiest recipes often bring the most happiness to our homes and hearts.
Recipe Q&A
- → Can I skip chilling the dough?
- Nope, you need to chill it for at least 2 hours. This stops them from spreading too much and keeps that ideal chewy feel.
- → How should I store these treats?
- Pop them in an airtight box at room temp—they'll stay great for 1 week. Or freeze them for up to 3 months.
- → What does cornstarch do here?
- It makes the cookies fluffier and softer. You could skip it, but it's worth adding for the best results.
- → Can I prepare the dough earlier?
- Yup! Keep it in the fridge for 3 days or freeze the dough balls for 3 months before baking.
- → Why flatten the cookies halfway through baking?
- Flattening them mid-bake delivers the crackly tops and lets them bake evenly.