
 Pin
Pin
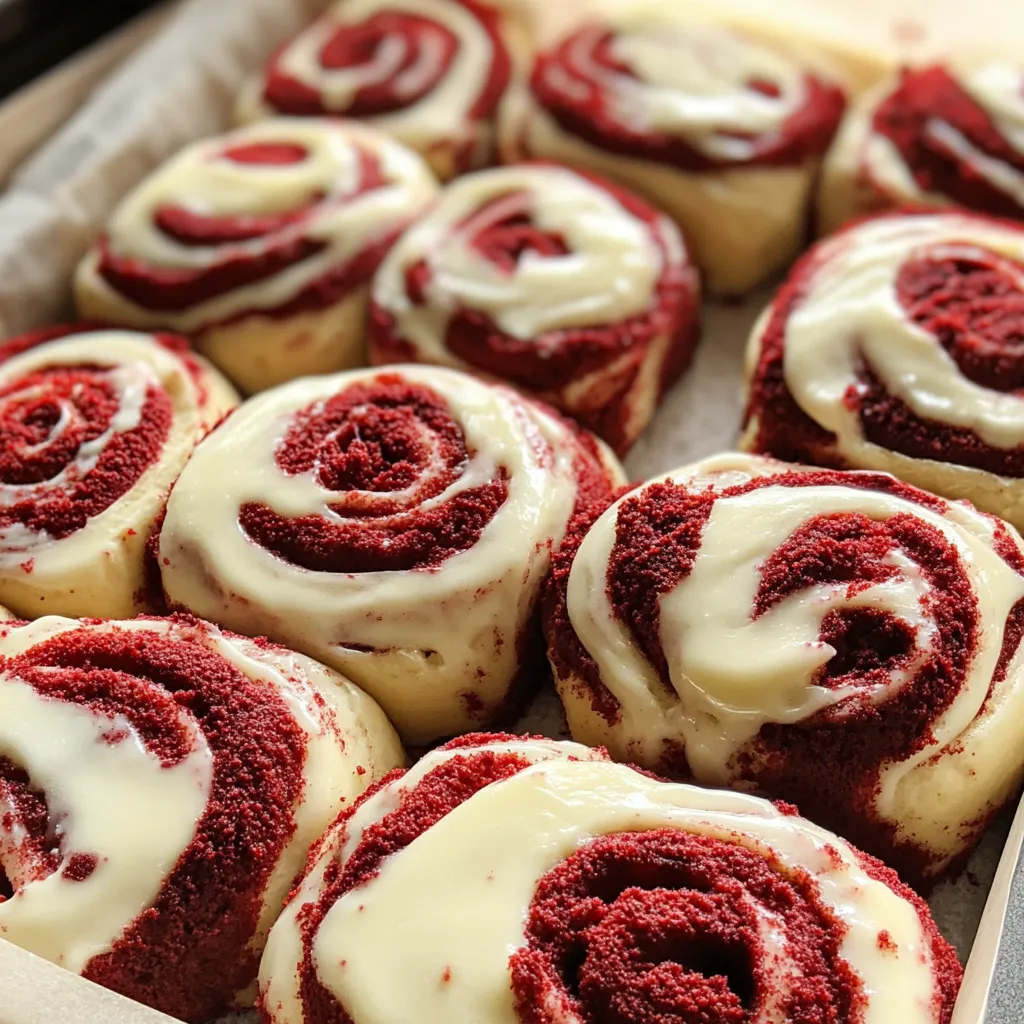
Crimson cinnamon swirls turn everyday breakfasts into special moments worth remembering. These soft, fluffy spirals blend the elegant taste of red velvet with spicy cinnamon warmth, all topped with a creamy cheese icing. Their striking ruby color catches the eye while subtle cocoa hints lift these rolls from standard to standout.
My kids have named these their number one breakfast pick, hands down. After many weekends tweaking and testing this in my kitchen, seeing them smile when I pull these from the oven makes all the work totally worth it.
Key Components
- Bread flour: Gives you the right amount of chewiness and structure
- Whole milk: Makes the dough extra soft and keeps it that way for days
- Active dry yeast: Helps everything rise nicely and adds great flavor
- Light brown sugar: Brings lovely caramel hints to the filling
- Natural cocoa powder: Adds that true red velvet taste
- Quality cream cheese: Makes for a smooth, tangy topping
- Pure vanilla extract: Adds richness to both dough and frosting
- Red food coloring: Turns simple rolls into eye-catching treats
Crafting Amazing Swirls
- Waking Up The Yeast:
- Warm milk to about 100-110°F for best results. Scatter yeast over the milk and wait for it to get bubbly. Add sugar and let it sit until it grows twice as big, around 5 minutes.
- Making Your Dough:
- Add eggs one by one, mixing well after each. Slowly pour in melted butter while stirring. Mix in cocoa and food coloring until the color looks even. Add flour bit by bit until everything comes together. Knead until your dough feels smooth, about 8-10 minutes.
- First Break:
- Put dough in a greased bowl, flip it to coat all sides. Cover with a damp towel and leave it somewhere warm with no drafts. Wait until it doubles, usually 60-90 minutes.
- Getting The Shape:
- Roll dough out into a big rectangle on a lightly floured counter. Spread soft butter all the way to the edges. Mix brown sugar with cinnamon and sprinkle it all over. Roll it up tightly from the long side, keeping even pressure. Cut into 12 same-size pieces using dental floss.
- Final Wait And Bake:
- Put rolls in a greased 9x13 inch pan. Cover and let them rise until puffy, about 30-45 minutes. Bake at 350°F until they turn golden, 20-25 minutes.
When I was little, my grandma always put extra vanilla in her red velvet cake. I've brought this family trick into these rolls by using top-quality vanilla in both the dough and topping. This tiny change really makes the flavor stand out.
Ways To Enjoy Them
These tasty rolls go great with fresh fruit and hot coffee at breakfast. They look fancy on brunch tables next to savory foods like quiche or bacon. For a sweet treat after dinner, warm them slightly and add some vanilla ice cream.
Tasty Changes To Try
- Throw some chopped pecans in the filling for extra crunch
- Try white chocolate bits instead of regular cinnamon
- Add orange peel to the cream cheese topping for a citrus kick
- Make swirly patterns using plain and chocolate cream cheese frostings
Keeping Them Tasty
Keep cooled rolls in a sealed container at room temp for up to three days. You can stick them in the fridge for up to a week. Just pop individual rolls in the microwave for 15-20 seconds before eating.
These rolls have become what I'm known for at family get-togethers and holiday parties. The method mixes classic techniques with personal touches that make it truly special. Every time I bake them, I'm reminded how food brings people closer, creating happy times around the breakfast table.
Recipe Q&A
- → Can I prep the rolls a day before?
- Absolutely! Shape your rolls, cover, and keep them in the fridge overnight. Let them come up to room temp in the morning, then finish rising for about an hour before baking.
- → What’s the point of activating the yeast?
- Mixing yeast with warm milk and sugar makes sure it's alive and ready to work its magic. You'll know it's good when bubbly foam appears in about 5 minutes.
- → How do I check if the dough is ready?
- For both rests, the dough should expand to about double its size. Plan on 60 to 90 minutes for the first rise and 30 to 45 minutes for the second when the rolls touch and look puffy.
- → Is it possible to freeze these rolls?
- Yes, you can! Freeze before or after baking. For unbaked rolls, bring them to the fridge overnight to thaw and rise. For baked ones, cool before freezing and frost later when reheating.
- → What’s the easiest way to warm leftovers?
- Zap a single roll in the microwave for 20-30 seconds. For more, use an oven at 300°F for 10 minutes. Add frosting afterward if they’re unglazed.