
 Pin
Pin
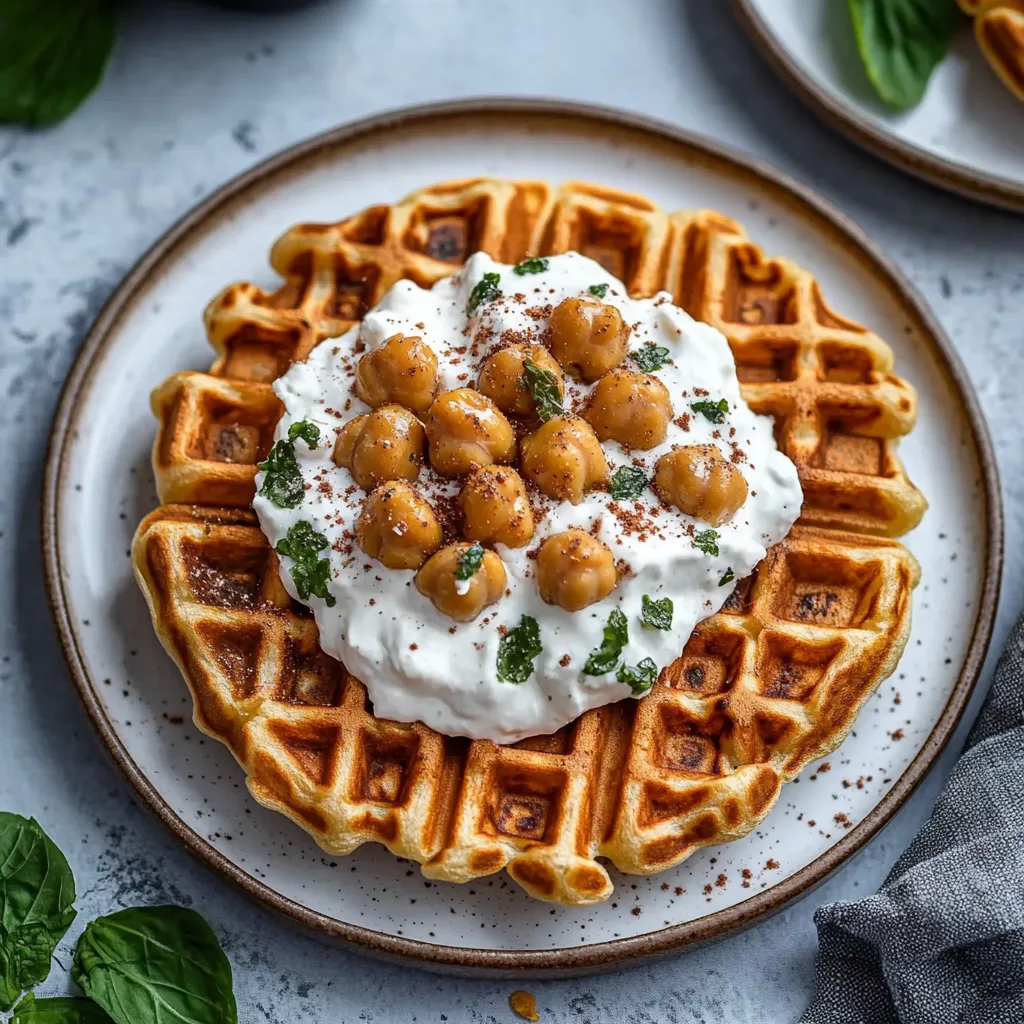
Savory Chickpea Waffles are the answer for anyone looking for a hearty protein-packed breakfast or light lunch that is effortlessly gluten-free. These waffles come together with just a few pantry staples and make a satisfying base for endless toppings or side dishes. Their crisp edges and tender insides deliver warmth and comfort in every bite and I find myself coming back to them again and again when I want something special that does not require special ingredients or complicated techniques.
I first made these chickpea waffles for a weekend brunch and my family was amazed at how filling and savory they were. Now it is my go-to when I need a fast wholesome meal that still feels a bit out of the ordinary.
Ingredients
- Chickpea flour: for robust flavor plus a boost of plant-based protein and fiber. Choose a fresh bag for the best taste check the aroma for a strong nutty scent.
- Water: brings the batter together and makes the waffles light. Use filtered water if possible to keep flavors clean.
- Extra virgin olive oil: lends richness and helps create that perfect crispiness. Pick a bottle with a peppery finish for extra depth.
- Kosher salt: brightens and balances the chickpea flavor. Taste your salt before using since brands vary.
- Sugar (optional): a tiny bit rounds out the savoriness. Use just a touch or leave it out for a more purely savory waffle.
Step-by-Step Instructions
- Prepare the Batter:
- Whisk chickpea flour water olive oil salt and the optional sugar in a large bowl until no lumps remain forming a thin smooth batter. Let this mixture rest uncovered at room temperature for a minimum of one hour or as long as nine hours which allows the flavors to come together and the batter to thicken slightly. If you want to plan ahead you can leave it to rest and have the batter ready for cooking when needed.
- Preheat the Waffle Iron:
- Set your waffle maker to a medium-high heat and allow it to fully preheat. The iron must be hot so that when the batter is poured in it immediately begins to crisp the exterior for that classic golden finish.
- Cook the Waffles:
- Once the iron is hot gently brush the cooking surfaces with a light coating of olive oil or use a cooking spray to ensure the waffles release easily. Pour enough batter onto the iron to just cover the grids closing the waffle iron and letting them cook. Watch as the waffles take on a golden brown color and the edges turn perfectly crisp. Remove them with care and continue with the rest of the batter in batches as necessary.
- Keep Waffles Warm and Store:
- If you are serving a crowd place cooked waffles on a wire rack set over a baking sheet and keep them in a low 200 degree oven for up to fifteen minutes so everyone enjoys the same hot crisp texture. For leftovers make sure waffles are completely cool then layer them between parchment or wax paper before freezing for up to two months. To reheat pop straight from the freezer into the toaster or a toaster oven which will bring back the original crispiness without drying them out.
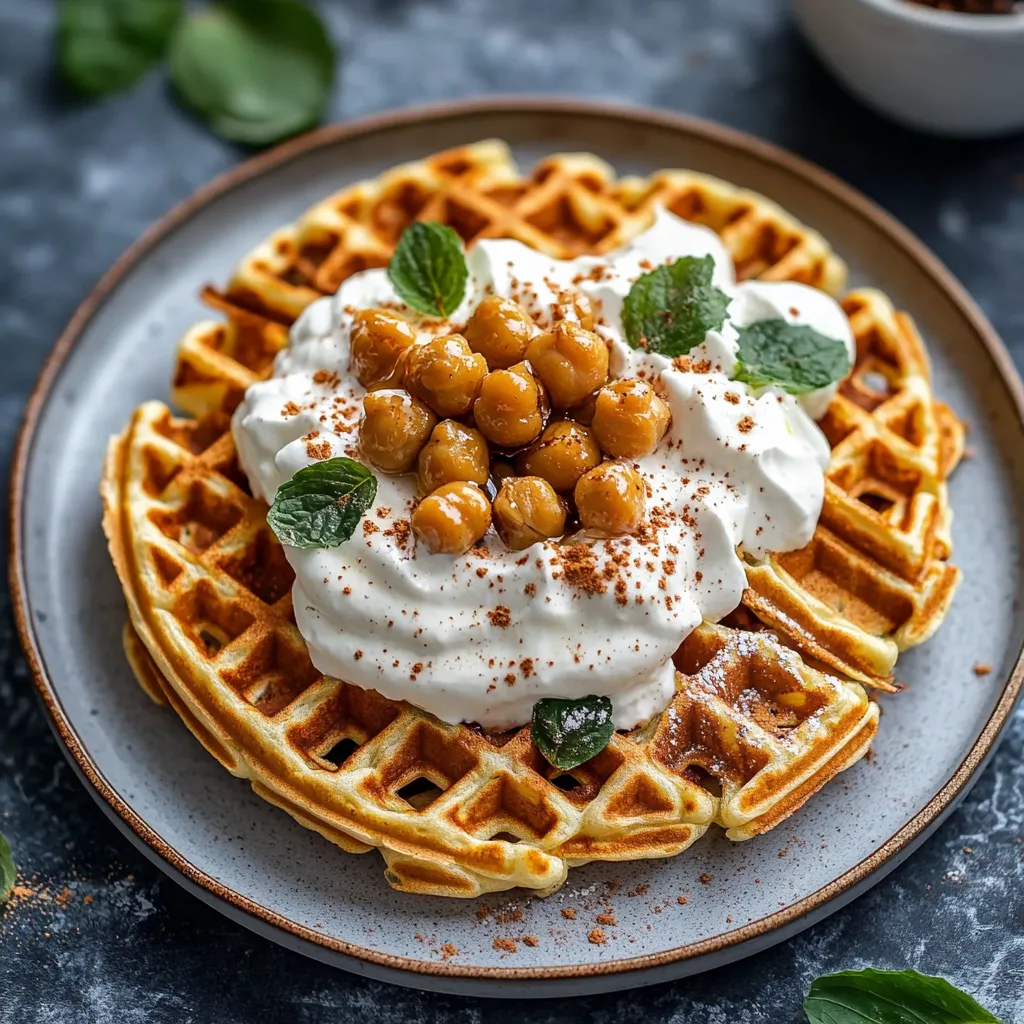
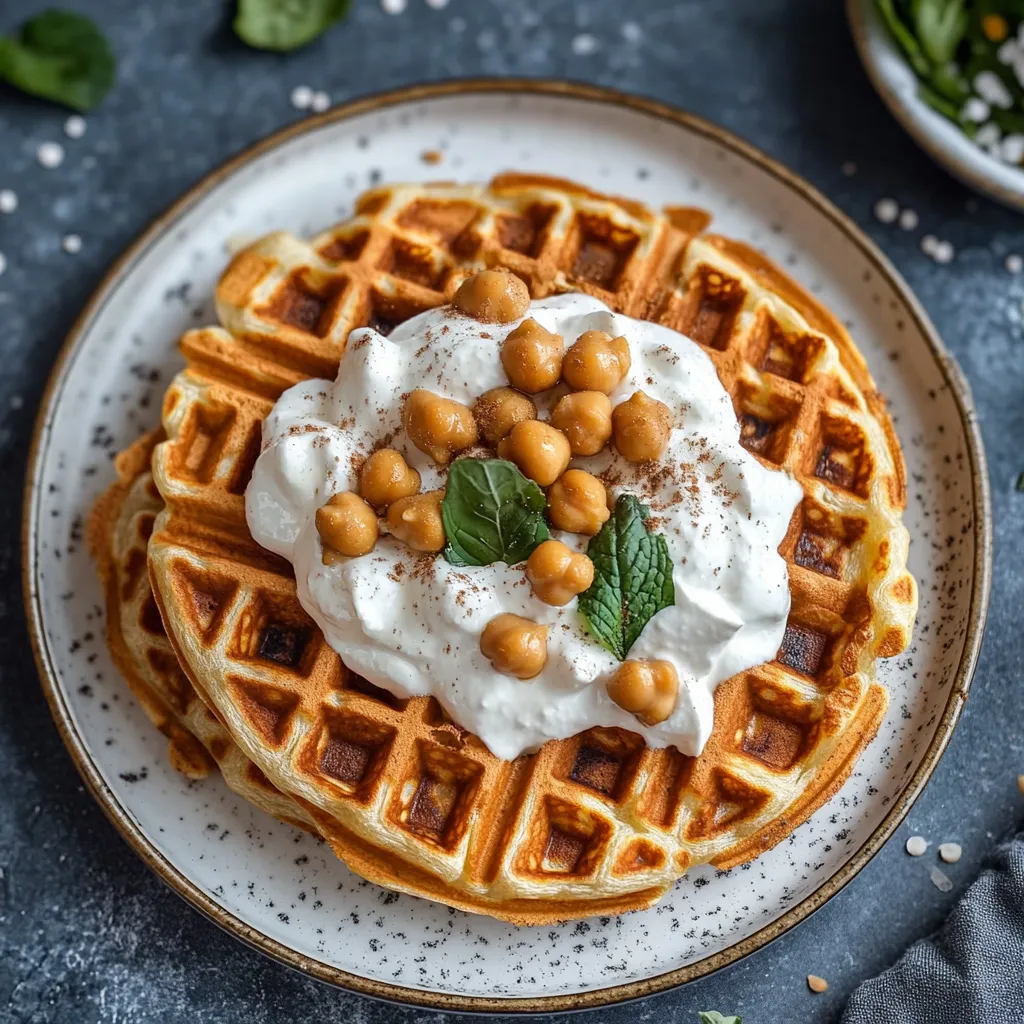
My favorite part of these waffles is watching my kids pile on their favorite toppings from herby yogurt to a drizzle of olive oil. The best family moment is getting everyone involved in stacking and topping to their taste which makes meals feel laid-back and interactive.
Storage Tips
Chickpea waffles store surprisingly well. After cooling layer them with parchment in an airtight container and freeze for long-term storage. When ready to eat reheat directly in your toaster or a preheated oven to revive that original crisp texture. If you just want to keep them at room temperature store up to one day but know they will lose crispness after a while. Whenever I freeze a batch I am grateful for quick protein-rich snacks or breakfasts ready at a moments notice.
Ingredient Substitutions
While chickpea flour is key to the distinctive flavor you can sub in a portion of quinoa flour or brown rice flour for a slightly different texture just keep at least half chickpea flour for structure. For a richer taste swap half of the water for plain unsweetened yogurt or even coconut milk. If you want a more pronounced herbaceous flavor stir in a handful of chopped scallions or fresh parsley right before cooking.
Serving Suggestions
These waffles shine with a spread of Greek yogurt and chopped herbs or paired with a tangy tomato chutney. Serve them alongside a crisp salad for lunch or pile with sautéed greens and a fried egg for a hearty brunch. I even tuck leftovers into lunchboxes with slices of avocado or roasted veggies for a balanced meal on the go.
Cultural and Historical Context
Chickpea flour also known as besan or gram flour is a staple across many cuisines from India to Italy. While savory waffles are often associated with American breakfasts this recipe is inspired by the flavors of farinata and socca Mediterranean flatbreads traditionally made with chickpea flour. I love how this cross-cultural twist brings a familiar comfort food into a new light with each crispy bite.
With all these tips in hand you will find yourself making savory chickpea waffles part of your regular kitchen rotation. The flexibility and rich flavor make them a winner for both quick weekday meals and relaxed weekend gatherings.
Recipe Q&A
- → Why use chickpea flour for waffles?
Chickpea flour lends savory flavor, protein, and a naturally crisp texture, making these waffles both satisfying and gluten-free.
- → How long should the batter rest?
Resting for at least one hour allows flavors to blend and the batter to develop the right consistency for crisp waffles.
- → Can I prepare the batter ahead of time?
Yes, the batter can be mixed in advance and stored at room temperature for up to nine hours for convenient cooking.
- → What is the best way to prevent sticking?
Brush the hot waffle iron with olive oil or use nonstick spray before adding the batter to ensure easy release and crisp edges.
- → How should leftovers be stored and reheated?
Cool waffles, layer with parchment, and freeze up to two months. Reheat in a toaster oven to regain crispness.