
 Pin
Pin
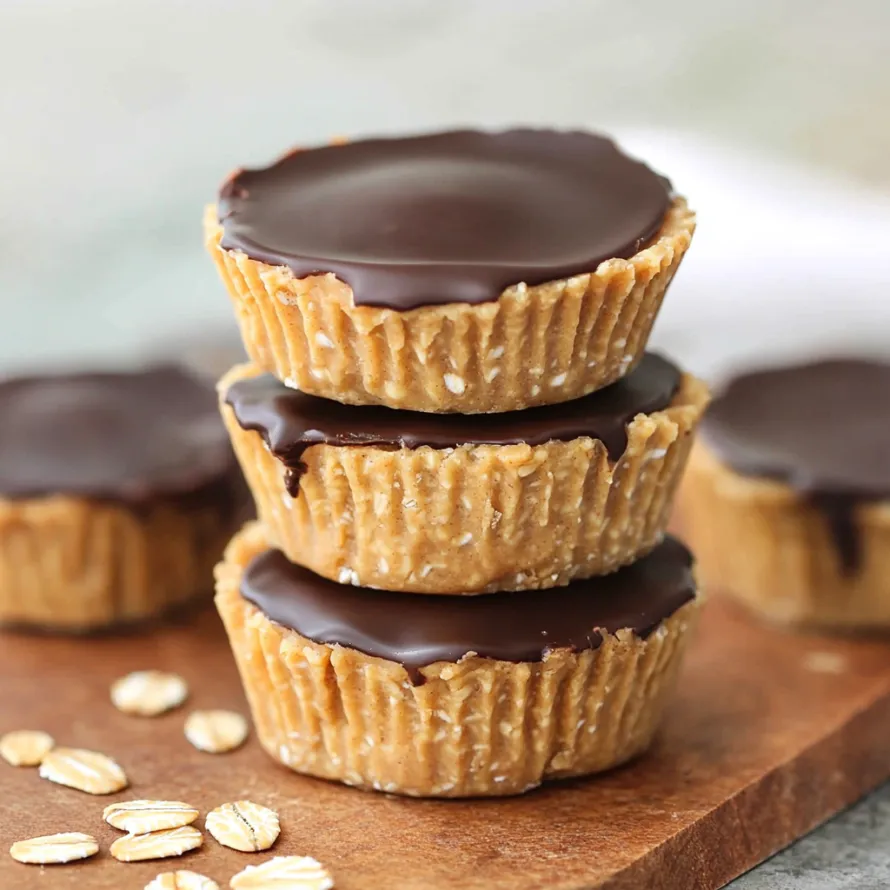
Make amazing treats from basic kitchen staples with these simple no-bake oat and peanut butter cups that crush your sweet tooth without any regrets. These cups mix the filling crunch of oats with creamy peanut butter and decadent chocolate for a snack that tastes sinful but actually packs real nutrition. Unlike store-bought candy packed with added sugars and chemicals, these homemade goodies deliver good stuff like protein, fiber, and beneficial fats in every tasty bite.
I came up with this idea during a blazing hot summer when I couldn't stand the thought of turning on my oven but really needed something sweet. My first batch vanished from my fridge in just a couple days. They're now a regular part of what I make every week.
Nutritious Base Components
- Oat flour: Makes a fantastic hearty foundation while boosting your fiber intake.
- Peanut butter: Works as the glue and main taste while adding protein and good fats.
- Maple syrup: Adds natural sweetness with rich flavor that works perfectly with the nutty taste.
- Chocolate chips: Forms the must-have topping that brings everything together.
- Coconut oil: Makes the chocolate melt properly and gives it a nice shine.
Simple Assembly Steps
- Mixing the Base:
- Mix peanut butter with maple syrup, then heat briefly until blended.
- Adding Oats:
- Slowly pour in oat flour, mixing until you get something like cookie dough.
- Making the Cups:
- Scoop mixture into muffin cups, pressing down to create solid bases.
- Creating the Topping:
- Melt chocolate chips with coconut oil until silky smooth.
- Putting It Together:
- Drizzle melted chocolate over oat bases and smooth it out.
- Cooling Down:
- Put in fridge for 2-3 hours till they're completely set.
Tasty Alternatives
Switch to hazelnut butter instead of peanut butter for a nutella-like treat. Make them fall-themed by mixing in some pumpkin spice. Go for a tropical twist with almond butter and sprinkle some toasted coconut on the chocolate.
Boost Your Nutrition
Make them even healthier with smart add-ins. Toss in some ground flaxseed or chia for extra omega-3s and fiber. Mix in a bit of plain collagen or protein powder. Add tiny bits of dried cherries or blueberries for more antioxidants.
Ways To Enjoy
Eat them with some fresh berries for a balanced sweet treat. Break them up over some frozen yogurt for an easy dessert. Stick them in lunch boxes for a better-than-candy option. Set them out with fruit, cheese and chocolate for guests to enjoy.
Keeping Them Fresh
Keep them in the fridge in a sealed container for about five days. Freeze them by wrapping each one in parchment and putting them in a freezer bag for up to a month. Let frozen cups sit out for 10-15 minutes before eating.
I found out how tricky melting chocolate can be when I was running a kids' cooking class. One kid overheated their chocolate and it got all clumpy. Instead of tossing it out, we made chunky oat cups instead. Sometimes kitchen mess-ups turn into the tastiest surprises.
Closing Thoughts
These no-bake peanut butter oat cups are quick, healthy, and totally delicious treats that fit into any busy life. You can enjoy them as a snack, dessert, or even after working out for the perfect mix of taste and good-for-you ingredients.
Recipe Q&A
- → Can I swap regular peanut butter for natural peanut butter?
- Of course! Natural peanut butter works, but the texture might change a little. Stir well to mix any oil before using it. If it feels dry, add a little extra maple syrup—just a teaspoon at a time.
- → How do I make these oat cups gluten free?
- Easy! Use oats labeled gluten free because regular ones can have cross-contamination. Certified gluten free oats or oat flour will work perfectly. Just double-check your other ingredients, like chocolate chips.
- → What can replace maple syrup in this snack?
- You can switch it for honey, which gives a slightly different taste. Agave syrup works too. For a low-sugar option, try mixing 2 tablespoons of monk fruit sweetener with some water, but keep in mind the texture might change.
- → How can I tell if the oat mixture is ready?
- You want the mix to be thick but soft enough to form shapes. It shouldn’t crumble or feel runny. If it holds together when pressed, it’s just right. If it’s dry, stir in a bit of peanut butter. Too sticky? Add more oat flour.
- → Can I skip the chocolate topping?
- Sure can! Just mix some mini chocolate chips into the oat mixture instead, or drizzle the tops with peanut butter. A little cinnamon sugar is another tasty topping idea.
- → Can I freeze these for later?
- Absolutely! Freeze them for up to 3 months in a container. Use parchment paper to keep them from sticking. You can eat them straight from the freezer or let them soften in the fridge for a few hours before snacking.