
 Pin
Pin
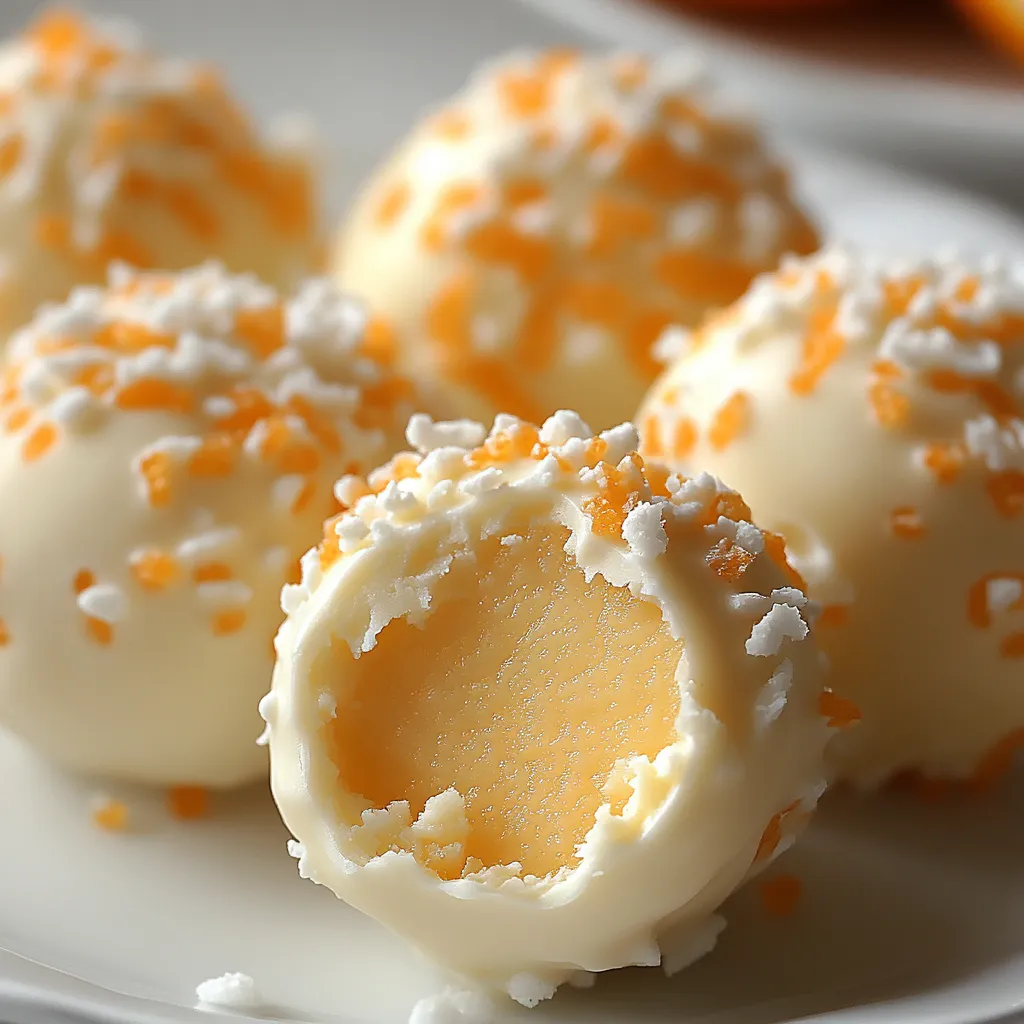
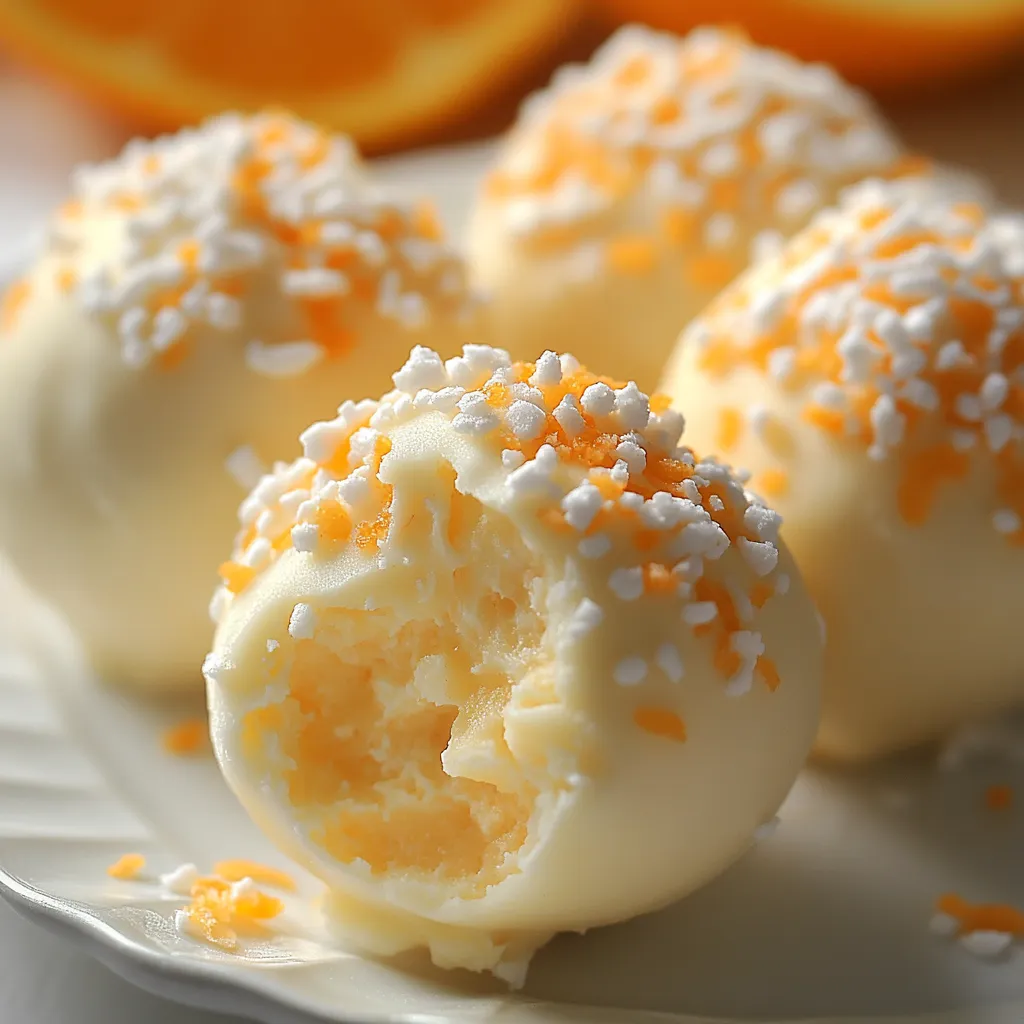
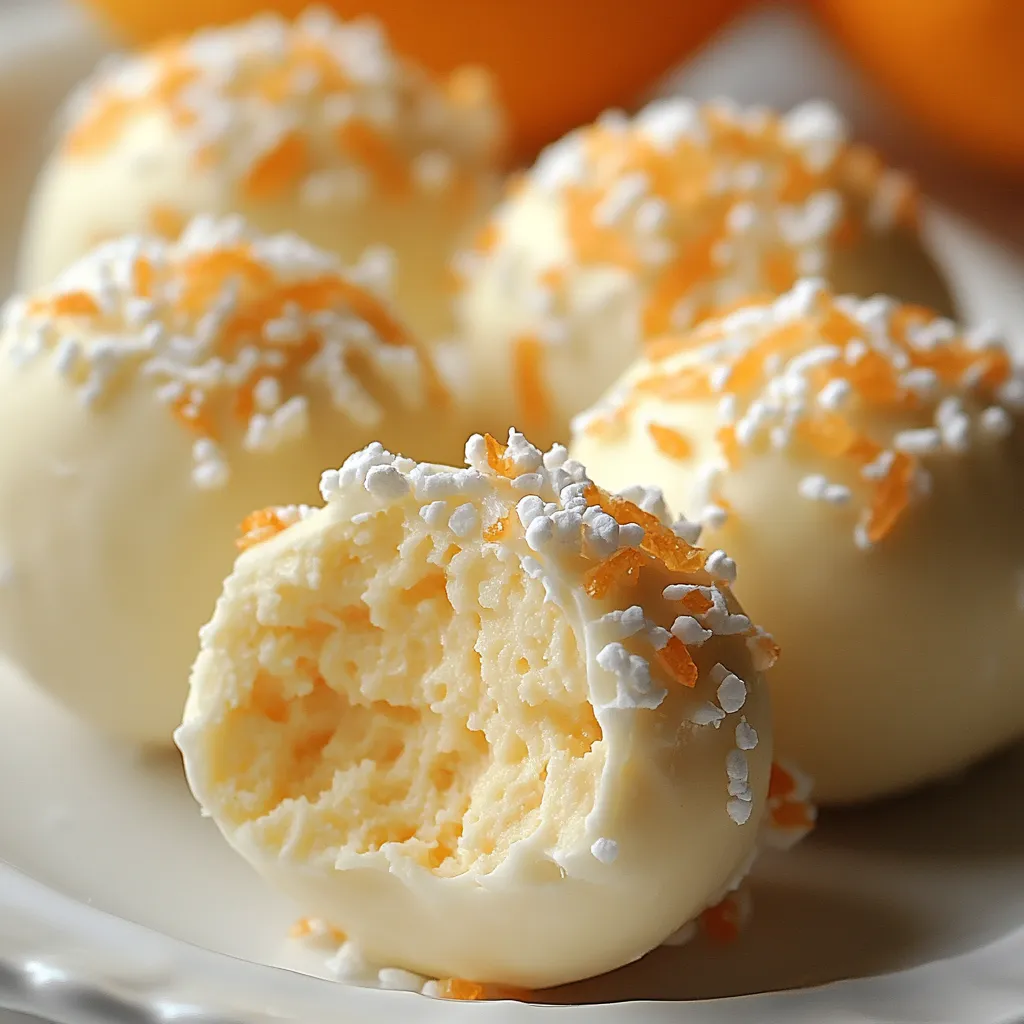
This zesty orange truffle blend captures the beloved taste of orange creamsicles in a fancy, small-sized sweet without any baking needed. The tangy citrus mixed with smooth vanilla and white chocolate makes an addictive combo that works great for parties or DIY presents.
I whipped up these truffles for the first time during a hot summer get-together when I couldn't bear the thought of turning on the oven. They vanished quicker than everything else on the sweets table, and now my family asks for them at every gathering no matter what time of year it is.
Ingredients
- Powdered sugar: Forms the sweet foundation and keeps everything stuck together
- Unsalted butter: Gives a luxurious taste and helps make that perfect truffle feel
- Vanilla wafers: Add firmness and a light vanilla hint that works well with the orange
- Orange juice concentrate: Packs a strong citrus punch without making things too wet
- Orange zest: Boosts the fresh citrus kick, try to get organic oranges for the best taste
- Vanilla extract: Evens out the citrus with cozy vanilla background notes
- White chocolate chips: Make a silky outer layer that hardens nicely in normal room temps
- Optional sprinkles or extra zest: Give a pretty finish and hint at what's inside
Step-by-Step Instructions
- Create the Base:
- Mix the room temperature butter and powdered sugar in a big bowl until it looks fluffy and light. This typically needs about 2 minutes with an electric mixer. Just make sure your butter isn't melted but is definitely soft for the right consistency.
- Add the Flavor Elements:
- Dump in the defrosted orange juice concentrate, orange zest if you're using it, and vanilla extract. Stir until everything's mixed in well. Don't worry if the mix looks a bit separated at this point, that's totally fine and will get better in the next part.
- Incorporate the Structure:
- Throw in the finely smashed vanilla wafers to your mixture. For best results, blitz the cookies in a food processor until they look like fine sand. Mix everything until you get a dough that sticks together when you press it.
- Shape Your Truffles:
- With a tablespoon or small cookie scoop, grab bits of dough and roll them between your hands to make smooth balls. If things get too sticky, just pop the mix in the fridge for 10 minutes before shaping. Put each ball on a baking sheet covered with parchment paper.
- Chill for Structure:
- Stick the shaped truffles in the fridge for at least half an hour. This important step helps them keep their shape during dipping and makes sure the white chocolate sticks properly.
- Prepare the Coating:
- Melt the white chocolate chips in a microwave-safe bowl, heating for 20 seconds at a time and stirring well between each blast. Keep going until totally smooth. If the chocolate seems a bit thick, add a teaspoon of coconut oil to thin it out a little.
- Dip with Precision:
- Working with just a few truffles at once (keep the rest cold), use a fork to dunk each truffle fully in the melted white chocolate. Tap the fork gently on the bowl to get rid of extra coating, then slide the truffle back onto the parchment paper.
- Add the Finishing Touch:
- While the white chocolate is still wet, scatter your chosen topping on each truffle. Work fast because the cold truffle will make the coating start to harden almost right away.
- Set the Final Product:
- Put the decorated truffles back in the fridge for 15 to 20 minutes so the coating gets completely hard. Once set, you can serve them cold or at room temperature based on what you like better.
The orange juice concentrate really makes this recipe special. I found out how powerful it was when trying different orange flavors. Unlike fresh juice which can be too watery, the concentrate gives that perfect citrus kick that instantly reminds me of being a kid and running after the ice cream truck to get a creamsicle.
Make Ahead and Storage
These truffles work great when you need to prep ahead for special events. After they've hardened completely, keep them in a sealed container with parchment paper between the layers so they don't stick together. They'll stay tasty in the fridge for up to two weeks, though the bright orange flavor comes through strongest in the first week. If you need to store them longer, put the container in the freezer where they'll be good for up to three months. Let frozen truffles thaw in the fridge overnight before you serve them.
Flavor Variations
This flexible base recipe can be changed up in many ways. For a chocolate orange twist, mix in 2 tablespoons of cocoa powder to your truffle base and dip in dark chocolate instead. If you love lemons, swap in lemon juice concentrate and lemon zest for a tangy alternative. During the holidays, add 1/4 teaspoon of peppermint extract to the mix and top with crushed candy canes. My own favorite twist is adding 2 tablespoons of finely chopped crystallized ginger for a grown-up flavor that goes really well with afternoon tea.
Troubleshooting Tips
If your truffle mix feels too squishy to roll, your butter was probably too soft. Just stick the mixture in the fridge for 15 minutes before trying to shape it again. On the flip side, if the mix falls apart when rolling, it might be too dry. Add 1 teaspoon of orange juice concentrate at a time until it sticks together. For dipping problems, make sure your white chocolate is warm but not hot, since overheated chocolate gets grainy. If your coating hardens before you finish dipping all the truffles, warm it up gently and add a tiny bit of shortening to get it flowing again.
These orange truffles make any dessert spread or gift box extra special, with their creamy feel and nostalgic flavors that'll win everyone over.
Recipe Q&A
- → How should I store orange truffles?
Keep them in an airtight container in the fridge for a maximum of 7 days. If freezing, they'll last 3 months. Let them thaw in the fridge before enjoying.
- → Can fresh orange juice replace concentrate?
Fresh juice isn't as strong and can turn the mix too wet. Use half the amount and add some orange extract for a flavor boost.
- → What works instead of vanilla wafers?
Crushed graham crackers, shortbread, or golden Oreos (remove the cream) are all great swaps. Make sure to crush them finely for the right texture.
- → Why did my white chocolate clump while melting?
Chocolate clumps if it’s overheated or if water touches it. Melt it slowly, in short bursts, stirring often, and ensure your tools are dry.
- → Can I make these without dairy?
Absolutely! Swap the butter for a plant-based version and use dairy-free white chocolate. Most vanilla wafers are dairy-free, but double-check the label to confirm.
- → Why’s my mixture too soft to shape?
If it’s too soft, mix in extra crushed wafers a tablespoon at a time until firm enough to roll. Chilling it for 15-20 minutes also helps.