
 Pin
Pin
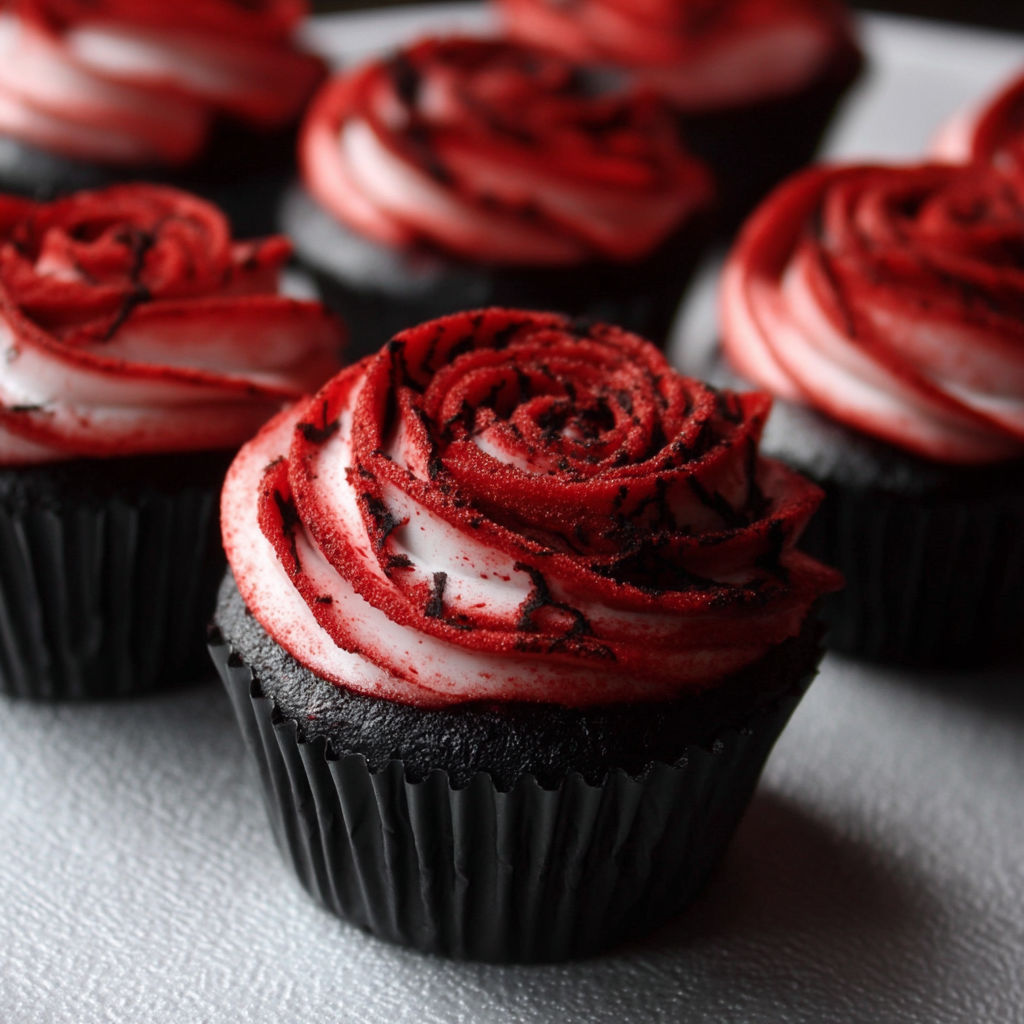
Halloween Two-Tone Rose Red Velvet Cupcakes combine the drama of black and red, swirled together in mesmerizing rose-shaped icing that looks almost too good to eat. Over the years, I have found these cupcakes always steal the show at Halloween gatherings, and the look on everyone’s faces when they see that piping is truly worth the little extra effort.
Every Halloween party needs a wow factor treat and these cupcakes became my tradition after a friend gasped in delight the first time I brought them to the table. Now, kids and adults alike ask for them every October.
Ingredients
- Soft unsalted butter: adds richness and keeps the crumb tender Always use fresh for best results
- Caster sugar: gives a light sweetness to let the cocoa shine Look for super fine for even mixing
- Large egg: helps bind everything and gives the cakes structure Opt for organic or free-range for best flavor
- Plain flour: forms the soft base Choose unbleached for a finer crumb
- Cocoa powder: darkens both color and flavor Go for natural unsweetened cocoa
- Buttermilk: brings moisture and a gentle tang If not available, mix milk with lemon juice and let sit
- Red bake stable food colouring: this is key for bold, vibrant color Make sure to buy bake stable so it stays bright in the oven
- Vanilla extract: rounds out flavors and tames cocoa's bitterness Look for pure extract
- Bicarbonate of soda: reacts with acid for a lift Be sure it is fresh for a fluffy rise
- White vinegar: activates the bicarb and intensifies color Simple distilled works perfectly
- Full-fat Philadelphia cream cheese: makes the frosting creamy with a slight tang Look for brick rather than tub for firmness
- Double cream: gives stability without heaviness Always use cold straight from the fridge
- Icing sugar: makes the frosting silky and smooth Sift well to avoid lumps
- Gel food colors in two shades (black and red): allow for dramatic piped roses Use gel for more intense hues and no texture change
Instructions
- Prep the Oven and Pan:
- Preheat your oven to 170 degrees Celsius or 325 degrees Fahrenheit Gas mark 3 and line a twelve-hole muffin tin with sturdy paper cases The right temperature and liners make all the difference for a perfect base
- Cream the Butter and Sugar:
- Place your butter in a large mixing bowl and use an electric whisk to blend with the sugar Mix until fluffy and pale This step aerates the mixture for a light cake crumb
- Add the Egg:
- Crack in the egg and whisk thoroughly until fully combined A well-beaten egg keeps your cake from sinking
- Combine Dry and Wet Ingredients:
- In a separate bowl sift together your flour and cocoa powder so there are no lumps In a jug stir your buttermilk food coloring and vanilla thoroughly for even color distribution
- Mix It All Together:
- Pour half the buttermilk mixture into your creamed butter and sugar and blend Next add half of your flour and cocoa and mix Repeat with the remaining buttermilk then flour Whisk gently until smooth with no streaks of flour but do not overmix
- Activate the Leavening:
- Add the bicarbonate of soda and quickly follow with the vinegar Stir briskly until just combined This triggers the chemical reaction that makes the cake rise so work fast
- Fill and Bake:
- Immediately divide the batter evenly between the cupcake cases Filling them three quarters full gives the best domed top Bake on the middle rack for twenty to twenty five minutes The cakes are done when a skewer comes out clean Let them cool fully on a wire rack
- Make the Icing:
- Place the cream cheese into a large bowl sift over the icing sugar and add vanilla and mix by hand until smooth Pour in the chilled double cream and beat with an electric whisk until the frosting is thick but not stiff Overbeating can make it runny
- Color the Icing:
- Transfer a third of the cream cheese frosting into a separate bowl and blend with black gel color until deep and glossy Tint the rest with red gel color for a rich hue
- Prepare the Two-Tone Piping Bag:
- Place your Wilton 2D nozzle in a piping bag Use a spoon to coat the inside of the bag with black icing up to the point where the red will reach Place the bag upright in a jug Use a handle of a wooden spoon to push it open and fill with red icing so you have black lining the sides and red in the centre Twist the bag and squeeze gently until you see both colors emerging
- Pipe the Rose Swirls:
- Start piping in the centre of a cooled cupcake and swirl out in an anti-clockwise direction to form a rose Let the end of the swirl finish softly on the edge Smooth any uneven spots with a wet finger or a clean damp brush Repeat for each cupcake
- Store and Serve:
- Keep the finished cupcakes chilled in the fridge until ready to serve
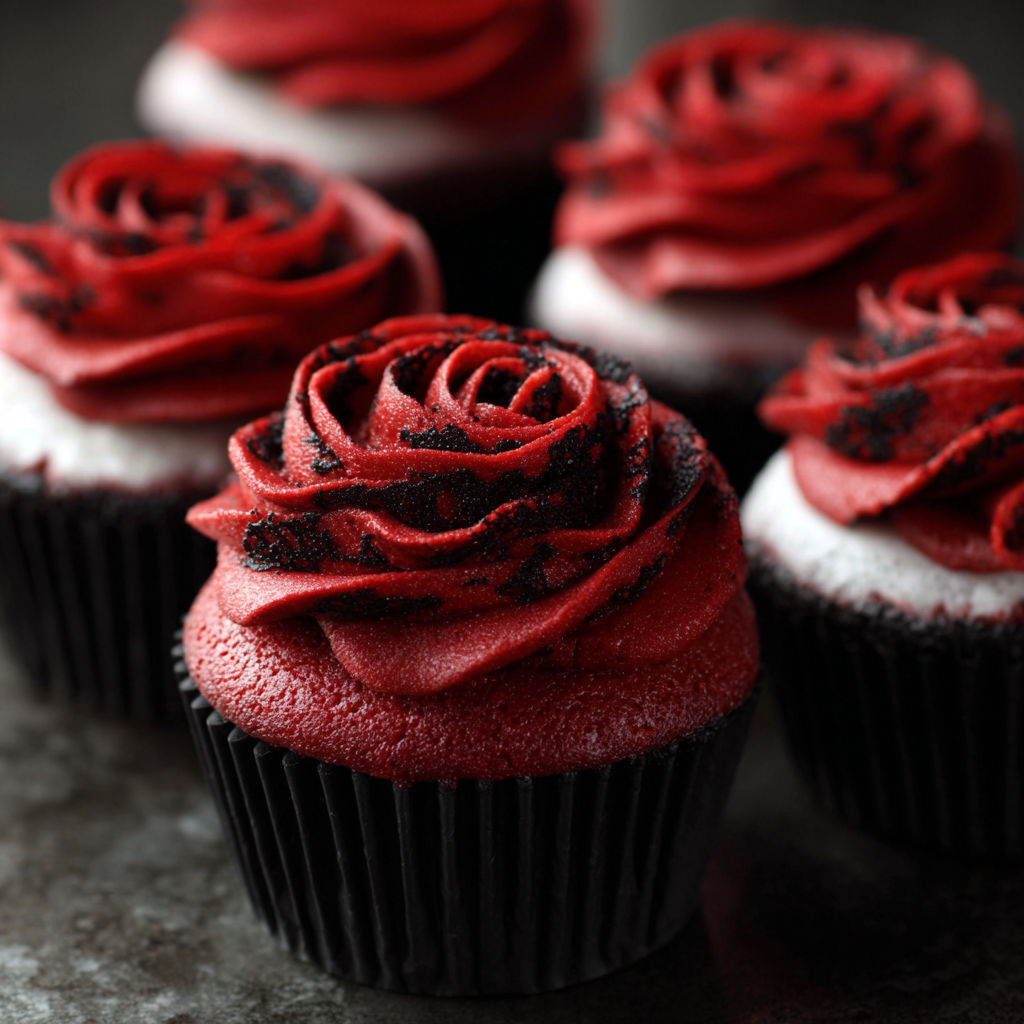
There is just something magic about gel food color—it gives the icing that grown-up goth drama that powder or liquid can’t achieve. The first time I watched that black and crimson swirl pipe out, I knew I would be making these every spooky season with my niece by my side.
Storage Tips
Store the cupcakes in a sealed container in the fridge for up to three days The frosting will stay stable and keep its vibrant colors If your kitchen is warm always opt for chilling
Ingredient Substitutions
If you can not find buttermilk add a teaspoon of lemon juice to regular milk and let it sit for five minutes For the food coloring be sure to use bake stable gels so your red stays bright after baking If you only have block cream cheese it will work best for the icing
Serving Suggestions
Let cupcakes sit at room temperature for fifteen minutes before eating for the creamiest frosting These cupcakes look beautiful as a centrepiece dessert tray and are perfect for autumn parties or as a grown up treat for Halloween night
Cultural and Seasonal Context
Red velvet cake has a southern heritage with legendary status Its deep crimson crumb once came from a reaction between cocoa and vinegar but modern versions get their red hue from coloring The black and red swirl makes these cakes ideal for Halloween but they can easily be changed up with green and red for Christmas or pink and purple for a birthday
Seasonal Adaptations
Swap the black for green for a festive twist Add cinnamon or pumpkin spice to the batter for fall flair Make mini versions for a party platter
Success Stories
One year my kids hosted a neighborhood Halloween bake off and these cupcakes ended up the talk of the block One parent asked for the recipe and now we swap tips every October
Freezer Meal Conversion
You can bake and freeze the undecorated cakes for up to two months Wrap individually Then thaw and frost on the day you plan to serve
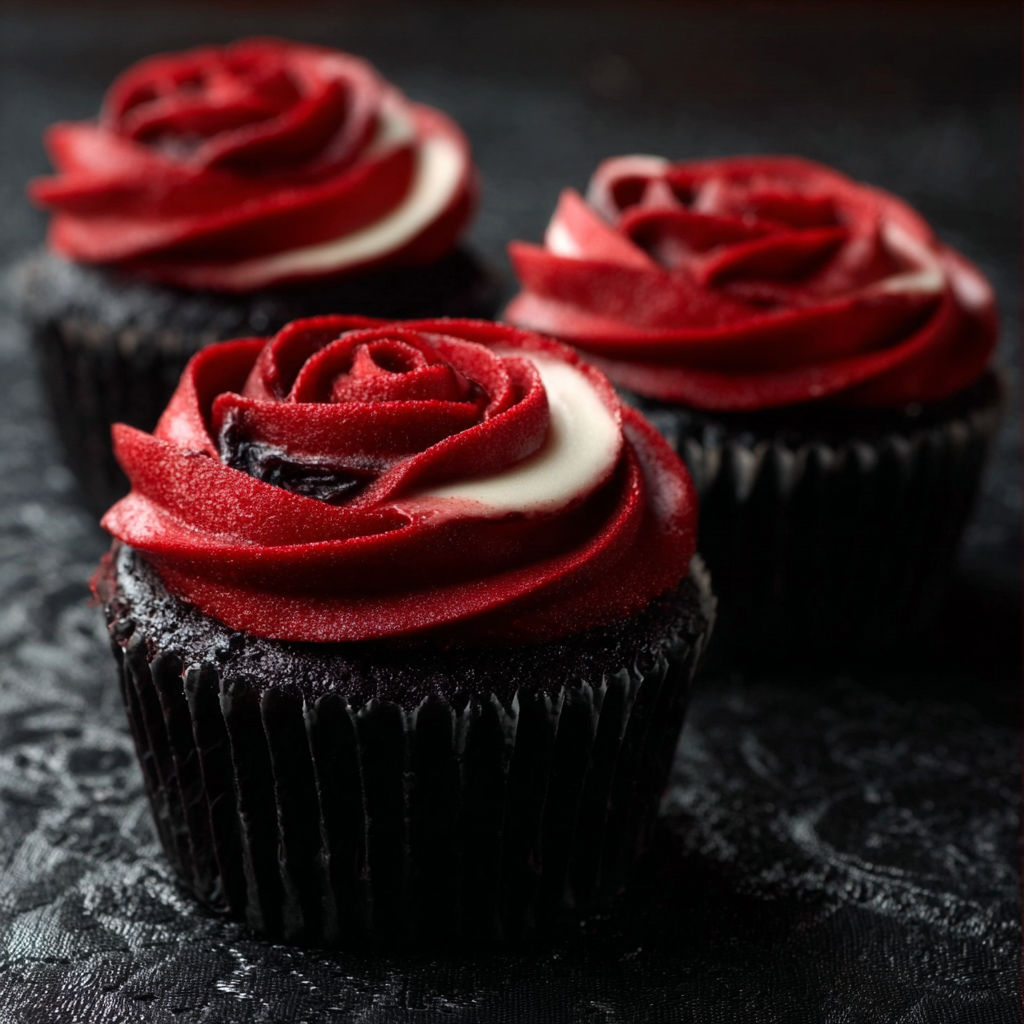
With a dramatic swirl and a tender crumb, these cupcakes will be the star of any spooky spread. Enjoy bringing a little showstopper magic to your Halloween table!
Recipe Q&A
- → How do I get vibrant red color in the cake?
Use bake-stable red food coloring and mix it well with buttermilk and vanilla before adding to the batter for an even, vivid result.
- → What makes the cupcakes moist?
Buttermilk and a touch of vinegar react with baking soda, creating a tender, soft crumb in each cupcake.
- → How is the two-tone icing created?
Divide the cream cheese icing and color one part black and the rest red, lining the piping bag to swirl the shades together as you pipe.
- → Can I prepare the cupcakes ahead of time?
Yes, bake and cool the cakes in advance. Assemble with icing close to serving for best texture and appearance.
- → How should I store the finished cupcakes?
Keep decorated cupcakes in the refrigerator in an airtight container and serve slightly chilled or at room temperature.
- → Can I adjust the icing colors?
Absolutely, swap for any gel-based food colorings to match your preferred festive or seasonal theme.