
 Pin
Pin
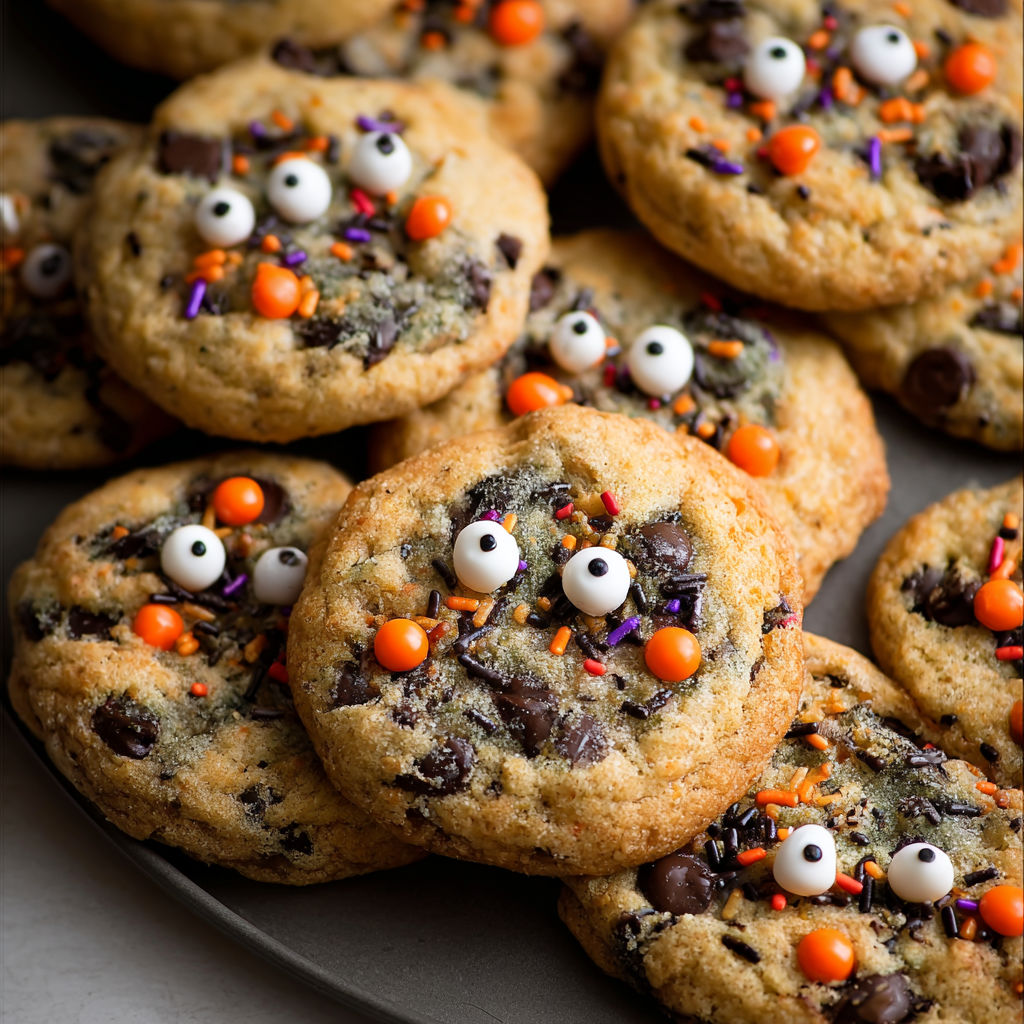
These easy Halloween chocolate chip cookies bring spooky fun to any autumn gathering with festive sprinkles and melty chocolate chips. Not only do they bake up thick and chewy but the addition of candy eyes creates a playful twist that delights kids and adults alike. These were the hit of my neighbor’s Halloween party last year the kids kept sneaking more from the dessert table.
One rainy October afternoon I baked a batch with my niece and nephew. Their laughter filling my kitchen as they placed candy eyes on warm cookies made these a cherished memory and started a new family tradition.
Ingredients
- Unsalted butter: Melted for extra chewy centers choose a sweet cream variety for richness
- Granulated sugar: Adds crisp edges opt for fine white sugar for best results
- Light brown sugar: Brings moisture and caramel notes always use fresh soft brown sugar
- Large egg: Binds dough and adds richness use a fresh farm egg for best rise
- Vanilla extract: Brings comforting warmth pure vanilla gives best flavor depth
- Salt: Balances sweetness use a fine sea salt
- Baking soda: Helps cookies rise produces tender chewy centers
- All purpose flour: Creates structure weigh for accuracy
- Chocolate chips: The star for gooey bites use high quality bittersweet or semisweet
- Halloween sprinkles: Add festive color be sure to pick a variety with bold shapes and colors
- Candy eyes: Make the cookies whimsical choose edible ones from the baking aisle
Instructions
- Mix the butters and sugars:
- In a large bowl combine melted butter brown sugar and granulated sugar. Use a wooden spoon or mixer to beat until mixture is smooth with no lumps as this ensures even sweetness and moisture.
- Blend in the wet ingredients:
- Add the vanilla and egg. Mix thoroughly until no streaks remain. This builds a cohesive base for the dough and ensures consistent cookies.
- Incorporate the dry ingredients:
- Sprinkle in flour salt and baking soda. Start mixing slowly to prevent flour clouds then increase speed. Scrape down sides often so no dry patches remain and stop as soon as dough is smooth.
- Fold in the chocolate and sprinkles:
- Using a spatula gently fold in chocolate chips and Halloween sprinkles. Fold just until combined for even distribution and irresistible bursts of color.
- Portion and chill the dough:
- Scoop dough into two tablespoon balls placing on a parchment lined tray close together. Cover and refrigerate at least 1.5 hours. Chilling firms the dough for thicker cookies and deeper flavor.
- Prepare for baking:
- Preheat oven to 350 degrees Fahrenheit. Arrange chilled dough balls spaced two inches apart on parchment or baking mats. Give each cookie its room to spread.
- Bake until golden:
- Bake for 11 to 13 minutes until cookie edges turn gold but centers look soft. This creates that signature chewy texture everyone loves.
- Finish and decorate while warm:
- When out of the oven press candy eyes gently onto warm cookies for that classic Halloween finish. Let cookies cool on a wire rack before serving.
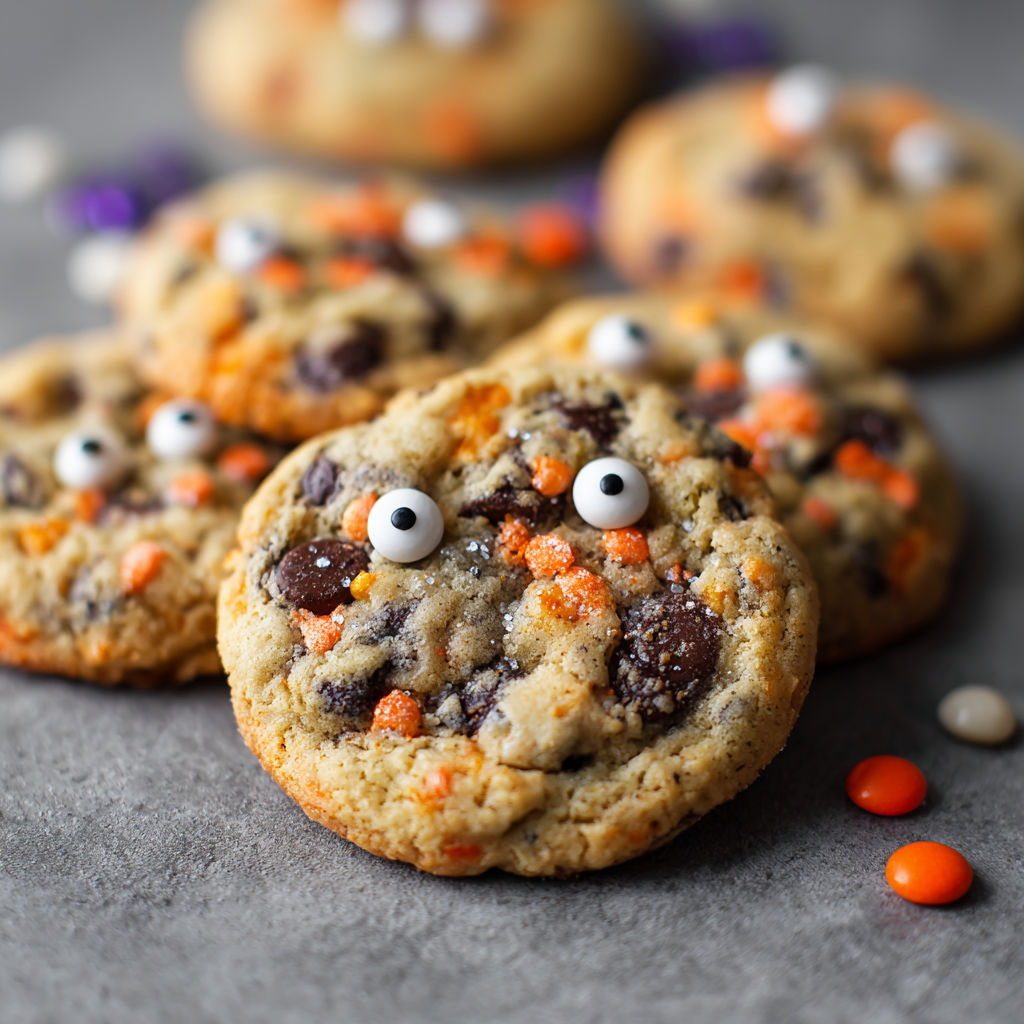
Every year my favorite part is choosing outrageous Halloween sprinkles. Neon bones and bright orange pumpkins always make these cookies the first treats to vanish from the table. Watching little hands arrange candy eyes never fails to make me laugh.
Storage Tips
These cookies stay soft for days when kept in an airtight tin at room temperature up to five days. For longer storage baked cookies can be frozen for up to two months. Dough balls can go directly from freezer to oven just add an extra minute to the bake time.
Ingredient Substitutions
You can use dark brown sugar for a richer flavor or swap in white chocolate chips and orange candies for a different look. Gluten free flour blends also work well for those with allergies. Vegan butter and flax eggs can be used if you are baking dairy or egg free.
Serving Suggestions
Set these cookies out as part of a Halloween dessert platter with caramel apples and chocolate bark. For a fun party craft let kids make their own monster cookies with a tray of candy eyes and sprinkles. These also work great as lunchbox surprises all October.
Cultural and Historical Context
Chocolate chip cookies became an American classic in the 1930s but adding festive candies and decorations for holidays makes them a modern family tradition. Halloween sprinkles and edible eyes are a playful nod to the spooky delights of fall celebrations.
Seasonal Adaptations
Use pastel sprinkles for spring holidays. Try peppermint chips and red green sprinkles for winter. Shape dough into pumpkins ghosts or bats for themed parties.
Success Stories
My neighbor once doubled this recipe for her classroom Halloween party and said every child begged to take extra cookies home. I made these as a freezer meal one autumn and baked them straight from frozen when surprise guests arrived. The smell filled the house and brought everyone to the kitchen. For best results I always suggest using parchment paper to prevent sticking and encourage even browning.
These cookies are always the hit of any party and will bring joy to your Halloween celebration. Have fun creating your own spooky designs and enjoy every chewy bite.
Recipe Q&A
- → Can I use different types of chocolate chips?
Yes, feel free to use semi-sweet, milk, or even white chocolate chips to customize the flavor to your liking.
- → Why should I chill the cookie dough?
Chilling helps the flavors develop and prevents the cookies from spreading too much while baking, giving a softer center.
- → Can I add other decorations besides candy eyes?
Absolutely! You can add themed sprinkles, colored sugar, or even small candies for extra festivity.
- → Do I need a mixer for this?
No, you can mix the dough by hand as long as the butter is melted and ingredients are combined well.
- → How should I store the cookies after baking?
Store cooled cookies in an airtight container at room temperature for up to one week.