
 Pin
Pin
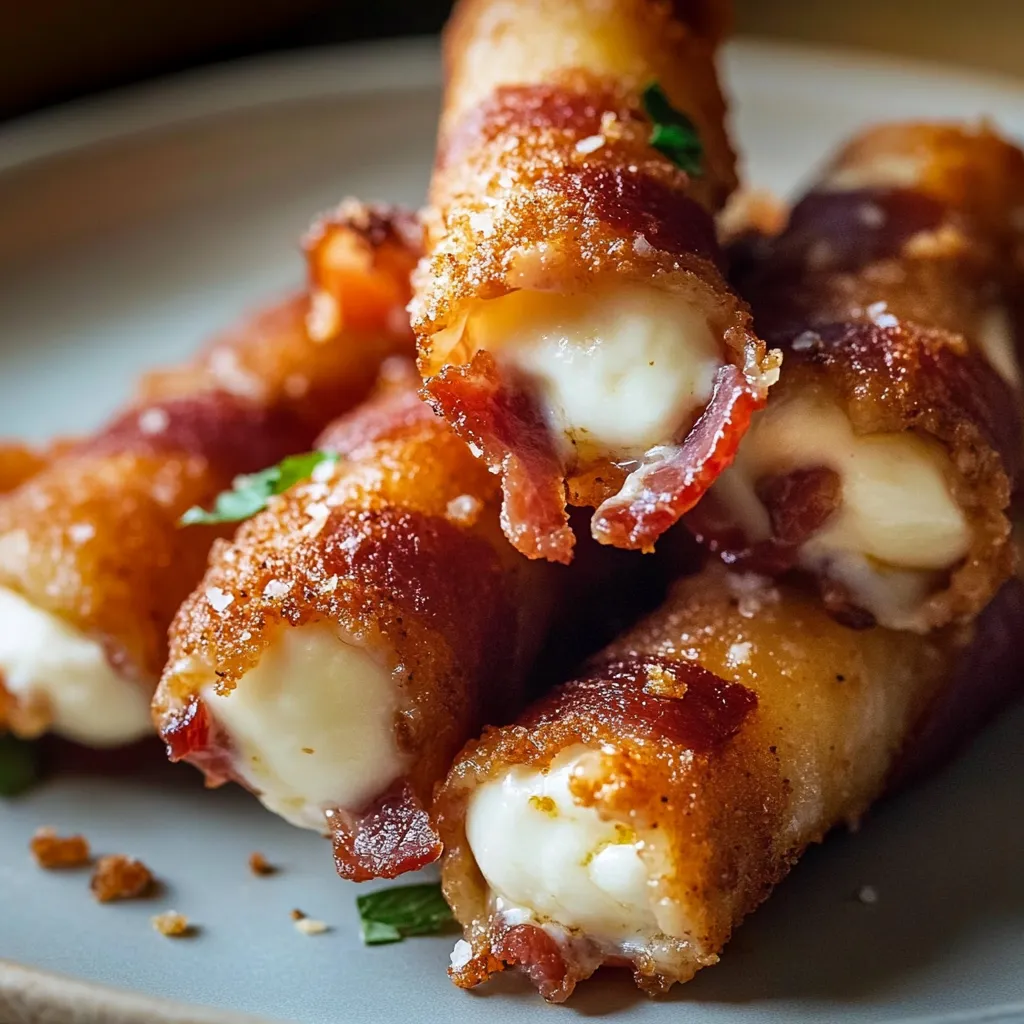
This meaty twist on cheese sticks turns the traditional starter into a protein-loaded snack that gives you all the melty cheese goodness without any breading. It's great for folks on meat-based eating plans or anyone wanting a crowd-pleasing bite that happens to be grain-free too.
I came up with these bacon-wrapped cheese sticks when helping my family eat fewer carbs. What started as a kitchen test quickly became our favorite game time snack that even the fussiest kids in my house gobble up without missing the traditional coating.
Ingredients
- Mozzarella Cheese Sticks: Regular string cheese works best for that stretchy middle and gives that awesome cheese pull everyone loves. Go for the full-fat kind for better taste and feel.
- Bacon: Pick medium-thick slices for the best results. Thin bacon might snap while cooking, and thick cuts won't get crispy before the cheese starts oozing out.
- Beef Tallow: Brings a deep, rich taste that plant oils just can't match. Tallow from grass-fed cows gives the cleanest flavor and most nutrients.
Step-by-Step Instructions
- Ready the Cheese:
- Stick mozzarella sticks in the freezer overnight. This key step stops them from melting too fast during cooking and helps get that just-right texture. Freezing them longer makes sure the cheese stays together during hot cooking.
- Wrap with Bacon:
- Take each frozen stick and wrap a bacon slice around it, going from end to end with slight overlap as you go. Use toothpicks if the bacon seems loose. The more snug and even your wrap, the better your snacks will turn out.
- Heat the Tallow:
- Warm beef tallow in a cast iron pan over medium heat until it hits about 350°F. You can tell it's hot enough when a tiny bit of bacon sizzles right away when dropped in. Cast iron pans spread heat evenly, helping make perfectly crispy bacon.
- Cook Until Crispy:
- Put the wrapped sticks in the hot fat, with the bacon seam facing down first to seal it shut. Cook each side for about 1-2 minutes, turning often for even browning. Watch them closely since there's not much time between crispy bacon and cheese breaking through.
- Let Them Rest:
- Move the cooked sticks to a plate lined with paper towels to soak up extra fat. Let them sit for 1-2 minutes, which lets the cheese settle a bit while staying perfectly gooey inside.
Beef tallow is my hidden trick in this cooking method. You could use other fats, but the rich flavor from properly melted tallow adds something special that reminds me of my grandma's cooking. She always told me animal fats make food taste better, and these cheese sticks prove she was right every time.
Storage and Reheating
These bacon cheese sticks taste best right after cooking, when the cheese is super gooey and the bacon is extra crispy. If you need to make them ahead, you can put them together and keep them frozen up to a month in a sealed container. To warm them up, just put them in a 375°F oven for around 5-7 minutes until the bacon gets crispy again and the cheese warms up. Don't use the microwave as it'll make your bacon soft and floppy.
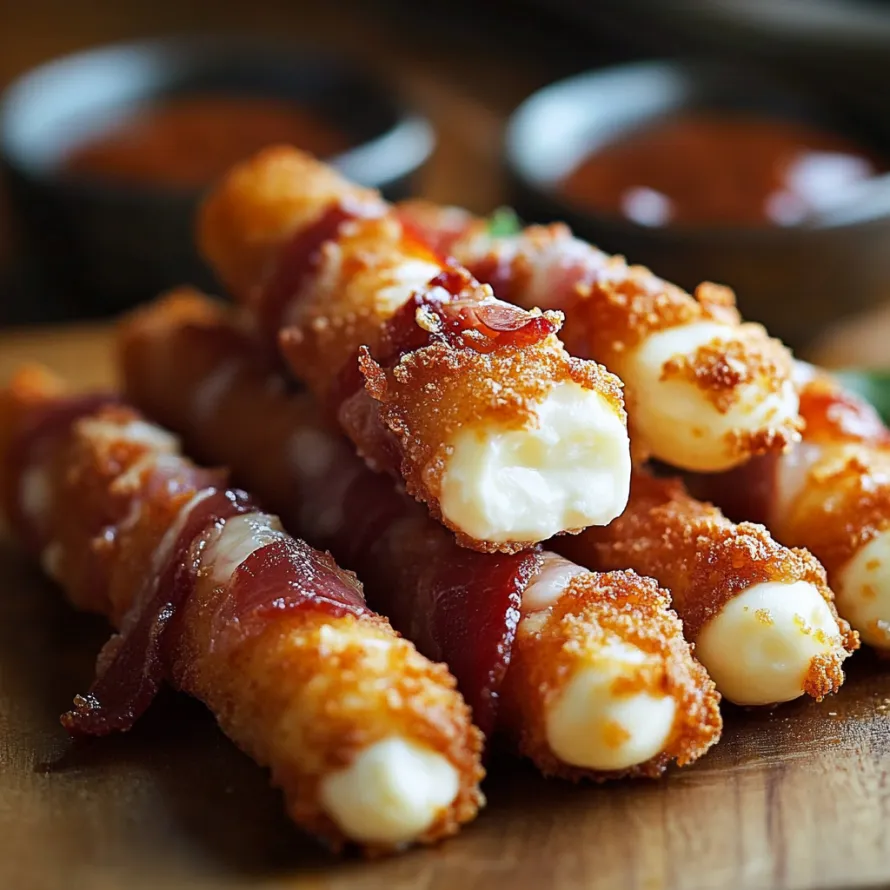
Perfect Pairings
While regular cheese sticks usually come with tomato sauce, these meat-friendly versions go great with other animal-based sides. Try them with a small cup of hot beef bone broth for dipping, or alongside some meat-based liver spread. The rich, fatty combo of cheese and bacon also works really well with something tangy like pickled egg yolks if you eat those on your meat-based diet.
Troubleshooting Tips
The main challenge with these sticks is getting the bacon crispy before the cheese melts out. If your cheese escapes too soon, your pan's probably too hot or your cheese wasn't frozen enough. For perfectly sealed sticks, make sure your mozzarella is rock-hard frozen and try cooking at a slightly lower heat for a bit longer. Some folks who follow meat-only diets also like to partly cook the bacon until it's just bendable before wrapping to cut down on final cooking time.
These bacon cheese sticks are the top choice for meat-lovers, bringing amazing flavor, texture, and satisfaction in every bite.
Recipe Q&A
- → Why do I need to freeze the mozzarella sticks overnight?
Freezing your cheese sticks overnight stops them from melting too soon during cooking. This gives the bacon time to get crispy while keeping the cheese intact until serving, giving you that wonderful stretchy cheese pull when you take a bite.
- → Can I use a different type of fat instead of beef tallow?
You can swap beef tallow for other fats that handle high heat like ghee, lard, or duck fat. They'll each add their own taste, but all work great for making crispy bacon. If you're not sticking to all-meat options, avocado oil works too.
- → What if my cheese starts to melt too quickly?
If your cheese leaks out too fast, your pan might be too hot or your cheese wasn't frozen enough. Turn down the heat right away and cook the bacon faster. Next time, make sure the cheese is totally frozen and try wrapping the bacon tighter.
- → Can I make these ahead of time?
You can put together your bacon-wrapped cheese sticks early and keep them in the freezer until cooking time. This actually works really well since the cheese needs to be frozen anyway. Just wrap them up tight and they'll keep in the freezer for up to two weeks.
- → What can I serve with bacon mozzarella sticks?
For meat-only diets, try dipping them in warm bone broth. If you eat other foods too, marinara sauce, ranch dressing, or spicy mayo taste great with these. A small side salad can help cut through the richness.
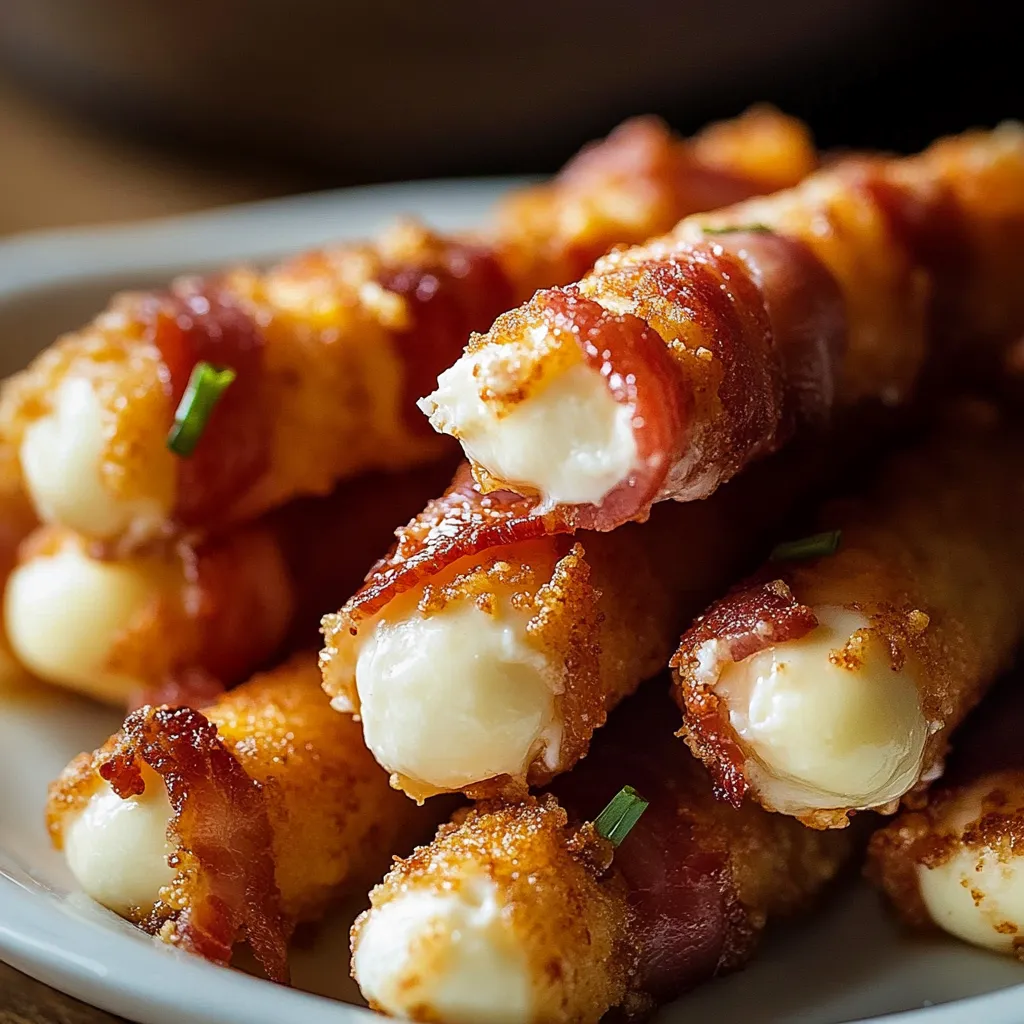
- → How do I know when they're perfectly cooked?
Your bacon-wrapped cheese sticks are done when the bacon looks crispy and golden all around. The cheese should be soft but still tucked inside the bacon. When you see tiny bits of cheese starting to escape at the ends, they're ready to eat.