
 Pin
Pin
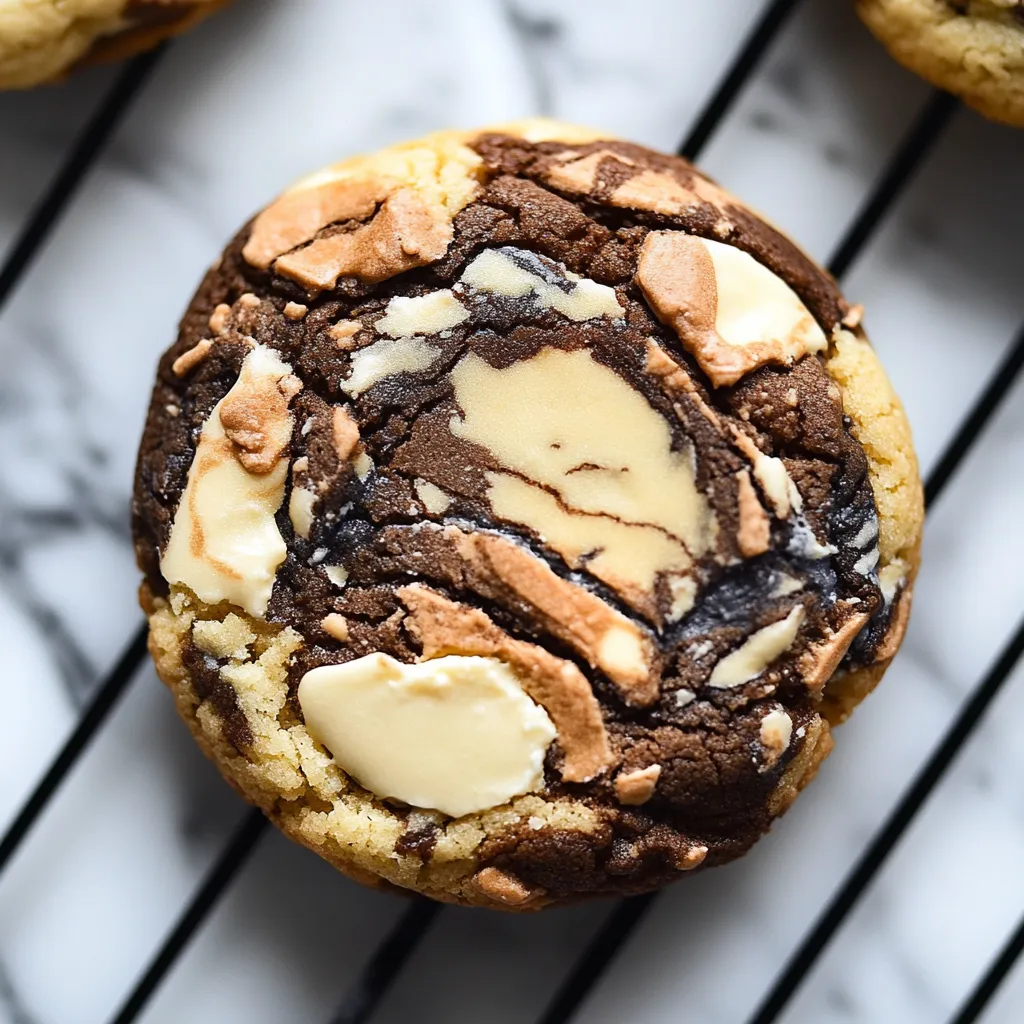
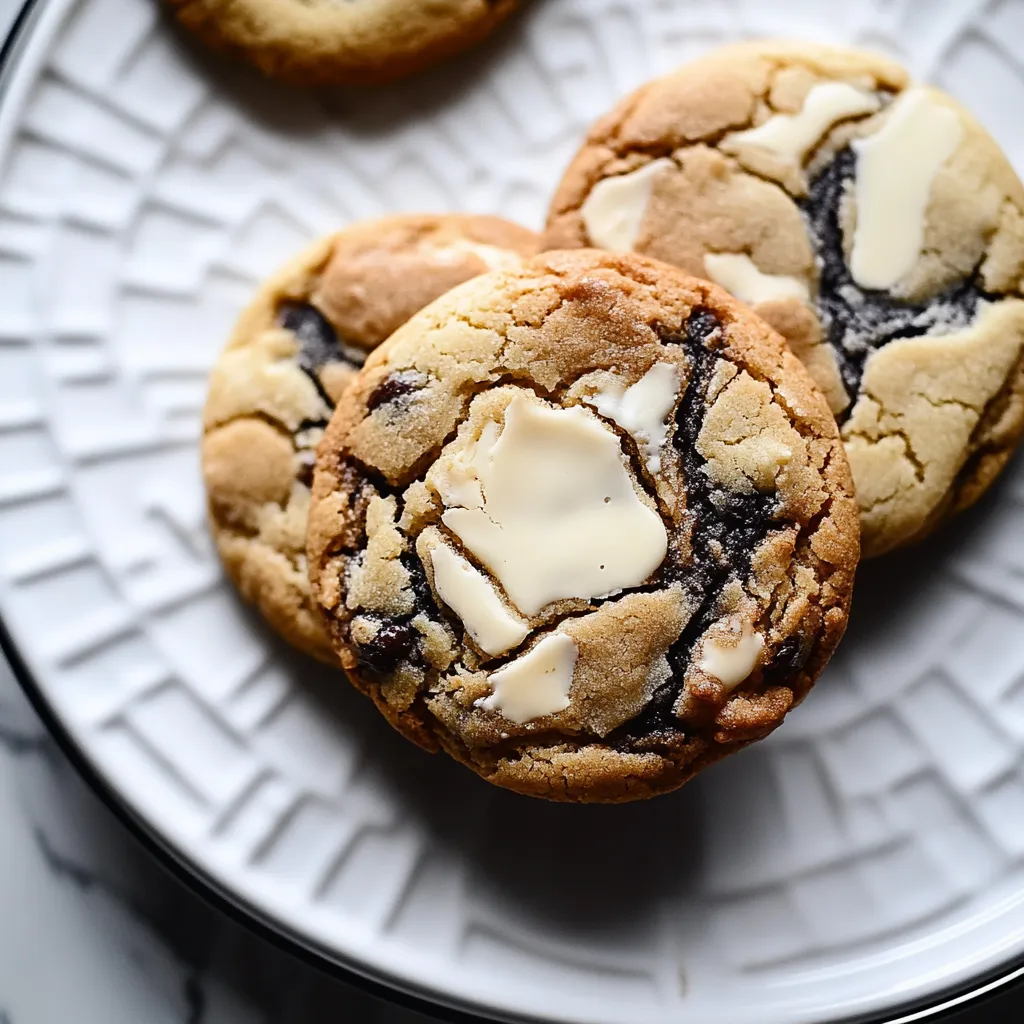
Toasted Milk Marble Cookies are the kind of treat that always impress at gatherings yet still feel like home. These cookies build on deep flavors like browned butter and toasted milk powder layered with swirls of chocolatey dough and a surprise center of creamy white chocolate spread. Each bite balances a rich crunch with soft gooey pockets of sweetness.
The first time I baked these for friends, everyone asked for the recipe before the cookies had even cooled. Now I keep a batch in my freezer for last minute cookie emergencies and midnight snacks.
Ingredients
- White chocolate spread: For a gooey surprise center, use one that is thick and holds shape when frozen
- Unsalted butter: For flavor depth, browning the butter adds extra richness so choose a good quality brand
- Milk powder: Toasts for a nutty caramel undertone, select whole milk powder for the best results
- Caster sugar and light brown sugar: For balanced sweetness, brown sugar adds moisture and a subtle molasses flavor
- Egg yolks: For richness and chewiness, use large fresh eggs
- Semi skimmed milk: To keep dough tender and smooth, any fresh milk will work
- Dark chocolate powder: For that bittersweet chocolate base, pick a high quality cocoa for nuance
- Plain flour: Forms the structure, choose unbleached if possible for a softer crumb
- Baking powder and bicarbonate soda: To lift and balance dense dough, check they are fresh for the best rise
- Cornstarch: Softens the texture and keeps cookies pillowy
- White chocolate: Adds creamy bursts scattered in the dark dough
- Milk chocolate: Brings creamy sweetness to the lighter dough, use a bar and chop yourself for even melting
Step-by-Step Instructions
- Freeze White Chocolate Spread:
- Set out a baking sheet with parchment and portion out white chocolate spread in tablespoon sized dollops. Pop this in the freezer until totally firm which helps keep the centers gooey during baking and prevents them from melting out.
- Toast Milk Powder:
- Heat your oven to a low 212°F or 100°C. Spread milk powder out evenly on lined parchment. Bake and stir every few minutes until the color is a soft gold and you smell that deep caramel scent. Let it cool completely before mixing into dough.
- Brown the Butter:
- Place cubed butter in a saucepan over medium heat. Watch as it melts and foams then keep stirring gently until the butter smells nutty and turns a deep amber color. Immediately transfer to a mixing bowl and let it cool slightly so your sugars do not melt.
- Prepare Wet Ingredients:
- Combine the cooled browned butter with all the toasted milk powder, both sugars and beat together until smooth and fluffy. Add egg yolks one by one letting each mix in before the next. Pour in semi skimmed milk and stir to combine. You should have a soft creamy base.
- Divide Dough:
- Split the wet ingredient mixture into two equal bowls. This helps keep the flavors distinct and lets you flavor each half differently for the marble effect.
- Prepare Dark Chocolate Dough:
- To one bowl sift together the dark chocolate powder, plain flour, baking powder, bicarbonate soda, and cornstarch. Gradually fold these dry ingredients into the wet mixture, stirring just until combined no overmixing. Gently fold in the chopped white chocolate for bits of creamy contrast.
- Prepare Toasted Milk Dough:
- Take the second bowl and sift in the plain flour, baking powder, bicarbonate soda, and cornstarch. Mix until just combined. Add chopped milk chocolate and gently combine being careful not to overwork so the dough stays tender.
- Form Marble Cookies:
- With a cookie scoop or two spoons, alternate scoops of dark chocolate dough and light toasted milk dough placing a frozen piece of white chocolate spread in the center of each portion. Roll each portion gently in your hands to cover the filling and create a marbled appearance.
- Refrigerate:
- Line a baking sheet with parchment and arrange your cookie balls spaced apart. Chill in the fridge overnight. This crucial step lets all the flavors meld and keeps the cookies thick during baking.
- Bake:
- The next day heat your oven to 180°C or 350°F. Place cookies well spaced on a lined baking tray. Bake for 12 to 15 minutes looking for set golden edges but slightly soft centers. Let cool on the baking tray at least five minutes then move to a wire rack to finish cooling for perfect crisp edges and chewy middles.
I am always amazed how much flavor the toasted milk powder brings. I remember my mom toasting it in a pan for homemade desserts so that scent always reminds me of baking afternoons with her.
Storage Tips
Once baked these cookies keep well in an airtight tin at room temperature for three to four days. If you want to extend their life, freeze the shaped dough balls before baking then bake straight from frozen adding a minute or two to bake time. This way fresh cookies are always on hand for sudden cravings or guests.
Ingredient Substitutions
If you do not have dark chocolate powder you can use extra plain flour and add a little instant coffee for depth. Any nut butter works in place of white chocolate spread as long as it is thick when cold. Dairy free versions of butter and milk work fine if you use a rich creamy brand.
Serving Suggestions
I love these cookies with a cold glass of milk or strong coffee. They also make a show stopping addition to a holiday cookie box or as gifts. If you want to turn them into a dessert sandwich with a little ice cream between two still warm cookies works perfectly.
Cultural and Historical Context
Marble cookies are a fun twist on the classic chocolate chip recipe which has American roots stretching back to the 1930s. Browning butter and toasting milk powder is a nod to South Asian and Middle Eastern sweets where these techniques deepen flavor and aroma. Using a marbled dough brings a playful look and shows off skilled home baking.
With the right mix of patience and quality ingredients these cookies always live up to their bakery looks and layered taste. A batch never lasts long in my kitchen and the memory of those first bites still makes me smile.
Recipe Q&A
- → What does toasting milk powder add to the cookie?
Toasting the milk powder gives the cookies a distinct caramelized, nutty flavor and deepens their aroma.
- → How does the marble effect form in these cookies?
The marble effect is achieved by scooping alternating portions of dark chocolate and toasted milk dough, then gently rolling them together.
- → Why are the white chocolate centers frozen?
Freezing the white chocolate spread ensures it stays molten and creates a gooey middle after baking, rather than dissolving into the dough.
- → Is chilling the dough overnight necessary?
Chilling the dough allows flavors to meld and the texture to firm, resulting in thicker, more flavorful cookies.
- → Can I substitute the chocolate varieties?
Yes, you can use different chocolate types, but using white, dark, and milk chocolate keeps the flavor contrast and marble look pronounced.