 Pin
Pin
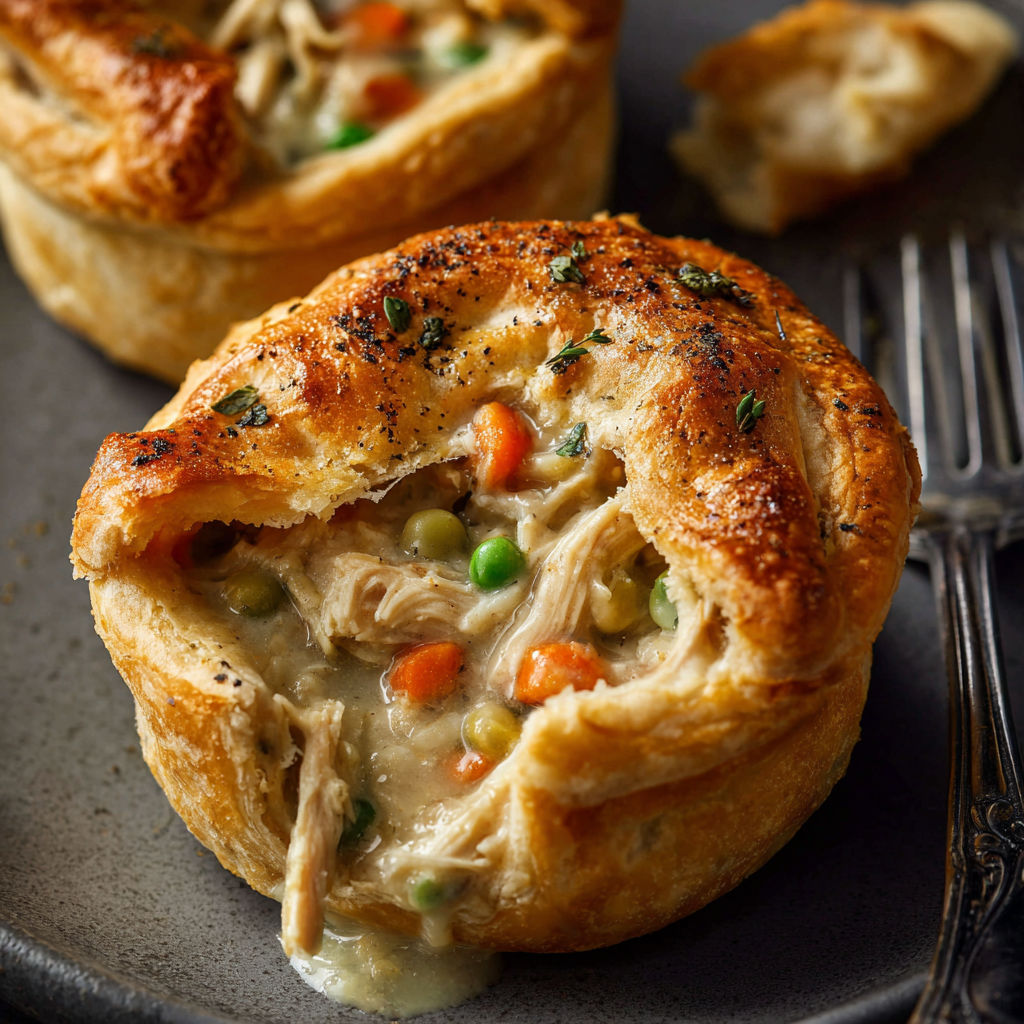
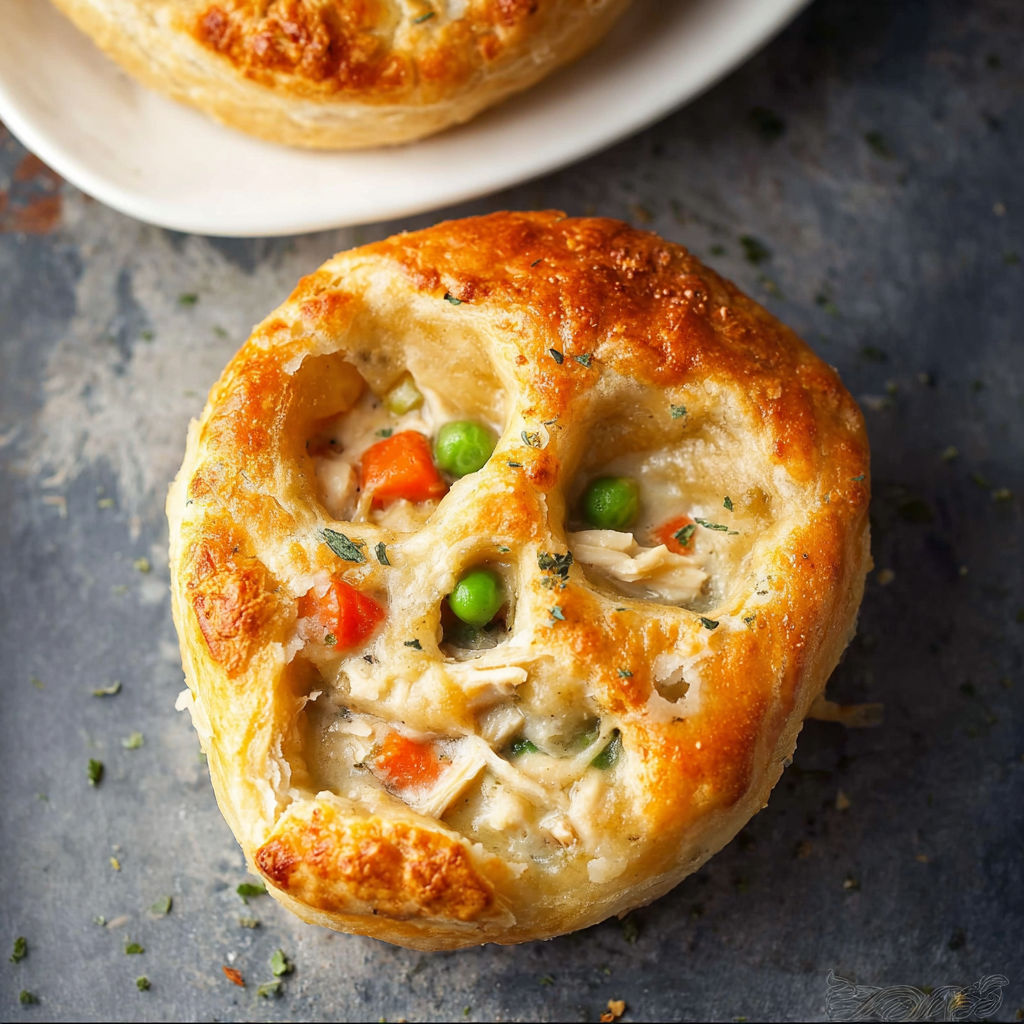
Skull Chicken Pot Pies are the comfort food that gets cheers every Halloween in my house but honestly who would stop at October The creamy filling bakes up inside spooky golden skulls creating the perfect mix of fun and flavor for anyone who loves their dinner with a little drama
I made these for a Halloween party several years ago and the way everyone giggled and raced to grab a skull each has made these a staple holiday treat in our family Their request for seconds never gets old
Ingredients
- Seamless Crescent Dough Sheets: This dough is soft and easy to work with so you can shape it into the skull mold perfectly Look for sheets with no perforations for seamless results
- Boneless skinless chicken breasts: They hold their shape after shredding and soak up the creamy filling Use fresh or frozen then thaw and cook
- Frozen mixed vegetables: These add color and nutrition without extra chopping Choose blends with carrots peas and corn for sweetness
- Cream of chicken soup: Brings richness and moisture to the mixture Opt for low sodium if you want more control over the seasoning
- Cream of mushroom soup: Adds classic pot pie flavor and even more creaminess Use a good quality brand for best results
- Salt: Enhances all the other flavors
- Black pepper: Adds just enough warmth Go for freshly cracked if possible
- Onion powder: Delivers a savory base note and mellow onion flavor
- Garlic powder: Rounds out the spices with a gentle garlic touch
Instructions
- Prepare the Chicken:
- Cook your chicken breasts gently in simmering water or broth until they are fully cooked through around 20 minutes Then shred while warm using two forks The chicken will be easier to pull apart and will have a better texture in the filling
- Mix the Filling:
- In a large bowl combine the shredded chicken frozen vegetables both cans of soup salt black pepper onion powder and garlic powder Stir until everything is evenly coated and combined The mixture should be thick and easy to scoop
- Roll and Cut the Dough:
- Lay the Crescent Dough Sheets on a floured surface and roll each sheet out to an even thickness Slice into four equal pieces Use a sharp knife for straight edges and try not to stretch the dough or it can tear later
- Shape in the Mold:
- Take a dough piece and gently press it into the skull mold Make sure a little dough overlaps the edges so you can seal the filling later Use your fingers to ease the dough into every crevice for a crisp detailed finish
- Fill and Seal:
- Spoon about half a cup of the filling mixture into the dough lined skull Smooth it down gently so there are no air pockets Then fold the overlapping dough over the top and press it down lightly to seal
- Press and Shape:
- Firmly but gently press the dough into the mold so it takes on the skull shape as much as possible This step makes the end result really striking and fun Try not to squish out the filling
- Bake and Cool:
- Place the filled skull molds on a baking sheet and bake in a preheated 375F oven for 30 minutes or until the dough is golden brown Remove from the oven and let cool for at least 5 minutes so the pies hold their shape when taken out of the molds

My favorite part is pressing the dough into the skull mold with my kids We always laugh about who can get the most detailed features and I love watching them sneak tastes of the warm filling It never fails to make dinner time more memorable
Storage Tips
Keep leftover pot pies in an airtight container in the fridge for up to three days Reheat in the oven for the crispest crust Microwave gently if you are in a rush but the dough will soften
Ingredient Substitutions
Swap turkey for chicken or use rotisserie chicken for even less prep For a vegetarian twist use canned chickpeas and a cream of celery soup instead of chicken Just be sure to adjust seasonings to taste
Serving Suggestions
Pair these skull pot pies with a fresh green salad or steamed green beans Serve with extra gravy or a side of cranberry sauce during the holidays They also work as a fun Halloween lunchbox treat
Cultural and Holiday Context
Pot pies have deep roots in comforting family meals all over the world Adding the skull shape makes them an American Halloween tradition in my household transforming a familiar dish into something special for October nights and beyond
Seasonal Adaptations
Try roasted butternut squash or sweet potato instead of mixed vegetables for a fall twist In spring use peas carrots and fresh herbs in the filling During winter toss in some sautéed mushrooms for extra heartiness
Success Stories
I once brought a batch of these to a neighborhood potluck and they vanished in minutes The unique skull shape got everyone talking and no one could stop commenting about how creamy and flavorful the filling was It has become our signature potluck recipe ever since
Freezer Meal Conversion
Assemble the pies fully but do not bake them Freeze the filled dough skulls in the molds Once solid remove from molds and store in a zip top freezer bag Bake straight from frozen add about ten minutes to the cook time They taste freshly made every time

These Skull Chicken Pot Pies are more than a fun Halloween treat They are warm creamy and deeply satisfying all year round and the laughter around that first skull reveal will become a new family tradition
Recipe Q&A
- → Can I use rotisserie chicken instead of cooking fresh?
Yes, using pre-cooked rotisserie chicken saves time and adds great flavor and moisture to the filling.
- → What can I substitute for Crescent Dough Sheets?
Puff pastry or pie crust dough work well as alternatives, but adjust baking time as needed for even browning.
- → How do I prevent the dough from sticking to the skull molds?
Lightly grease the molds with cooking spray or butter before pressing in the dough to ensure easy release.
- → Can I prepare these ahead of time?
You can assemble and refrigerate before baking, then pop them in the oven when ready to serve for fresh results.
- → Are there vegetarian filling options?
Yes, try a hearty mix of sauteed mushrooms, tofu, or more mixed vegetables with cream of mushroom for a meatless version.
