
 Pin
Pin
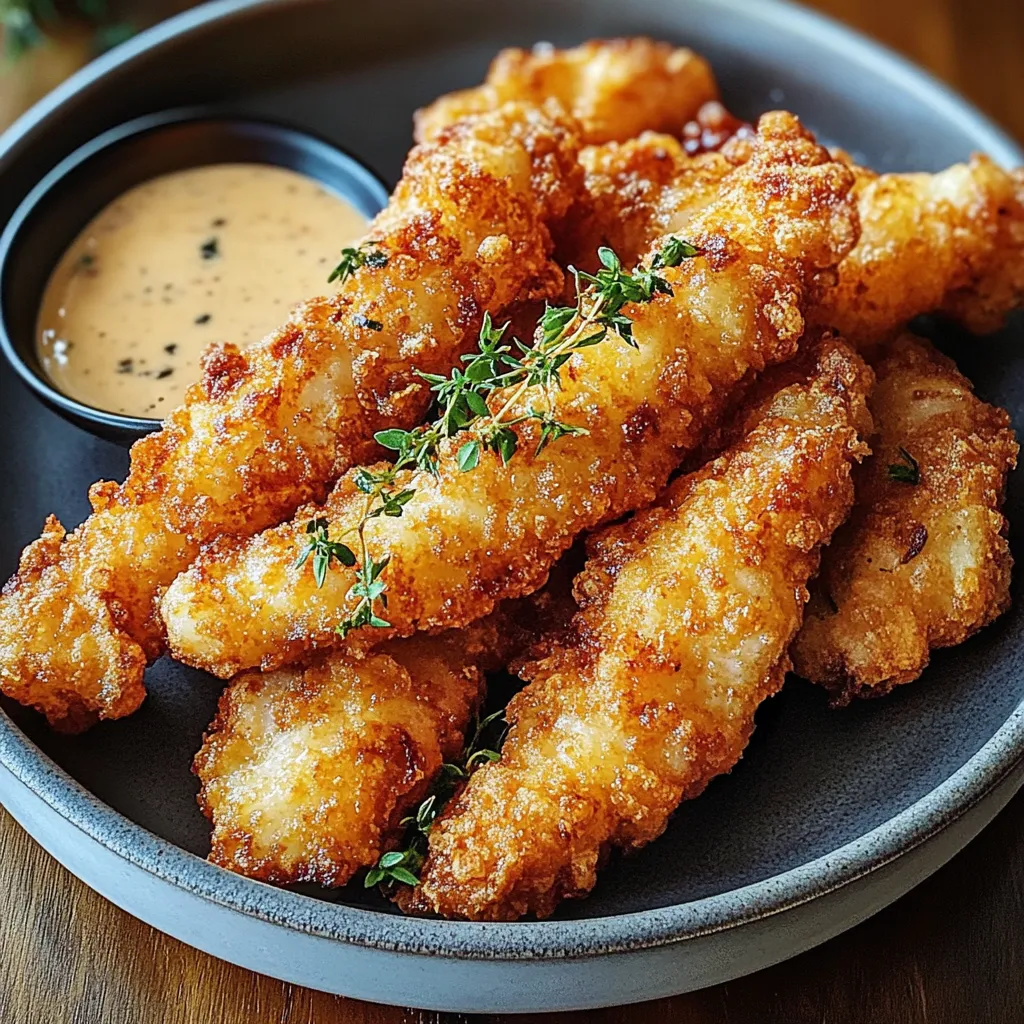
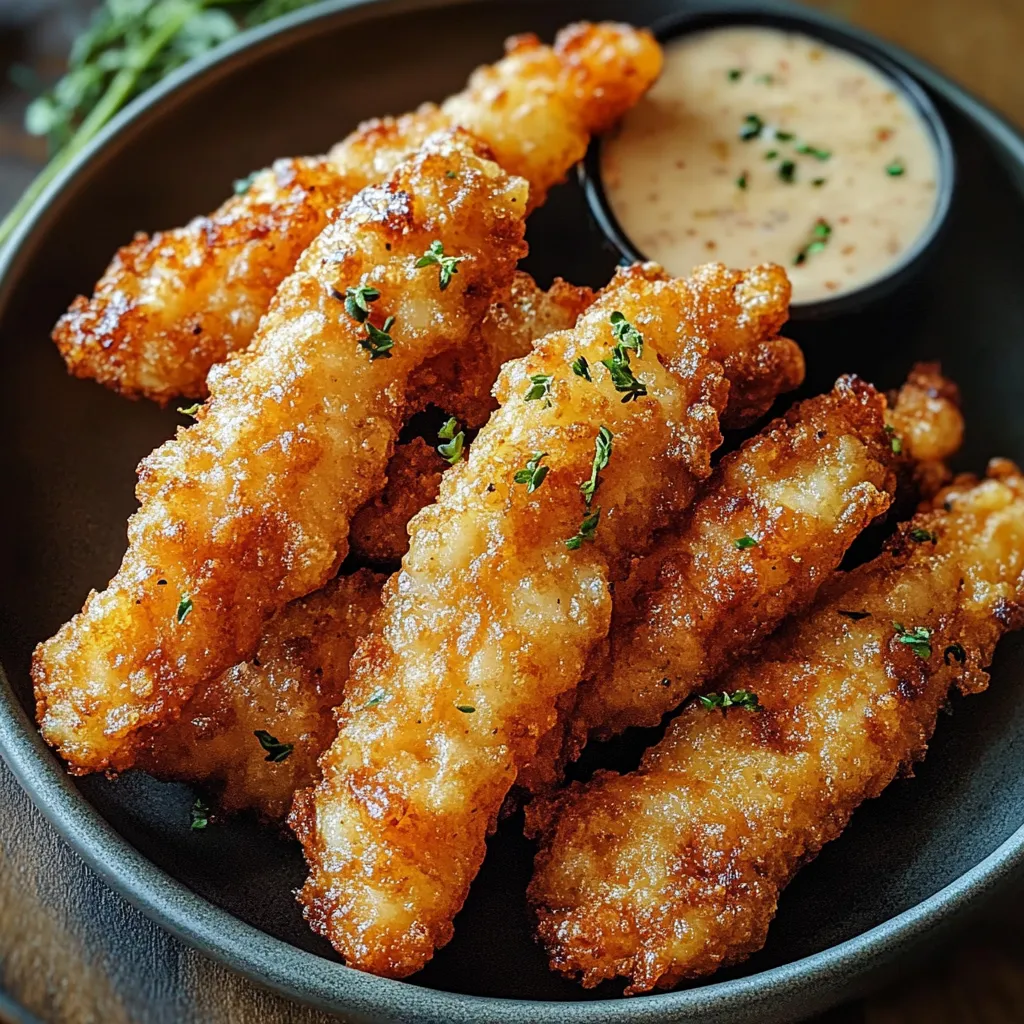
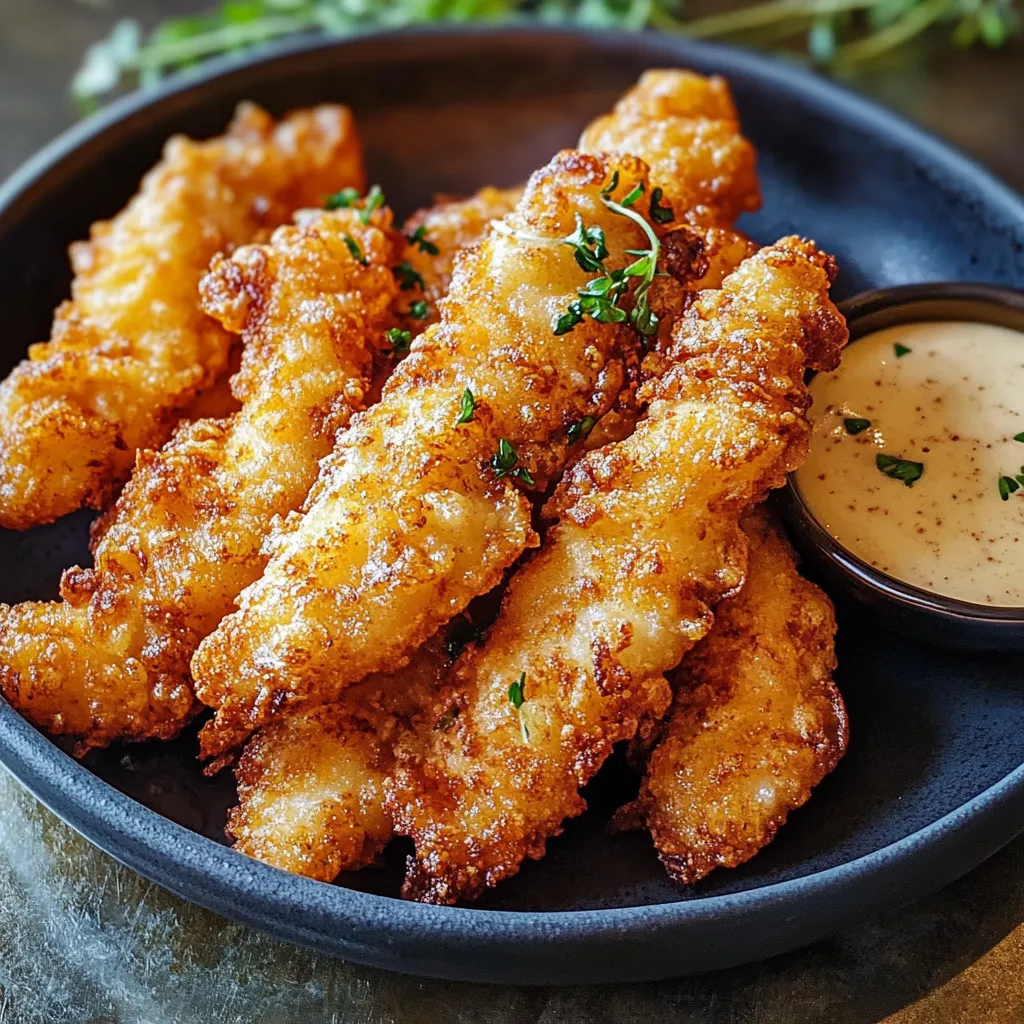
If you have ever craved crispy juicy Raising Cane style chicken tenders fresh from your own kitchen these are just the thing to satisfy that comfort food urge. Homemade means ultra crunchy coating tender chicken and bold flavor in every single bite. These are my secret weapon for family parties or quick weeknight cravings because everyone is always reaching for seconds.
These chicken tenders first stole the show at a birthday party my niece begged for takeout but loved my homemade version even more. Now she requests them for every special occasion and family movie night.
Ingredients
- Chicken tenders: Provide tender flavorful meat that cooks evenly
- All purpose flour: Creates the foundation for a crispy crust use unbleached for a cleaner flavor
- Breadcrumbs: Especially panko give the coating extra crunch choose fresh if you can
- Egg: Helps the breading stick to the chicken and adds richness farm fresh eggs add extra color
- Buttermilk: Tenderizes the chicken and lends a subtle tang go for full fat if you can find it
- Garlic powder: Brings deep savory flavor so pick a fresh vibrant jar
- Onion powder: Adds aromatic warmth and enhances overall taste look for fine textured powder
- Paprika: Delivers color and a sweet smoky note Spanish smoked is worth finding
- Salt: Brightens every flavor use fine kosher salt for best coverage
- Black pepper: Adds mild heat and depth grind your own for the best aroma
- Cayenne pepper (optional): For a gentle heat boost adjust to your preference
- Oil for frying: Peanut or vegetable oil gives the crispiest result stick with high quality fresh oil
Step-by-Step Instructions
- Marinate the Chicken:
- Place chicken tenders in a bowl with buttermilk making sure each piece is coated. Let this rest for at least thirty minutes or overnight in the fridge. Longer marinating really makes the tenders more flavorful and juicy.
- Prepare the Coating:
- Combine flour breadcrumbs garlic powder onion powder paprika salt black pepper and cayenne pepper in a big bowl. Mix thoroughly so every bite will be seasoned and crisp. Use your hands to ensure even distribution.
- Whisk the Egg:
- In a separate shallow bowl beat the egg until smooth and slightly frothy. This will help the coating stick to each tender and make the crust extra golden.
- Preheat the Oil:
- Heat enough oil in a deep heavy skillet so that tenders can float and fry evenly. Bring the oil up to three hundred fifty degrees Fahrenheit. Use a kitchen thermometer if possible to avoid oil that is too cool or too hot.
- Coat the Chicken:
- Take chicken pieces out of the buttermilk letting any extra drizzle off. Dip each in egg making sure every corner is covered. Then press into the prepared flour mixture until totally coated. Press the crumbs on firmly especially for the crunchiest finish.
- Fry the Chicken:
- Gently add each coated tender to the hot oil being careful not to crowd the pan. Fry about four to five minutes per side turning gently until golden brown and crisp. Cook in batches so they do not steam or lose their coating.
- Drain the Oil:
- Transfer finished tenders to a plate lined with several layers of paper towels. Let them rest just a minute so any extra oil can drain off for a lighter bite.
- Serve While Hot:
- Pile the chicken tenders onto a platter and serve while steamy and fresh. The coating will be at its crunchiest and the chicken at peak juiciness right away.
My favorite part of these tenders is the buttermilk soak because it transforms even plain supermarket chicken into something super moist. One day the whole family cooked together and we ended up laughing about flour handprints everywhere. It is the messiest but happiest way to make a meal.
Storage Tips
Keep extra tenders wrapped in foil or in an airtight container in the fridge for up to three days. Reheat in the oven or toaster oven so they stay crispy. Avoid microwaving as that makes the breading soggy.
Ingredient Substitutions
Gluten free flour and gluten free breadcrumbs can easily be used for an allergy friendly batch. No buttermilk No problem you can quickly mix milk with a splash of lemon juice or vinegar. For a spicier kick double the cayenne or add a little chili powder.
Serving Suggestions
These tenders are perfect with classic crinkle fries Texas toast and creamy coleslaw for the full Raising Cane experience. They make a fun topper for salads or a filling for wraps. Do not skip your favorite tangy dipping sauce—homemade or bottled both work.
Cultural Context
Crispy fried chicken is a true Southern icon and Raising Cane's takes it up a notch with super flavorful buttermilk marinated tenders. These homemade ones carry on that tradition and bring the big bold taste straight to your kitchen. Sharing a big platter always makes the meal feel like a celebration.
Enjoy these homemade chicken tenders while fresh for the absolute best crunch and flavor. They are sure to become a family favorite for every meal or celebration.
Recipe Q&A
- → How do I keep chicken tenders juicy?
Marinating the chicken in buttermilk helps tenderize the meat and keeps it moist during frying.
- → Can I use a different breadcrumb?
Panko breadcrumbs are recommended for maximum crispiness, but regular breadcrumbs can work in a pinch.
- → What's the ideal oil temperature for frying?
Heat the oil to 350°F (175°C) for even browning and to cook the chicken thoroughly without overcooking the coating.
- → How can I add more spice?
Increase the cayenne pepper or add a dash of hot sauce to the marinade for added heat.
- → Is oven baking an option?
Yes, bake at 425°F (220°C) for 18-20 minutes, flipping halfway, but the coating may be less crispy than frying.
- → How do I prevent the coating from falling off?
Pat chicken dry before coating and press the breading firmly onto the tenders for best adherence.