
 Pin
Pin
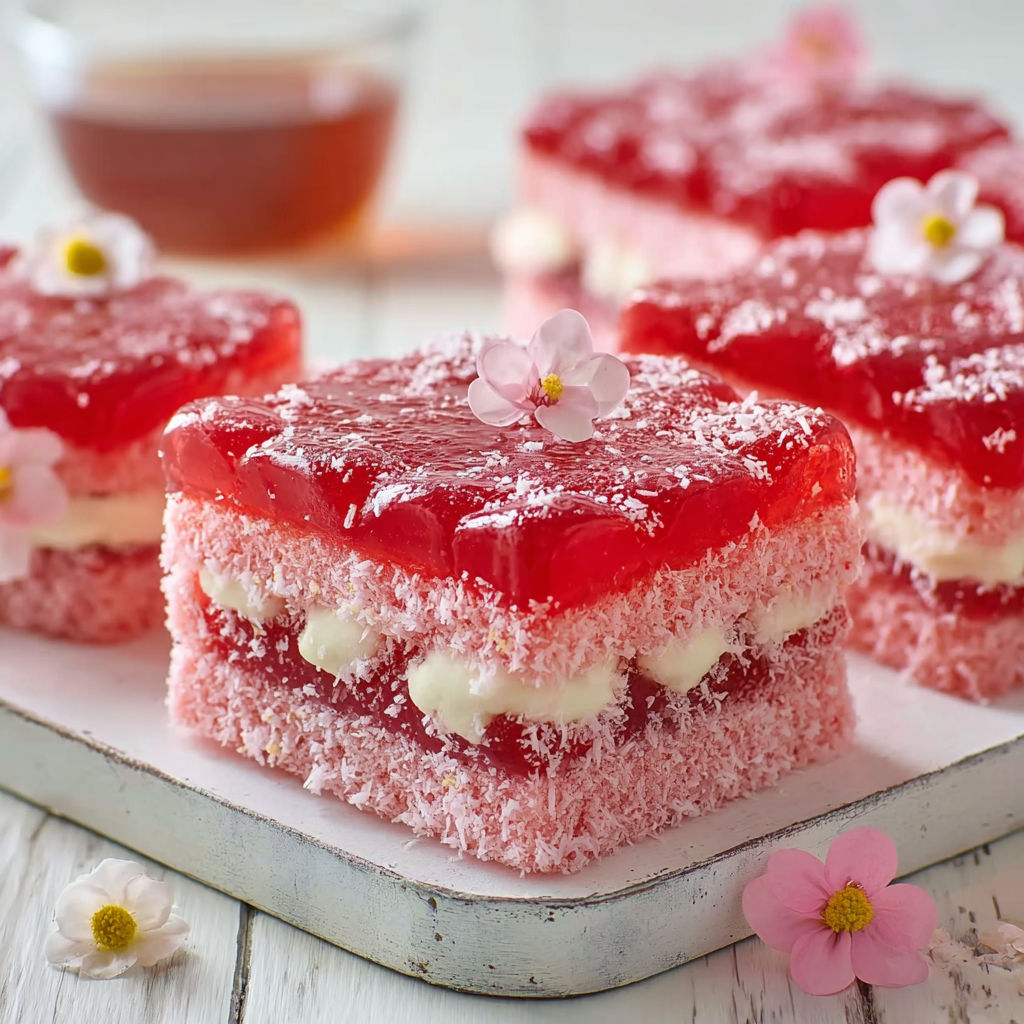
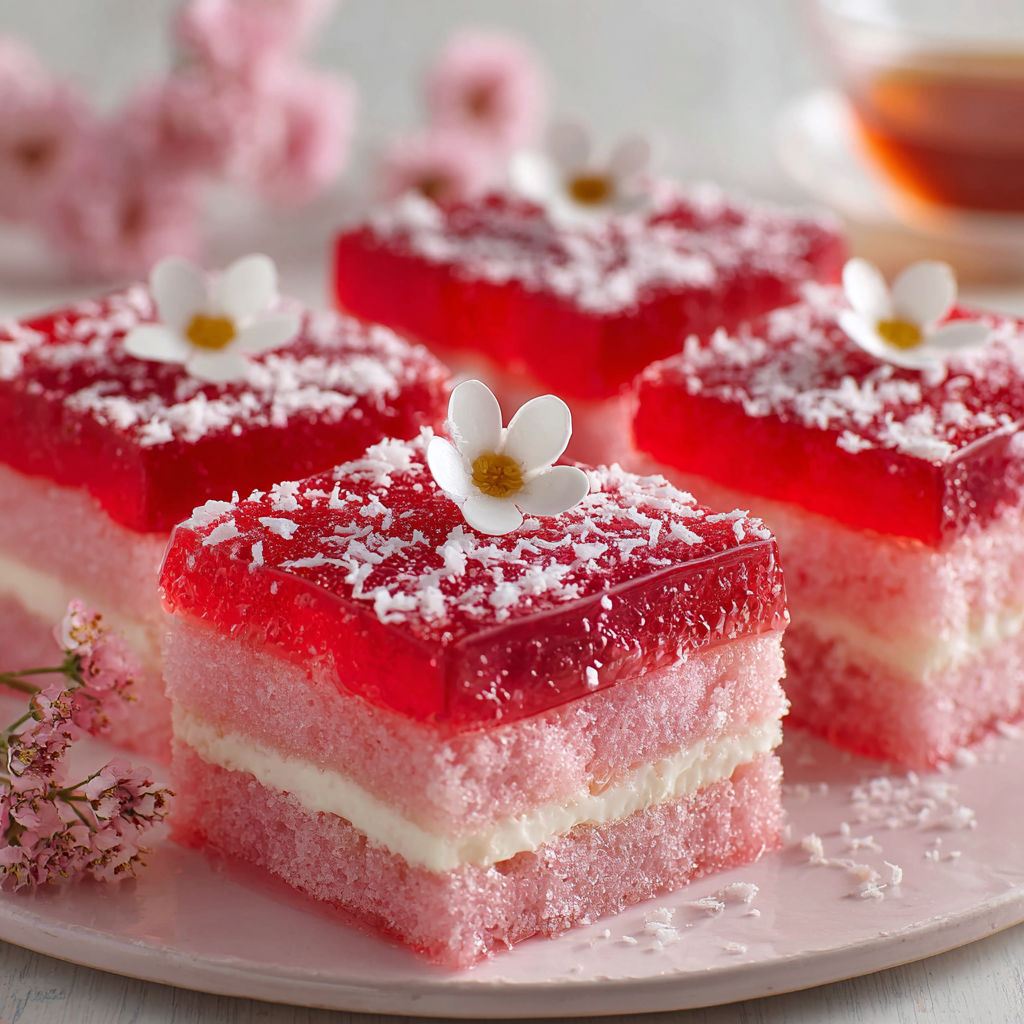
This joyful pink jelly cake layers vanilla sponge with silky vanilla cream, raspberry jam, and an eye-catching coconut and jelly shell. It is a classic lamington-inspired treat with a pretty pink twist, perfect for celebrating Mother’s Day or marking any special moment with a touch of nostalgia and whimsy.
The first time I made these was for a Mother’s Day brunch with my daughters and each step brought laughter and sticky fingers to our kitchen. It is now a cherished holiday project and an edible gift tradition in our household.
Ingredients
- Fairy margarine for both cake and cream: ensures the crumb is light while adding a mellow flavor. Try to use a quality block margarine for structure
- Caster sugar for cake: offers sweetness without heaviness. Look for fine grain for best mixing
- Vanilla extract in both cake and cream: creates a deep aromatic base. Use pure vanilla for best lift
- Eggs at room temperature: help the cake batter emulsify smoothly
- Milk: brings moisture and tenderness. Whole milk works best for richness
- Self-raising flour: simplifies the mix with leavening already included. Sift for lump-free texture
- Raspberry jelly crystals: give the pink color and a subtle fruity tang. Look for a vibrant hue for standout layers
- Boiling water and cold water: to set the jelly. Use filtered water for a clean taste
- Icing sugar mixture: makes the cream airy and sweet. Sift well to avoid graininess
- Raspberry jam: offers a bright punch at the center. Use a good quality jam with real fruit
- Desiccated and shredded coconut: provide texture and glamour. Choose fresh unsweetened coconut if possible for the best flavor
Instructions
- Prepare the Cake:
- Grease and line a 20 by 30 centimeter lamington pan with baking paper making sure corners are pressed flat so the batter will spread evenly. Preheat your oven to 180 degrees Celsius or 160 with fan.
- Make the Sponge:
- In a large bowl beat together the margarine sugar and vanilla until the texture turns pale and fluffy. Crack in one egg at a time and beat well between each addition. This keeps the sponge light.
- Incorporate the Dry Ingredients:
- Gently fold in the milk and sifted self-raising flour in two batches using a spatula. Stop as soon as the flour disappears to avoid overmixing. Smooth the batter across the lined pan.
- Bake the Cake:
- Place the pan in the middle of the oven and bake for about twenty five minutes. The cake is done when it is golden on top and a skewer poked in the center comes out clean. Let the cake cool in the pan five minutes then lift it onto a rack to cool completely.
- Set the Jelly:
- Empty the jelly crystals into a bowl and pour over the boiling water. Stir well so crystals melt fully before adding the cold water. Chill the bowl in the fridge and watch for the jelly to thicken slightly around the edges but not yet set solid.
- Form Squares:
- Slice the cooled cake into twenty four even pieces using a large sharp knife. Dip one at a time in the soft jelly and immediately roll in a mixture of shredded and desiccated coconut to coat each side completely. Place squares on a wire rack to finish setting.
- Make the Vanilla Cream:
- Beat margarine and vanilla in a bowl until very creamy. Gradually add icing sugar in small amounts beating between additions. Add milk at the end and continue beating until the texture is smooth and easy to pipe or spread.
- Sandwich and Finish:
- Use a serrated knife to slice each cake square in half horizontally. On the bottom half spread a layer of raspberry jam. On the cut side of the top half pipe or spread the fluffy vanilla cream. Sandwich the halves together gently pressing to hold the filling inside.
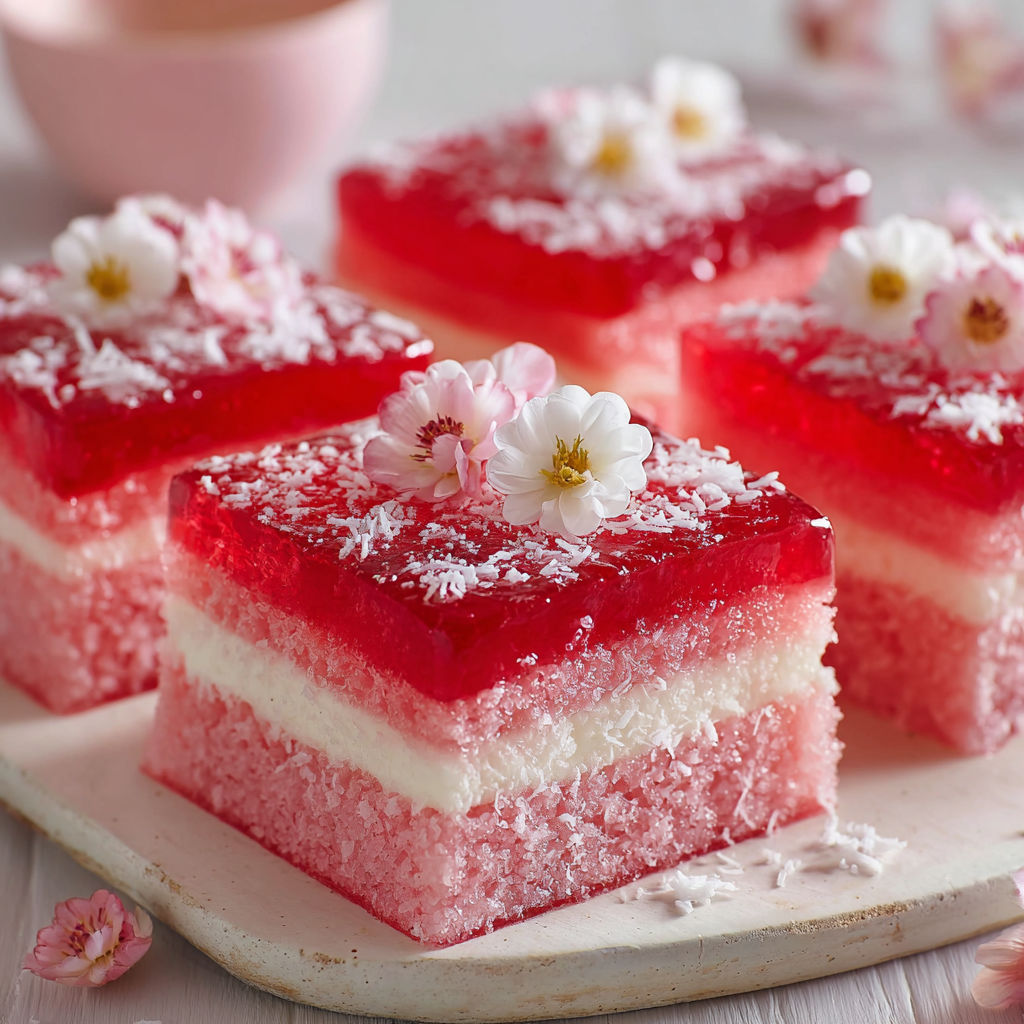
The coconut coating is my favorite part with its fun texture and sweet chewy bite. It always reminds me of making Easter treats with my siblings growing up and brings a little playful magic to the dessert table.
Storage Tips
Once assembled the cake squares can be kept in an airtight container for three to four days at cool room temperature or refrigerate if weather is hot. Store in single layers with baking paper between to avoid sticking. If you need to store longer freeze before filling with jam and cream then thaw and fill fresh for best result.
Ingredient Substitutions
This versatile recipe welcomes substitutions. Use butter for a richer old fashioned taste if you prefer. If you cannot find raspberry jelly lemon or strawberry also work nicely. Choose your family’s favorite jam for a flavor twist. Gluten free self raising flour blends will work but check the cake for doneness a few minutes early.
Serving Suggestions
Present these pink jelly cakes stacked on a vintage platter or cake stand for a nostalgic touch. I love to garnish with edible flowers or extra shredded coconut before serving. For a tea party atmosphere pair alongside fresh strawberries and a pot of good black tea.
Cultural Context
This recipe is inspired by the classic Australian lamington but with a playful twist in color and filling. Layering with jam and a piped vanilla cream nods to special occasion cakes often served on holidays and family gatherings.
Seasonal Adaptations
In spring swap raspberry jelly for lemon or use orange jam for a bright fresh taste. In winter serve squares nestled among sugared cranberries for a festive look. For summer picnics wrap each square in baking paper for an easy treat to pack. Helpful notes for this recipe include watching the jelly closely to catch the perfect dipping consistency, letting the cake cool fully before coating, and using a serrated knife to slice for clean layers.
Success Stories
I have seen this recipe become a Mother’s Day hit not only with moms but with kids who love assembling and decorating their own mini cakes. It is a popular bake sale item and often gets rave reviews at school cake stalls for its color and softness.
Freezer Meal Conversion
To make ahead freeze the plain unfilled cake squares well wrapped in plastic wrap for up to two months. When ready to use thaw fully coat in jelly and coconut and finish with jam and cream before serving for the freshest flavor and texture.
This pink jelly cake brings happy memories and a festive flair to any table. The results are as delightful as they look and sure to become a family favorite.
Recipe Q&A
- → How do I achieve a fluffy cake texture?
Ensure margarine and eggs are at room temperature, and cream them well with sugar before adding other ingredients. Sift flour for a lighter crumb.
- → How do I set the jelly for dipping?
Let the prepared jelly cool until it begins to set around the edges. It should be thick enough to coat the cake without soaking through.
- → Can I use butter instead of margarine?
Yes, butter can replace margarine for a richer flavor, though the cake texture may vary slightly.
- → What’s the best way to cover cake squares with coconut?
Dip each cake square in jelly, let excess drip off, then roll in a mixture of shredded and desiccated coconut until coated.
- → Is it possible to prepare this dessert ahead of time?
Yes, assemble the day before and store in an airtight container to keep the cake moist and the coconut crisp.