
 Pin
Pin
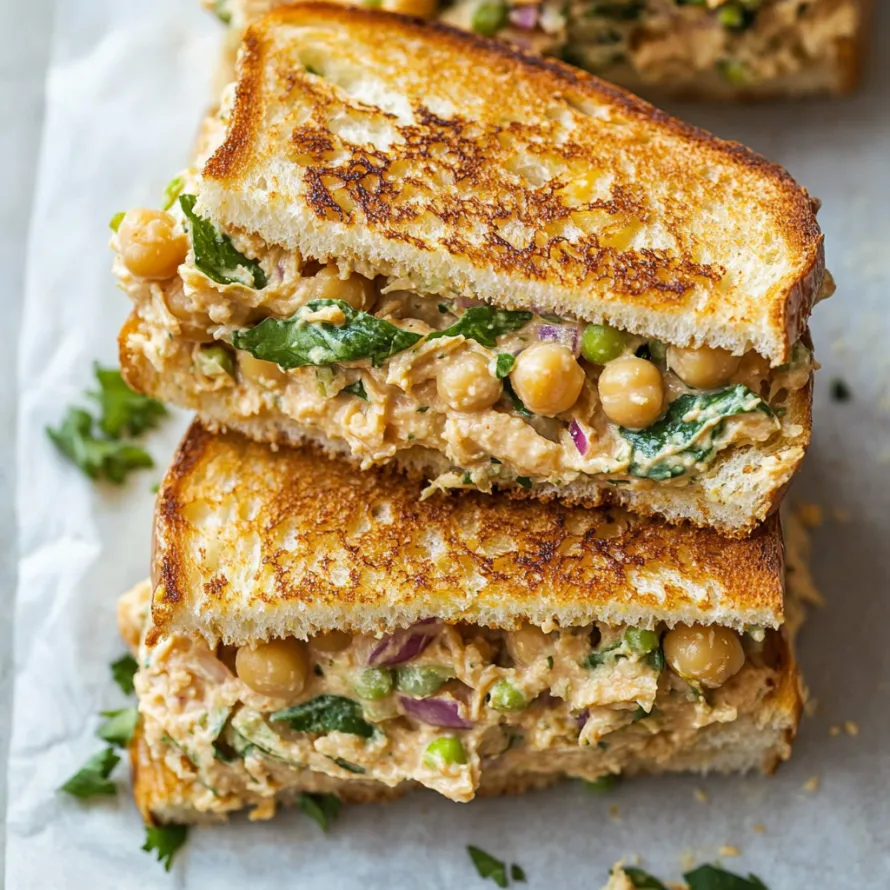
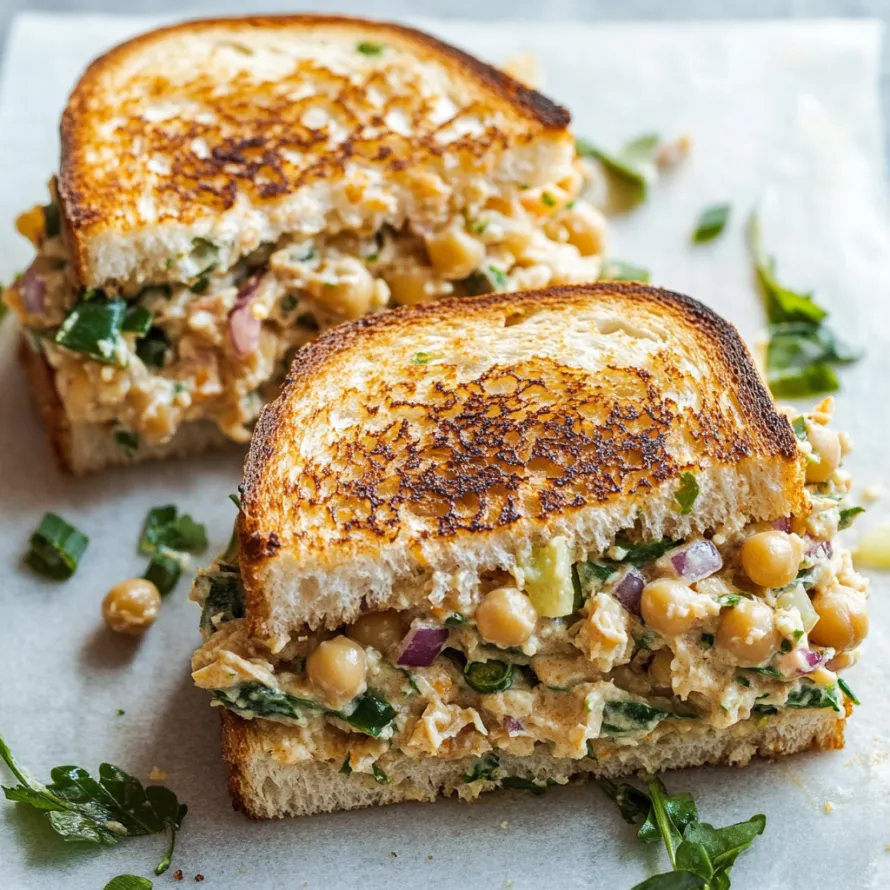
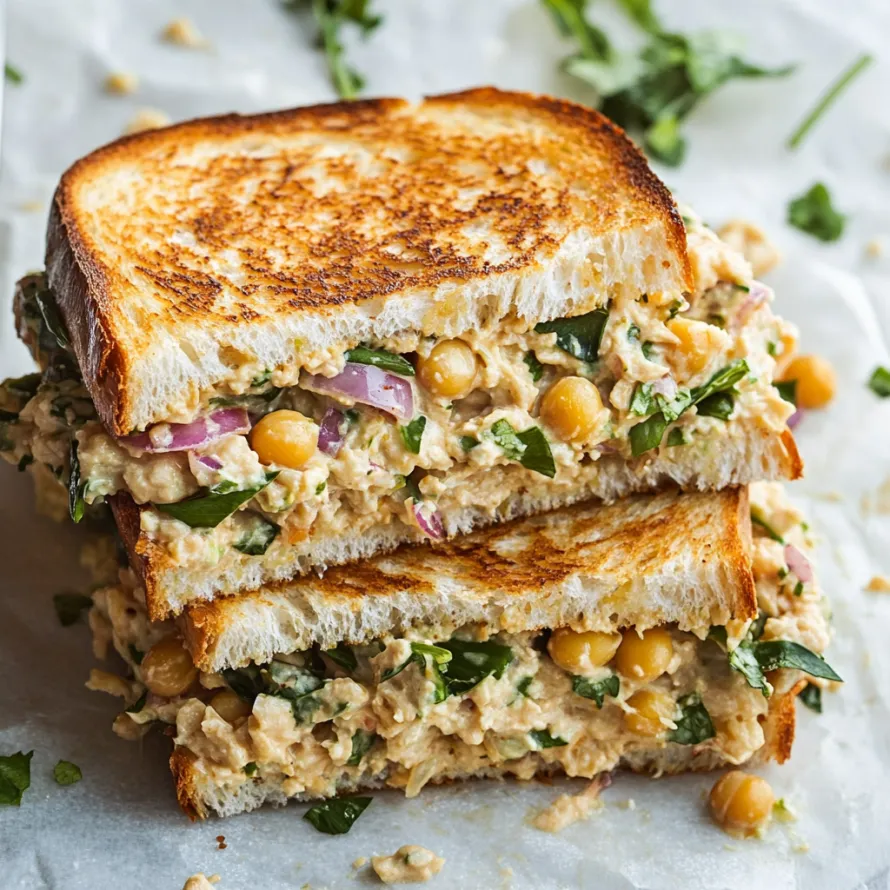
This savvy chickpea sandwich transforms basic kitchen staples into a mouthwatering meat-free take on the traditional tuna melt. The rich, zesty chickpea mix sits between crispy toasted bread and gooey melted cheese for a hearty lunch that brings together good nutrition and familiar comfort.
I came up with this sandwich during a crazy busy week when the fridge was almost empty but I was dying for something cozy and filling. The first time I put these melts in front of my doubtful family, they vanished within minutes, and now they keep asking for them again and again.
Ingredients
- Canned chickpeas: The protein-rich foundation that mashes perfectly for our veggie filling
- Celery: Adds that must-have crunch and freshness against the smooth components
- Pickles: Brings a zingy kick and texture that feels just like old-school tuna salad
- Red onion: Offers a light bite and pretty purple color throughout the mix
- Fresh dill: Adds pop and herby freshness that lifts the whole sandwich game
- Lemon juice: Not required but worth adding for that light citrus background
- Dijon mustard: Gives deeper flavor while helping everything stick together nicely
- Mayonnaise: Regular or plant-based both work great for that smooth, rich texture
- Salt and pepper: Always needed for proper flavor balancing that makes everything taste better
- Bread: Pick something that won't fall apart during cooking I like whole wheat for its nutty taste
- Cheese: Strong cheddar melts wonderfully but feel free to try something different
Step-by-Step Instructions
- Make your chickpea base:
- Start by draining and washing your chickpeas well, then dump them into a medium-sized bowl. Grab a fork and mash them to how you like them. Try keeping about 20% whole for some nice texture while smashing the rest completely.
- Mix your filling together:
- Throw in your chopped celery, pickles, red onion, and fresh dill with the smashed chickpeas. Add the lemon juice, dijon mustard, and mayo, then stir until everything's mixed up well and sticks together. Make sure the mayo covers all the bits completely. Add plenty of salt and pepper, and taste as you go.
- Put your sandwiches together:
- Warm up a big pan on medium-low heat. Take a bread slice and butter one side thickly. Put it down on your counter with the butter facing down. Put cheese slices on the dry side, then spread a thick layer of your chickpea mix about half an inch deep on top of the cheese. This order helps the cheese melt just right.
- Finish building:
- Grab another bread slice, butter one side, and place it on top of your chickpea mix with the butter facing up. Both pieces should have their buttered sides pointing outward.
- Cook until golden:
- Move your sandwich to your warm pan, putting the cheese side down first. This gets the cheese melting right away. Cook for 3 to 5 minutes until it turns golden brown, then carefully flip and cook the other side another 3 to 5 minutes. For quicker cheese melting, put a lid on the pan while cooking.
- Let it sit and eat:
- Let your sandwich cool for 1 to 2 minutes before cutting it corner to corner. This quick break helps the melted cheese firm up a bit so it doesn't all run out when cut.
It's amazing what happens to chickpeas in this sandwich. The first time I made these for my meat-crazy father-in-law, he swore I'd used some fancy fake tuna product. When I told him it was just mashed chickpeas, he wanted the instructions right away. Now he makes it every Monday for his no-meat day.
Storage and Make Ahead Tips
The chickpea mix actually gets tastier after sitting as all the flavors blend together in the fridge. You can make a big batch and keep it in a sealed container for up to 5 days. This makes lunch super easy just grab your mix and build fresh sandwiches whenever you want. If you're taking it to work or school, think about packing the filling separately and putting it together there, or making the whole sandwich ahead and wrapping in foil to heat up in a toaster oven later.
Perfect Pairing Suggestions
These chickpea melts go really well with simple sides that work with them instead of fighting for attention. A basic green salad with vinaigrette offers a nice fresh contrast to the rich sandwich. For heartier meals, some sweet potato fries or a bowl of tomato soup creates the ultimate comfort food combo. When serving for dinner, throw in a pickle on the side and some cut-up fruit to add color and nutrition to your plate.
Creative Variations
While the basic version is fantastic on its own, you can easily switch things up based on what's in your kitchen. Try adding smashed avocado to the chickpea mix for extra smoothness, or mix in chopped olives for a taste of the Mediterranean. Play around with different herbs basil or parsley work great instead of dill. You can change up the cheese too try pepper jack for some heat, Swiss for a nutty flavor, or a dairy-free cheese to make the whole thing plant-based.
Meal Prep Strategy
For crazy weeks, get everything ready ahead for super-quick assembly. The chickpea mix stays good in the fridge, and you can even slice cheese beforehand and store it between sheets of parchment paper. To save even more time, think about making several sandwiches at once and freezing them before the cooking step. When you need one, thaw it in the fridge overnight and cook it from cold for a quick meal that tastes freshly made.
This chickpea salad melt turns everyday pantry items into a tasty, comforting treat that's both simple and satisfying.
Recipe Q&A
- → Can I prep the chickpea mix early?
Sure! The chickpea filling keeps fresh in the fridge for up to three days if stored in a sealed container. This makes assembly fast and stress-free.
- → What’s the ideal cheese option for these?
Sharp cheddar works well, but feel free to try Swiss, provolone, or any melting cheese you enjoy. If you prefer dairy-free, pick a plant-based melty cheese.
- → Is there something lighter than mayo I can use?
Yes, Greek yogurt is a great alternative for a lighter option. You could also try mashed avocado, though it slightly changes the flavor.
- → How do I make these melts vegan-friendly?
Swap the mayo for vegan mayonnaise and choose a dairy-free cheese that melts well. There are plenty of options to keep things plant-based!
- → What goes well alongside the melts?
Serve these with chips, crunchy veggie sticks, a green salad, or even a warm bowl of tomato soup for dipping if you're feeling fancy.
- → Can I add other veggies into the filling?
Absolutely! Shredded carrots, chopped peppers, or artichoke hearts are all great. Just keep in mind additional veggies may need extra mayo to balance the moisture.