
 Pin
Pin
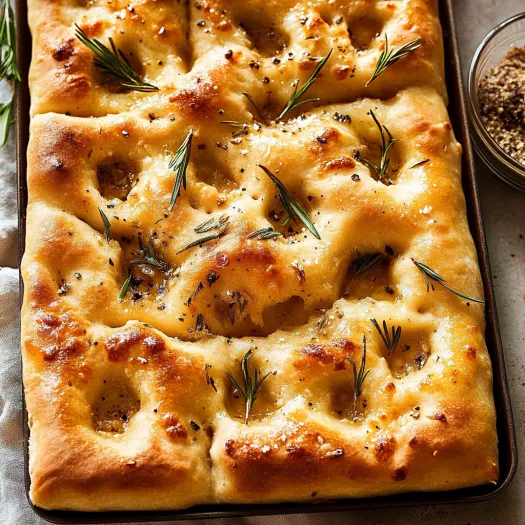
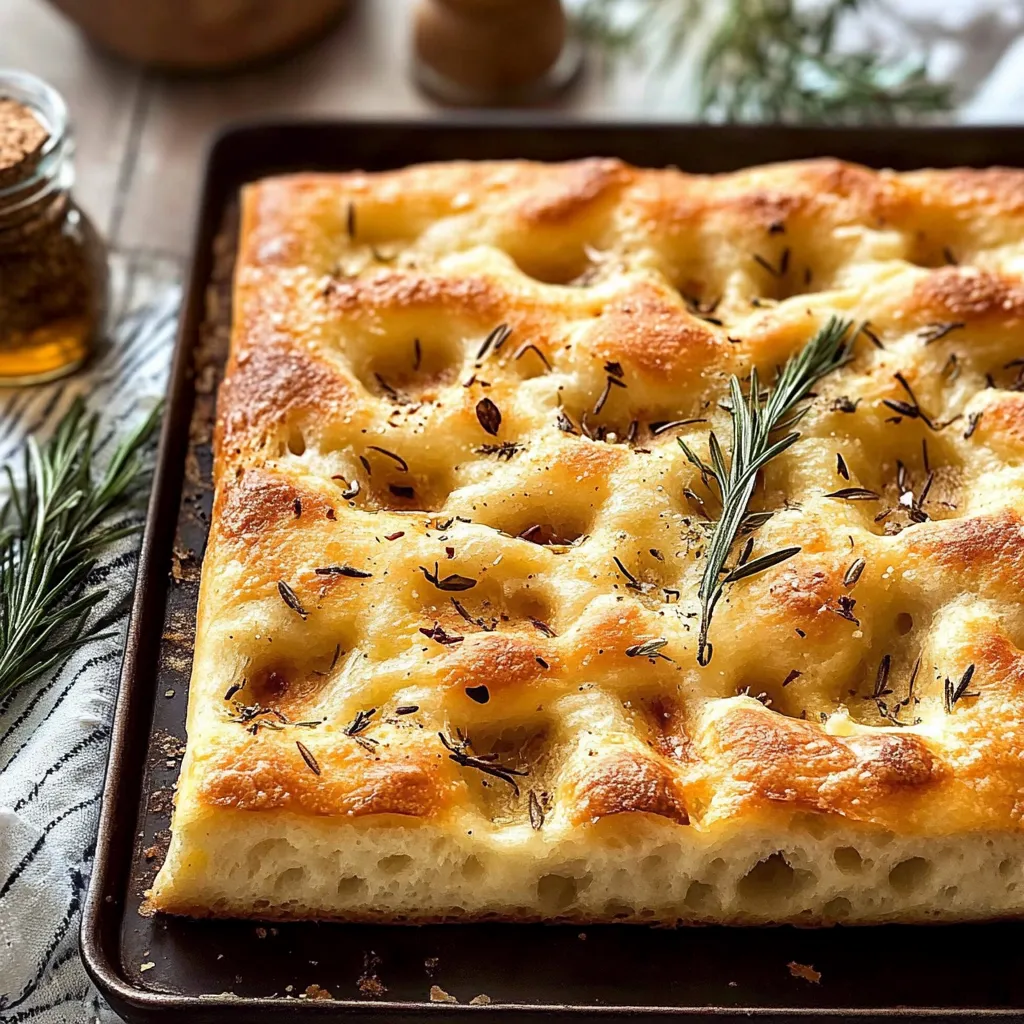
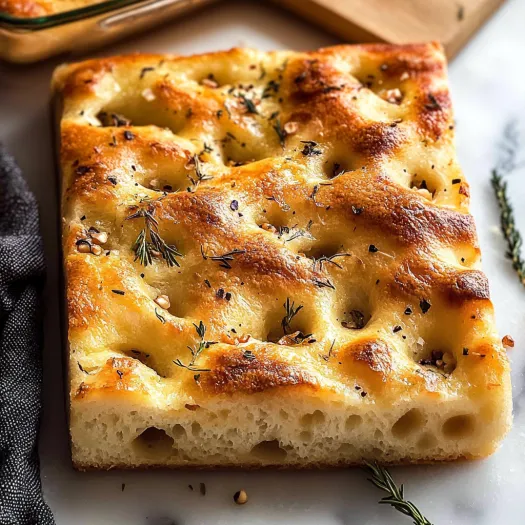
Potato-infused Focaccia Barese offers a soft, airy middle with a crisp outer layer for a genuine Italian bread treat that stands out from the crowd. The surprising potato addition gives this bread an amazingly soft texture with just the right amount of chew that'll make you grab another slice. This Bari specialty turns basic pantry items into something wonderful through good timing and care, not fancy methods.
I stumbled upon this bread during my food adventure in southern Italy when a sweet grandma welcomed a few travelers to cook with her. Even with our language mix-up, her careful steps showed us everything about making this treasured bread. When I tried it at home, that first bite took me straight back to her sunny kitchen filled with olive oil scents and lively chatter. These days, whenever friends try this bread, they always ask me how to make it before they leave.
Key Ingredients Breakdown
- Mashed potato: Adds that special softness and gives extra food for the yeast to work with
- Bread flour: Makes the perfect stretchy base to handle all the liquid in the recipe
- Extra virgin olive oil: Brings that classic Mediterranean taste and helps make the outside crunchy
- Instant yeast: Works quickly without any special prep steps other yeasts need
- Sea salt: Boosts flavor throughout and creates a nice crunch when sprinkled on top
- Warm water: At about 40°C wakes up the yeast without damaging the good stuff
- Cherry tomatoes: Get extra sweet while baking and make the bread look beautiful
Bread Making Steps
- Mix Your Base:
- First, boil a medium potato until it's soft when you poke it, usually takes around twenty minutes. Drain it well and mash until smooth with no lumps. Put 500 grams bread flour in a big bowl, then add your yeast, salt and sugar, and stir everything together. Make a hole in the middle of your dry mix, pour in warm water and olive oil. Start mixing with a wooden spoon until it looks shaggy, then work in all the mashed potato.
- First Rise:
- With wet hands to stop sticking, fold the dough over itself to create a smooth surface, even though it feels sticky. Form a loose ball, then cover your bowl with plastic wrap or a damp cloth. Let it sit somewhere warm around 24°C for half an hour to start fermenting. You'll know it's working when the dough gets bigger and tiny bubbles start forming.
- Build Strength:
- Move your partly risen dough to another bowl with plenty of olive oil to make removal easy later. Grab the edge farthest from you, pull it up slightly and fold toward the middle. Turn the bowl a quarter and do it again, six times total around the whole thing. Cover with plastic again and put back in your warm spot for another thirty minutes while the structure keeps developing and flavors grow.
- Ready Your Pan:
- Pick a metal baking pan around 26 by 20 centimeters for the right thickness. Pour a good tablespoon of olive oil all over the bottom, making sure to cover every spot. While waiting, get your toppings ready - slice tomatoes, count out olives, and make garlic oil by warming minced garlic in olive oil until it smells good but doesn't brown. Gather fresh herbs and keep them ready.
- Shape It Up:
- Put your dough in the oiled pan and gently push it toward the edges with oily fingertips without tearing the stretchy gluten. Leave a little space at the edges since it'll grow more. Cover the pan loosely with plastic and return to your warm spot for about forty minutes until it looks puffy with air bubbles showing it's ready for toppings.
- Add The Extras:
- Push your fingertips deep into the puffy dough to make those classic dents while letting gas escape. Drizzle more olive oil across the top and watch it pool in the little holes. Add your toppings evenly without overloading any part. Push tomato halves cut-side up into the surface, scatter olives around, or pour on your garlic oil before adding herbs. Finish with a generous sprinkle of sea salt all over to bring out all the flavors.
- Bake It Right:
- Put your focaccia in a hot oven at 220°C, centered on the middle rack for even cooking. Bake for about twenty-five minutes until it's deep golden brown on top and crispy around the edges. You'll know it's done when tapping the bottom makes a hollow sound. Move it right away to a cooling rack so steam can escape and the bottom stays crisp.
My love for potato bread goes back to watching my Italian neighbor make something similar for community events when I was little. She told me that during tough times, adding potato stretched expensive flour while actually making the bread taste better. This smart cooking trick turned necessity into a tasty advantage that works great even today. Whenever I mix potato into my focaccia, I'm keeping this resourceful tradition going and enjoying how simple ingredients come together through time-tested methods.
Tasty Serving Ideas
Enjoy warm focaccia with aged balsamic and good olive oil for a simple but impressive starter. Try offering thin slices of prosciutto and fresh mozzarella so guests can make little sandwiches at casual get-togethers. For summer parties, serve it with small glasses of cold gazpacho for a refreshing combo that's perfect outdoors.
Try Different Versions
Try topping with caramelized onions before baking for a sweet aromatic flavor popular in northern Italy. Or push small cubes of aged pecorino cheese into the surface before baking to create pockets of savory goodness throughout. For a Ligurian twist, top with thin potato slices, rosemary and flaky salt for a hearty version that goes great with roasted meats in fall.
Keeping It Fresh
Keep fully cooled focaccia wrapped in parchment paper then a kitchen towel to maintain the right moisture for up to two days. Bring day-old bread back to life by lightly sprinkling with water and warming in a 160°C oven for about ten minutes to restore its crispiness. Try cutting leftover focaccia horizontally to make bases for open sandwiches with Mediterranean toppings. You can freeze wrapped portions up to a month - just thaw completely before reheating for best results.
This Focaccia Barese shows off everything wonderful about old-school Italian baking by turning basic ingredients into something special through careful handling. I've learned that real regional recipes usually have fewer ingredients than modern versions but need more attention to details. The magic happens when you understand fermentation, moisture levels, and temperature control rather than adding fancy stuff. Whether you're serving this bread with a simple soup or as the first course at a dinner party, its down-to-earth elegance creates memorable meals that connect us to hundreds of years of Mediterranean cooking traditions.
Recipe Q&A
- → What does adding potato do to the dough?
- The mashed potato locks in moisture for a tender inside, while keeping the crust nice and crispy. It's also a classic trick to give longer shelf life and flavorful texture.
- → Can you swap bread flour for all-purpose flour?
- Sure, but the chewy texture might not be as strong. Stick with bread flour for the best result, especially when serving guests.
- → What's the point of making dimples in focaccia?
- Those dimples make room for olive oil to settle, giving more flavor. Plus, they stop the dough from ballooning too much as it bakes.
- → Can the focaccia be made ahead of time?
- Focaccia shines the most when baked fresh. Storing the dough too long will lower its rise and leave you with a denser bread.
- → How do you keep extra focaccia fresh?
- Store in a sealed bag for a few days. Toast it lightly in the oven afterward to refresh the crunch and fluff.
- → Why cook the garlic before using it as a topping?
- Raw garlic burns too quickly at focaccia's baking heat. Confit garlic (cooked gently in oil) stays golden and crispy without burning.