
 Pin
Pin
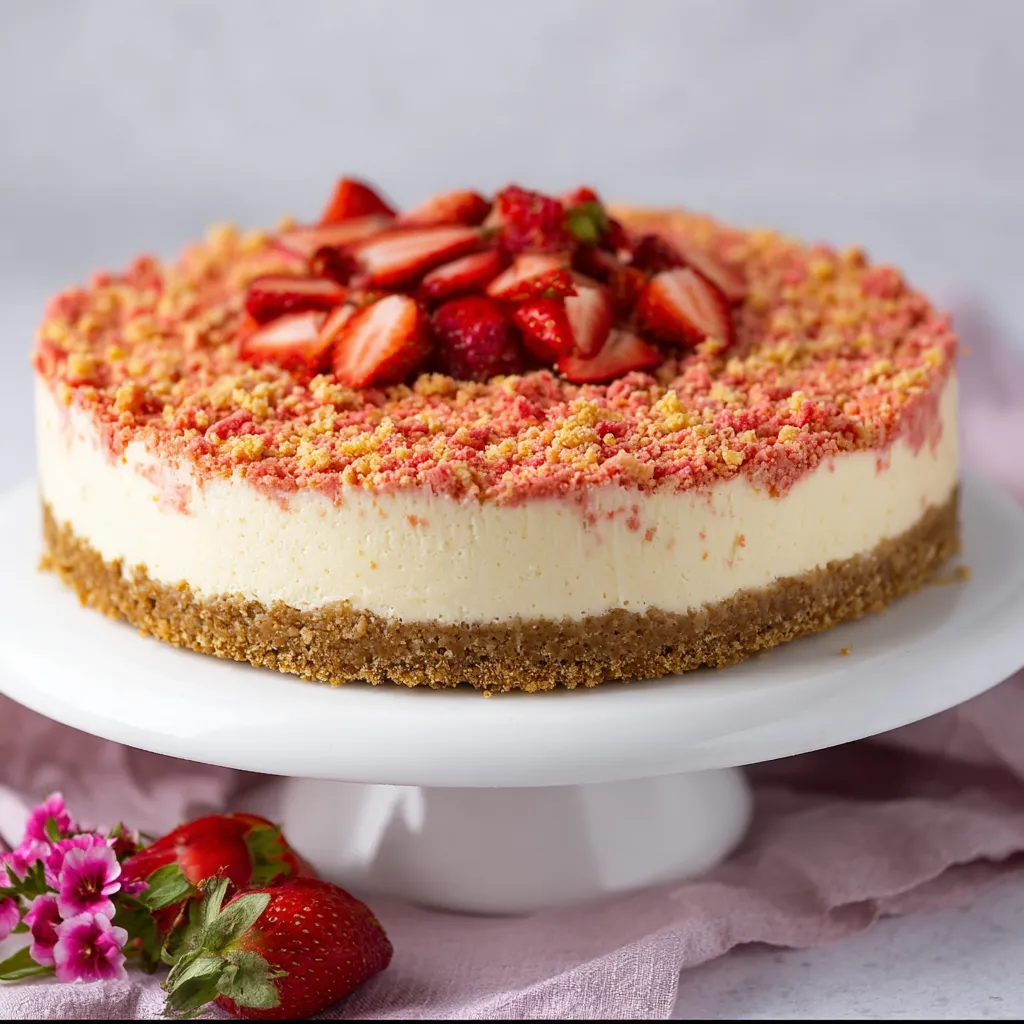
If you are looking for a show-stopping dessert that is both nostalgic and crowd-pleasing this Instant Pot Strawberry Crunch Cheesecake brings together creamy cheesecake with a classic berry crunch topping. It is perfect for parties birthdays or whenever you want a treat that feels both retro and modern at the same time. The Instant Pot makes the whole process much more approachable while keeping the texture unbelievably smooth.
When I first made this for my niece's birthday party it was such a hit that she requested it again the next year. Now this is my go-to for springtime gatherings because guests always ask for the recipe.
Ingredients
- Nilla Wafer crumbs: These cookies make a sweet vanilla-filled base that never turns soggy. Make sure they are crushed evenly for a sturdy crust
- Butter: Melting helps everything bind and browns beautifully for that irresistible crunch
- Cream cheese: Go for a high-quality name brand like Philadelphia for the silkiest results
- Granulated sugar: Dixie Crystals works perfectly because it dissolves cleanly and does not overpower the flavor
- Flour: Just a little helps the filling set up moist but sliceable
- Vanilla extract: Pure vanilla gives depth to the cheesecake filling
- Heavy whipping cream: Makes everything decadent and ensures a lush texture
- Eggs: They are key to setting the cheesecake without making it rubbery use fresh eggs
- Golden Oreo cookies: These add a buttery sweet layer to the topping that plays well with the berries. Choose a fresh soft pack for the best flavor
- Strawberry Jell-o mix: For that retro pink crunch and nostalgic strawberry flavor be sure to use the classic brand if you can
- Whipped cream: Helps to hold the crunchy bits together and adds lightness
- Strawberry topping or preserves: Go for a thick topping packed with real berries for the best fruity finish
Step-by-Step Instructions
- Prepare the Crust:
- Add Nilla Wafers to a food processor and pulse into fine crumbs. Blend with melted butter either by pulsing or stirring until every crumb is moist and can be pressed between your fingers. Press into a greased 7 inch springform pan bringing the crumb up the sides about one inch for a stronger shell. Bake at 350 Fahrenheit for about ten minutes until golden and fragrant. Let the pan cool on a wire rack so the crust firms up
- Mix the Cheesecake Filling:
- Use a stand mixer with paddle or a hand mixer to beat the cream cheese until it looks billowy and smooth. It is important to mix for several minutes scraping down the sides so there are no lumps left. Add sugar and flour slowly and mix just until combined. Stir in the vanilla and heavy cream first on low speed then briefly on high to aerate the mixture but do not overwhip. Check the bowl for hidden lumps and mix again if needed
- Incorporate the Eggs:
- Add eggs one at a time mixing gently until each yolk just disappears into the batter. Do not overmix or the cheesecake may puff then collapse while baking. Pour the filling over your now-cooled crust and gently tap the pan on the counter to knock out trapped air
- Cook in the Instant Pot:
- Wrap the entire pan tightly in aluminum foil to block steam from wetting the crust. Add one cup water to your Instant Pot inner pot then set the trivet inside. Place the foil-covered pan gently on the trivet. Lock the lid and cook on high pressure for forty minutes. Allow the cheesecake to naturally release pressure to keep the surface from cracking. Once finished lift out the cheesecake and let it cool to room temperature on a rack
- Chill and Set:
- Transfer the cooled cheesecake to the refrigerator uncovered for at least six hours or overnight for best results. This patient step guarantees perfect slicing later
- Prepare the Strawberry Crunch Topping:
- In a food processor pulse golden Oreos into chunky crumbs. Reserve half in a small bowl. Add strawberry Jell-o mix and whipped cream to the bowl and gently toss until the mixture becomes a pink crumbly texture. Return this to the food processor with the remaining Oreos and pulse two to three more times to evenly distribute the Jell-o flavor
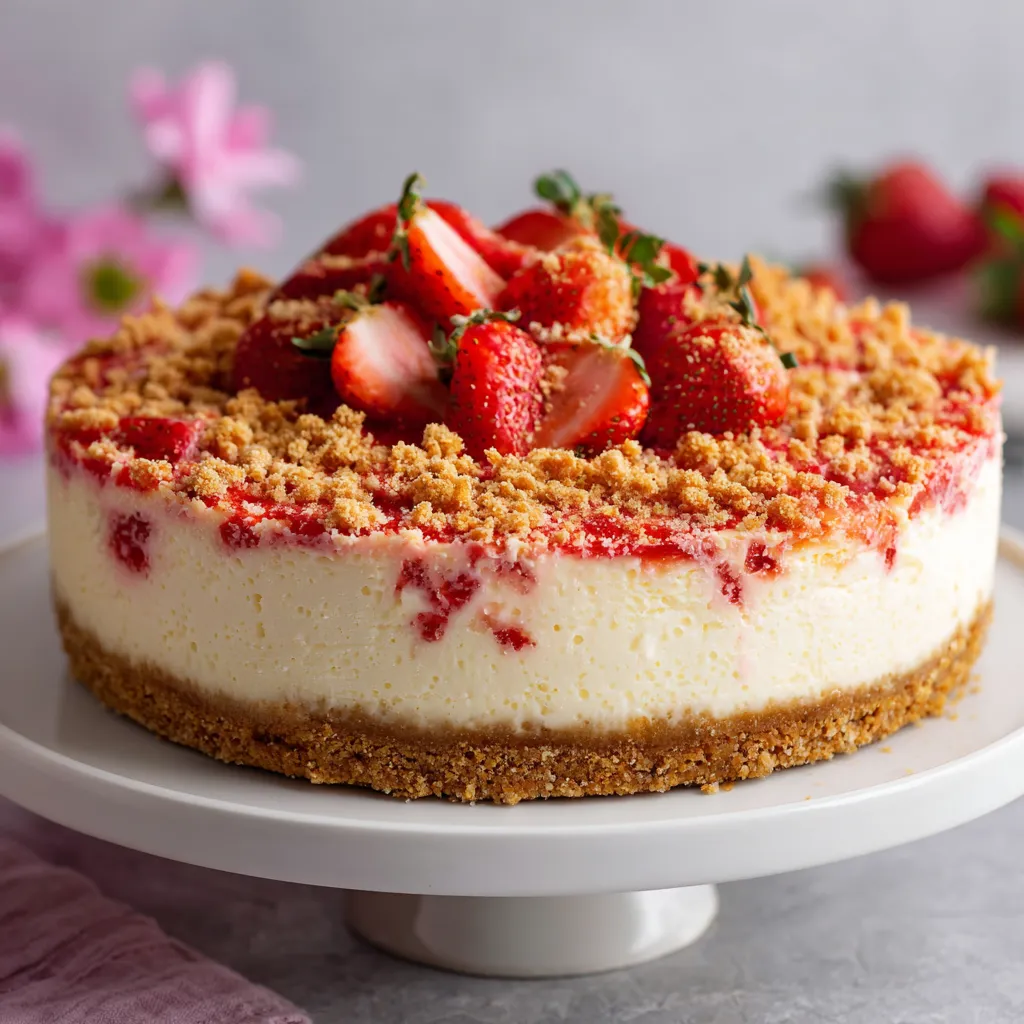
- Top and Serve:
- Spread strawberry topping in an even layer across the chilled cheesecake. Sprinkle the strawberry crunch generously over the top. Slice with a hot wet knife for clean edges and serve slices to happy fans
I am always amazed how the strawberry Jell-o makes the topping bright and fresh even though it is such a simple ingredient. My little brother used to sneak extra crunch from the bowl before it could even make it onto the cheesecake so now I always make a bit extra just for snacking.
Storage Tips
You can store the completed cheesecake covered in the refrigerator for up to four days and it will stay creamy yet firm. If you want to freeze it slice first then wrap each wedge in plastic wrap before sealing in a freezer bag. To serve thaw overnight in the fridge and add the crunch topping right before serving for best texture
Ingredient Substitutions
If you cannot find Nilla Wafers graham crackers also work well for the crust. For the topping any crunchy vanilla cookie can substitute for golden Oreos but be sure to keep the strawberry Jell-o mix for signature color and flavor. In place of heavy cream try sour cream for a tangier filling that bakes up extra rich
Serving Suggestions
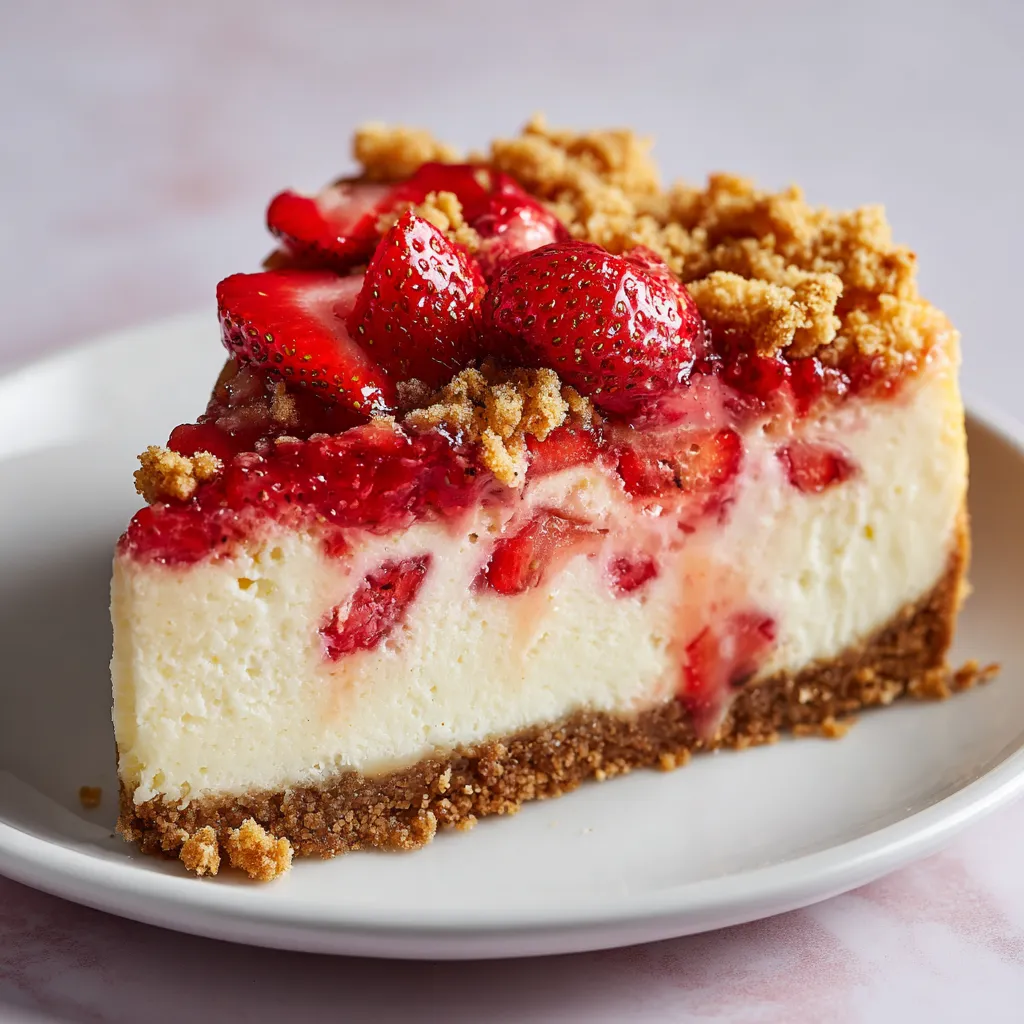
This cheesecake is best enjoyed cold and sliced thick. For a festive touch add a big swirl of fresh whipped cream and sliced strawberries on each piece. If you want to make it more celebratory try adding sparkler candles and a scattering of rainbow sprinkles for birthdays or special events
Cultural and Historical Context
Strawberry Crunch Cake has roots in classic American ice cream truck desserts where strawberry shortcake bars were covered in strawberry crunch. By bringing those flavors into cheesecake form you get a wonderful fusion of creamy tang and fun sweet nostalgia in every bite. People of all ages recognize and love the familiar flavor combination
Trust me once you have made this Strawberry Crunch Cheesecake in your Instant Pot you will not want to return to a water bath method again. It is the perfect blend of creamy and crunchy with a burst of berry in every mouthful and has become a family favorite in my kitchen for good reason
Recipe Q&A
- → What makes the crust crisp and flavorful?
The crust uses finely crushed Nilla Wafers mixed with melted butter and is briefly baked, giving a sturdy, sweet base with extra flavor.
- → How can I ensure a smooth cheesecake filling?
Start with room-temperature cream cheese and cream it thoroughly before adding other ingredients, blending each addition until just combined.
- → Why use an Instant Pot for cheesecake?
The Instant Pot creates gentle, even heat and a moist environment, resulting in a creamy, crack-free texture that's hard to achieve in a standard oven.
- → How is the crunchy topping made?
Golden Oreo cookies are pulsed into crumbs, then tossed with strawberry Jell-o mix and whipped cream for airy, flavorful crunch.
- → What is the ideal chilling time before serving?
Refrigerate the cheesecake for at least 6 hours, but overnight is best for perfect texture and flavors to meld fully.