
 Pin
Pin
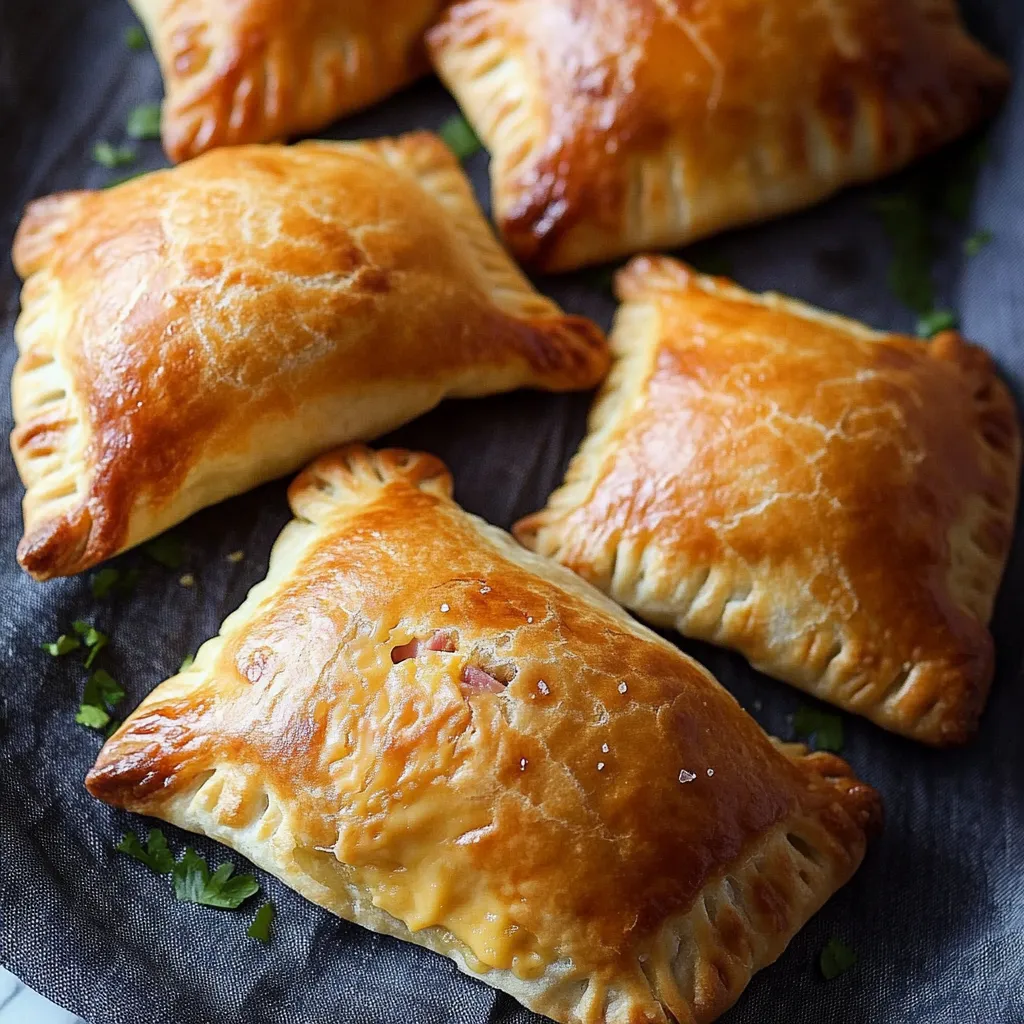
DIY ham and cheese pockets blend the warmth of baked bread with flavorful fillings, giving you a handy meal that works great for packed lunches or relaxed suppers. The real treat comes when flaky, buttery dough wraps around gooey cheese and juicy ham, all baked to a beautiful golden brown. Making your own means you pick exactly what's inside while getting that wonderful feeling of crafting something tasty from the basics.
I made a batch of these for my grandson's soccer games last week. The kids wolfed them down between matches, and I ended up sharing my method with several impressed parents. There's something special about seeing hungry youngsters enjoy food you've put together yourself.
Fantastic Ingredients Make All The Difference
- Yeast: Use fresh active dry yeast for proper dough rising. Store it somewhere cool and double-check those dates to make sure it's still good.
- Warm Water: Getting the temperature right really counts. Too warm kills the yeast, too cool won't wake it up. Go for water that feels comfortable when dropped on your wrist.
- Unbleached All-Purpose Flour: This stuff has more protein than the bleached kind, giving your dough better body without making it tough.
- Extra Virgin Olive Oil: Adds a nice hint of flavor while keeping everything soft and tender. Fresh-pressed options taste best.
- Cheese: Medium or sharp cheddar melts wonderfully and packs plenty of flavor, but you'll get great results with provolone or Swiss too.
- Ham: Try to find naturally cured ham without lots of extra stuff added. Thicker cuts give better bite and won't turn rubbery as they cook.
Crafting Delicious Pockets
- Wake Up Your Yeast:
- Mix yeast with warm water around 105°F. Wait for the foamy bubbles that show your yeast is active and ready to work. This step ensures your dough will rise properly and have the right texture.
- Start Your Dough:
- Work flour slowly into your bubbly yeast mixture, then add olive oil, sugar and salt. The sugar feeds the yeast while salt keeps it from going wild. Keep mixing until everything clumps together.
- Work The Dough:
- Knead on a lightly floured counter until smooth and stretchy. Good kneading builds the gluten network that gives you that wonderful chewy bite. When you press the dough gently, it should bounce back.
- Cut Into Pieces:
- Split the dough into eight same-size chunks using a dough cutter or knife. Making them equal helps them cook at the same rate and holds fillings better. Let them sit briefly to relax.
- Roll Them Out:
- Flatten each piece into rectangles roughly 6 by 4 inches, keeping the thickness the same all over. Even dough prevents weak spots where fillings might leak during baking.
- Add Your Fillings:
- Put ham and cheese on one half of each rectangle, leaving about half an inch around the edges. This empty border lets you seal everything up so nothing escapes while cooking.
- Close Them Up:
- Fold the empty dough half over your fillings and press the edges firmly with your fingers before pressing with fork tines. Good sealing keeps everything inside and creates those classic pocket ridges everyone expects.
- Brush With Egg:
- Coat tops with beaten egg mixed with a spoon of water. This gives you that beautiful golden color and helps seasonings stick to the surface.
I really love how versatile ham is in these pockets. My husband comes from a small family farm where they made their own ham, and he always says these take him back to his mom's kitchen. That combo of slightly sweet, smoky meat with tangy cheese just creates magic in every bite.

Smart Baking Temperature Tips
Getting your oven properly hot matters for these pockets. Setting it to 375°F lets them brown slowly while making sure the insides get hot without burning the outside. Put your rack in the middle of the oven where the air moves best. Always look for that golden color instead of just watching the clock, since every oven heats a little differently.
Tasty Side Dishes
These golden treats go wonderfully with a basic green salad topped with tangy dressing for a complete meal. The sour notes in the dressing balance out the rich cheese perfectly. When it's cold outside, tomato soup makes the best partner, giving you that classic grilled cheese and soup feeling everyone loves. For packed lunches or outdoor eating, add some fresh fruit and maybe a small cup of honey mustard for dipping.
Tasty Twists
Try Different Cheeses: Play around with pepper jack if you like heat, smoked gouda for richness, or plain mozzarella for kids. Each type melts differently and brings its own flavor while still giving you that wonderful gooey center everyone craves.
Toss In Veggies: Mix in cooked mushrooms, browned onions, or wilted spinach with your ham for more nutrients and flavor layers. Just make sure you cook out the water first so your pockets don't get soggy.
Switch Your Protein: Try diced chicken, turkey, or even plant-based options like tempeh. Think about adding matching seasonings like Italian herbs with chicken or curry powder with chickpeas to tie the flavors together.
Storing What's Left
Keep In The Fridge: Put fully cooled pockets in sealed containers with parchment between layers so they don't stick together. Eat fridge-stored pockets within three days for best taste and texture.
Save In The Freezer: Wrap each pocket in plastic then stick them in freezer bags with the air squeezed out. Mark with the date and what's inside. Frozen pockets stay good for about three months before quality starts dropping.
Heat Them Back Up: Warm refrigerated pockets in a 300°F oven for 10 minutes instead of using the microwave if you want to keep the outside crispy. For frozen ones, thaw overnight in the fridge then warm up, or heat from frozen at 325°F for about 20 minutes until hot all the way through.

These pockets always remind me why cooking from scratch is worth the effort. My grandma always told me that adding love to your cooking changes the flavor. After spending years in professional kitchens, I still think she was onto something. When you bite into these pockets, you're tasting more than just ingredients—you're tasting time, care, and the pure joy that comes from feeding people something good.
Recipe Q&A
- → Can I freeze these ham and cheese pockets?
- You bet! Once they've cooled after baking, wrap each one in foil and stick them in the freezer. When you want to eat them, microwave for 2-3 minutes or heat in the oven at 350°F for 20 minutes without thawing.
- → How long does the dough need to rise?
- Your dough should rise for 60-90 minutes at room temp until it's twice as big. For tastier results, you can let it rise slowly in your fridge for 8-12 hours.
- → Can I use different fillings?
- For sure! This recipe goes with ham and cheddar, but you can switch to other meats, cheeses, or even add veggies. Just make sure whatever you use isn't too watery or your pouches might get soggy.
- → Do I need a stand mixer to make these?
- Not at all. A stand mixer helps but isn't necessary. You can mix everything in a big bowl with a wooden spoon or rubber spatula and then knead the dough by hand on a floured counter.
- → How do I know when my dough is kneaded enough?
- Your dough is good to go when it feels soft but a bit sticky, and slowly springs back when you poke it. You can also try stretching a small piece really thin. If light passes through without it breaking, you've kneaded it enough.