
 Pin
Pin
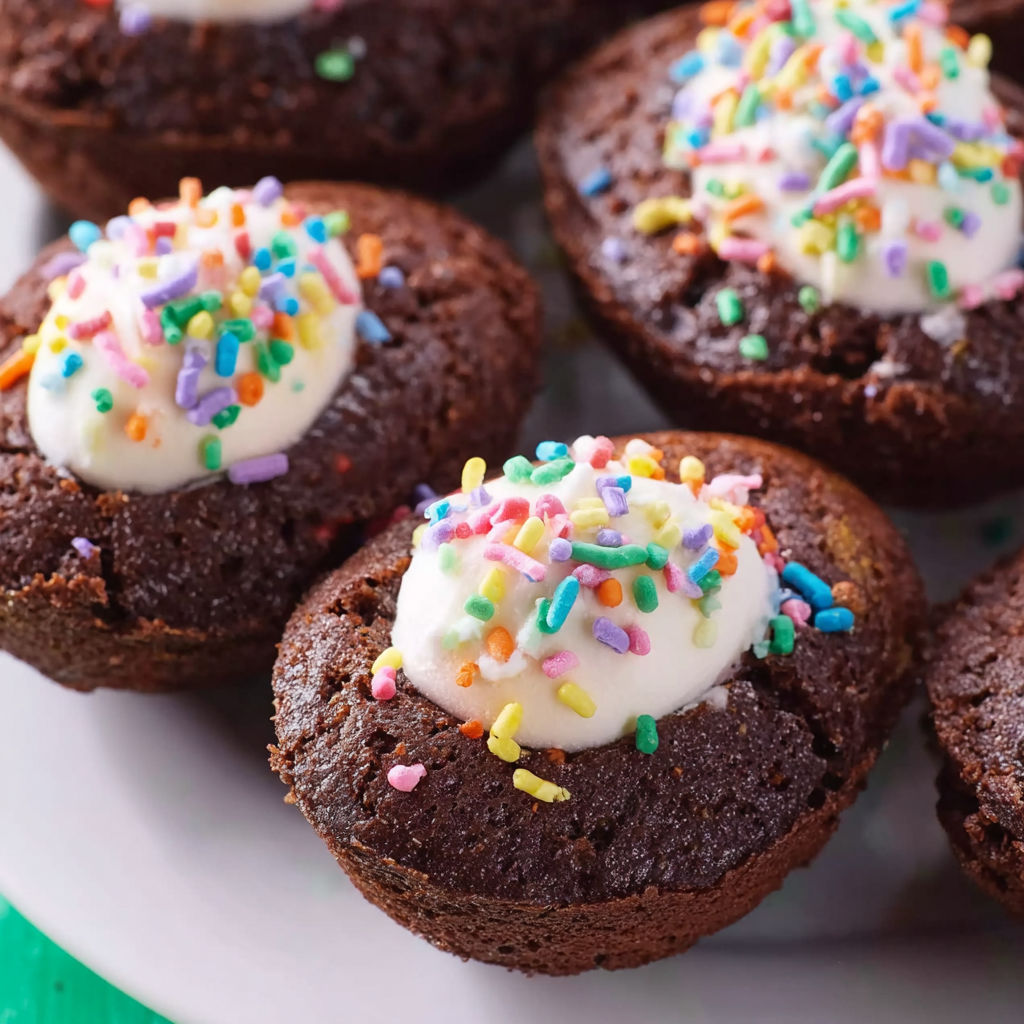
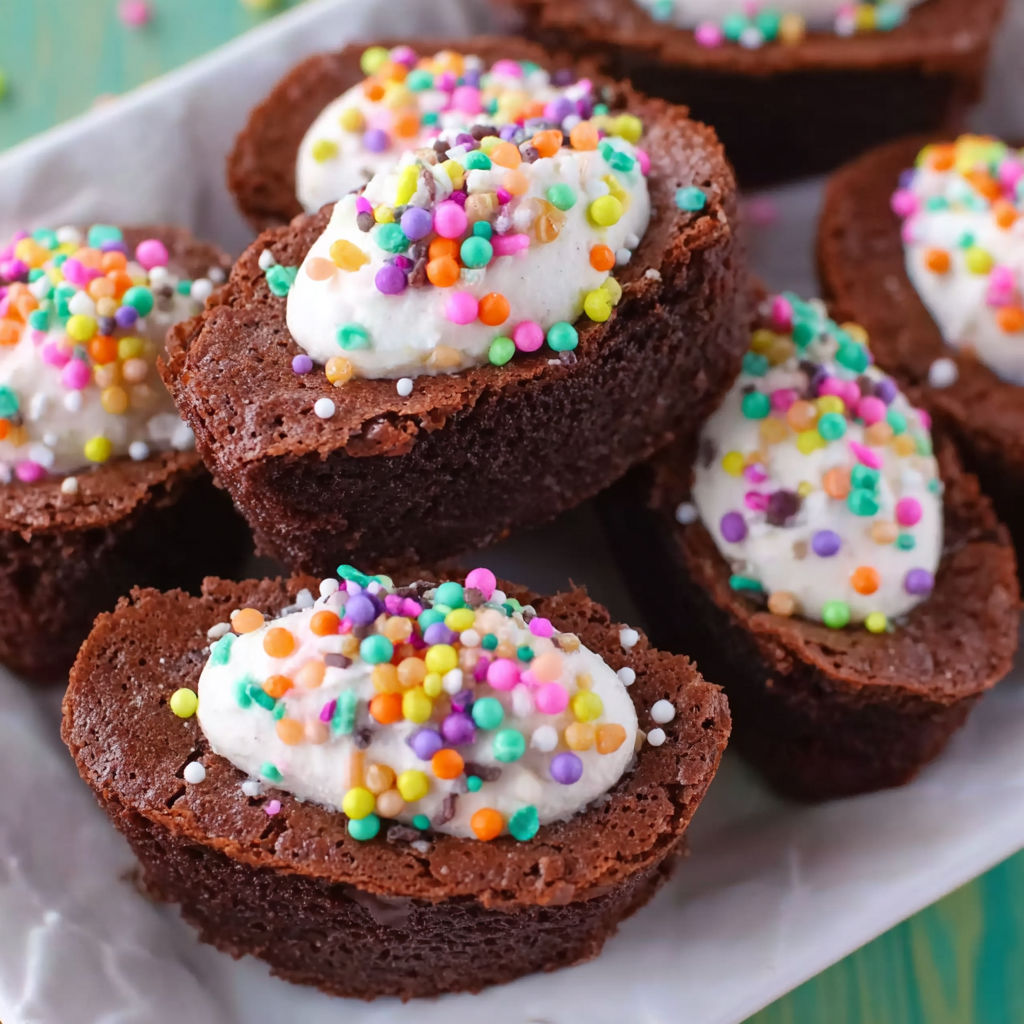
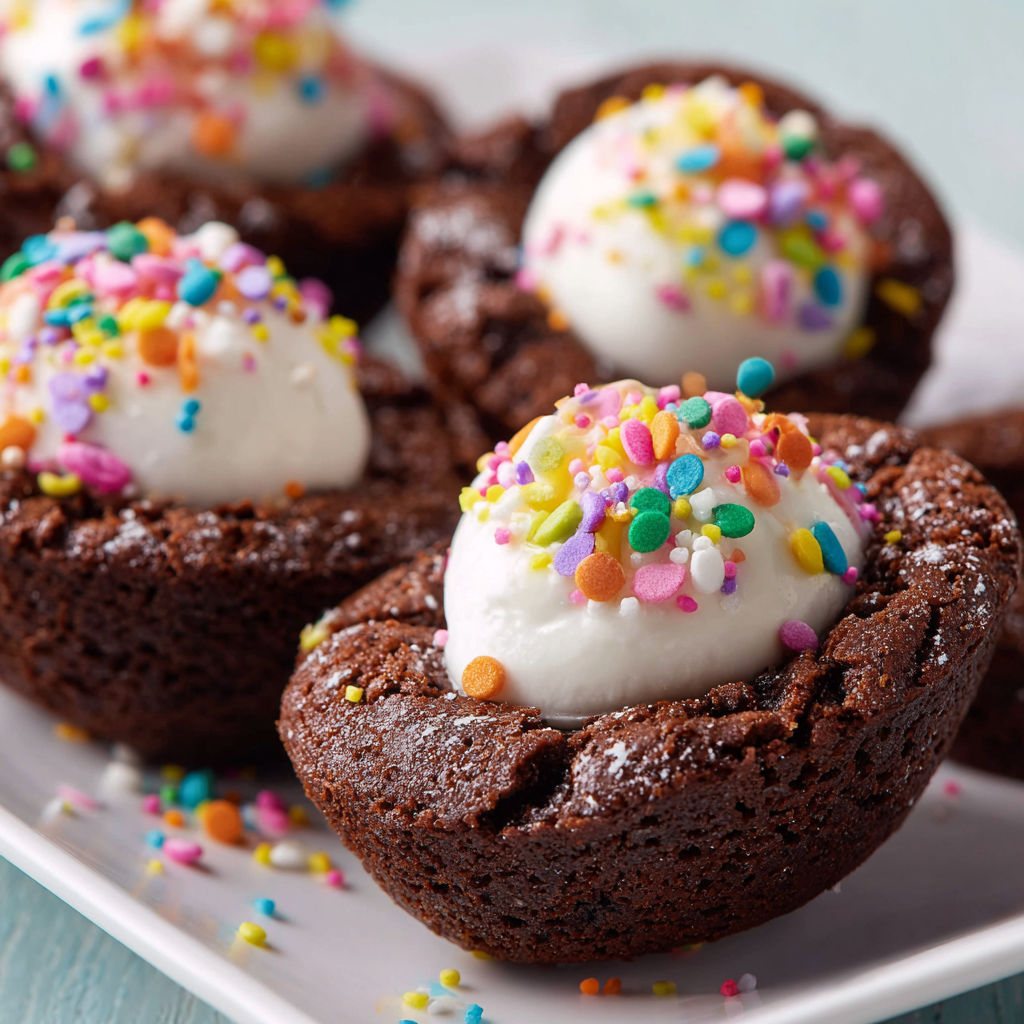
Deviled Brownies are the perfect mashup of rich chocolate goodness and a cream cheese frosting treat disguised as an adorable party dessert. These brownie eggs look so impressive but are simple enough to whip up for any spring table or fun gathering. The combination of fudgy brownie and tangy cloudlike filling is always a hit in my house especially with the pop of colorful sprinkles on top.
I remember stumbling on the idea of using eggshaped molds during a bake sale season. They were the first dessert gone and everyone asked for the recipe. Even my picky eater asks for these every holiday.
Ingredients
- Brownie mix around eighteen ounces: Choose a fudgy classic or your favorite gluten free brand. The quality of your mix will shine so pick one with real cocoa listed on the ingredients
- Eggs, oil and water: For mixing the batter check your box instructions for exact amounts. Fresh eggs give the brownies more rise and chew
- Cream cheese eight ounces, softened: Go for a full fat block not a whipped tub for the richest filling and let it come to room temp for easiest mixing
- Marshmallow cream seven ounces: The jarred kind. This adds sweetness and a silky texture that pairs perfectly with cream cheese
- Sprinkles optional: Use bright jimmies or pastel nonpareils to fit the season. Make sure they are not too hard so they crunch gently in each bite
Instructions
- Prepare the Brownie Batter:
- Mix your brownie batter just as the box instructs using fresh eggs for the best structure and beat until no streaks of mix remain. Make sure to scrape the bowl so everything is well combined
- Fill the Silicone Molds:
- Generously spray eggshaped silicone molds with nonstick spray so the brownies come out cleanly. Use a two tablespoon scoop to fill each cavity so they bake evenly and every egg is the same size
- Bake the Brownie Eggs:
- Place molds on a baking sheet for easy moving and bake in a preheated oven at three hundred fifty degrees Fahrenheit for twenty four to twenty six minutes. Use a toothpick to check that the brownies are set in the center
- Create the Indent:
- When brownies are just out of the oven and still warm use a one half teaspoon and gently press it in each brownie to make a shallow well. Do not go too deep just enough space for filling later
- Cool and Release:
- Let brownies cool completely right in the molds before you even try to pop them out. This step prevents cracks and keeps each egg perfect. Once cool carefully peel back the silicone
- Flatten the Eggs:
- Lightly press the bottom of each brownie on the counter to flatten if they are very rounded. This makes them more stable and easier to fill
- Make the Filling:
- Beat softened cream cheese with marshmallow cream until totally smooth and fluffy scraping the sides as needed. A stand mixer or hand mixer gives you the best texture
- Pipe and Decorate:
- Put your filling into a large pastry bag fitted with a star tip and pipe generous swirls into each egg divot. Sprinkle on festive decorations if you like
- Chill and Serve:
- Place the finished eggs in the fridge to set the filling and serve when ready. These are best lightly chilled
The cream cheese filling is what my family never tires of the texture is cloudlike and everyone scrapes the bowl clean. We first made these to bring to my niece's school and now it is tradition for every springtime picnic because the kids beg for them.
Storage Tips
Brownie eggs stay freshest if kept in the fridge in a tightly sealed container. They can be made a day ahead of your event with no loss in flavor or texture. If stacking place a piece of parchment or wax paper between layers to prevent smudging the filling.
Ingredient Substitutions
You can use gluten free brownie mix without any other changes needed. If you do not have marshmallow cream try beating in powdered sugar to taste and a splash of vanilla until the cream cheese is sweet and fluffy. Yogurt cream cheese also works if you want a tangier lighter filling.
Serving Suggestions
Arrange on a platter with pastel candies for Easter or group on a tiered stand for brunch. They also fit perfectly in lunchboxes for a special treat. A little drizzle of chocolate or caramel sauce over the top before serving adds another layer of wow.
Cultural and Holiday Twist
These are called deviled brownies as a playful nod to deviled eggs that are popular in spring and at picnics. With pastel sprinkles and a creamy swirl they become the sweet cousin to the usual savory dish. Swap sprinkle colors to match any occasion from birthdays to showers.
Seasonal Adaptations
Brighten up with citrus zest worked into the brownie batter for springtime. Use crushed peppermint candies for topping at winter gatherings. Try swapping in pumpkin spice for a fall themed variation.
Success Stories
The first time I brought these to a neighborhood potluck people could not believe they started with a boxed mix. They disappeared before any other dessert. My little one still asks to be in charge of putting the sprinkles on which has become our special kitchen moment.
Freezer Meal Conversion
These brownies actually freeze very well before adding the filling. Wrap cooled brownie eggs tightly and freeze for up to one month. Thaw overnight in the fridge and pipe the cream cheese topping fresh for a make ahead shortcut.
These deviled brownies are always the first to disappear at any party and are a guaranteed family favorite. Enjoy them with your favorite seasonal sprinkles and be ready to share the recipe!
Recipe Q&A
- → How do I achieve the egg shape?
Use well-greased silicone egg molds and fill each cavity with prepared brownie batter before baking.
- → What's the best way to make the filling smooth?
Beat softened cream cheese and marshmallow cream together until fully blended and creamy, scraping bowl sides as needed.
- → How do I prevent brownies from sticking to the mold?
Coat the molds generously with nonstick spray and allow the brownies to cool completely before removing them.
- → When should I add sprinkles?
Add sprinkles right after piping in the filling so they stick nicely to the creamy topping.
- → Can these brownies be made in advance?
Yes, refrigerate after filling. Serve chilled for best texture and flavor, up to two days ahead.