
 Pin
Pin
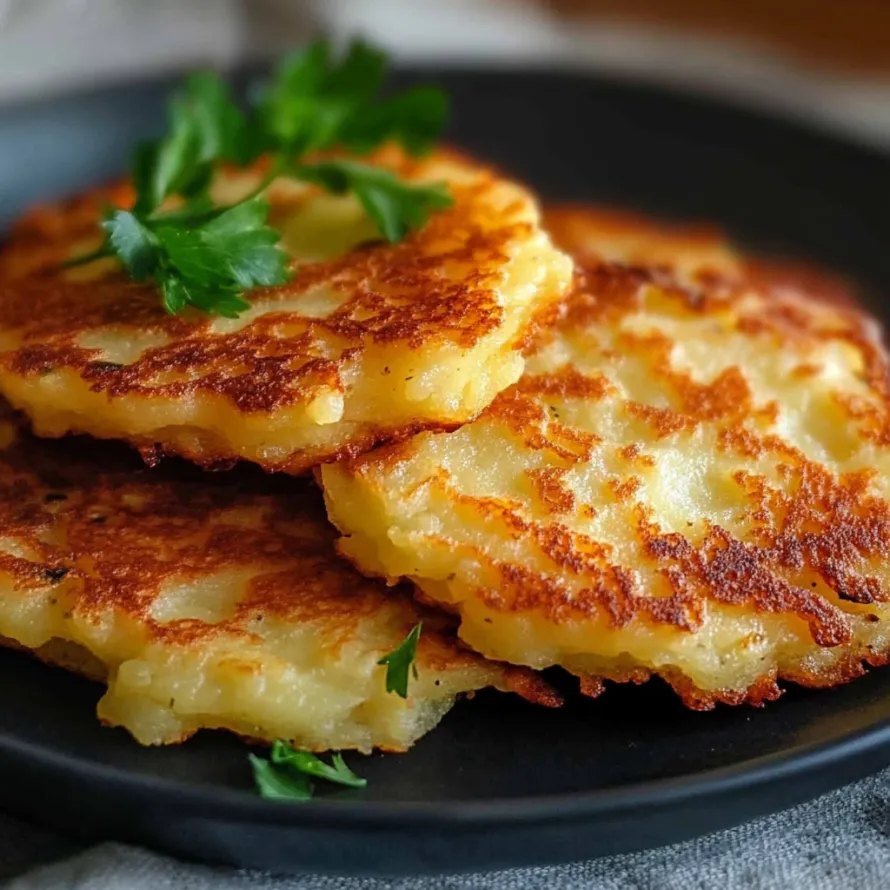
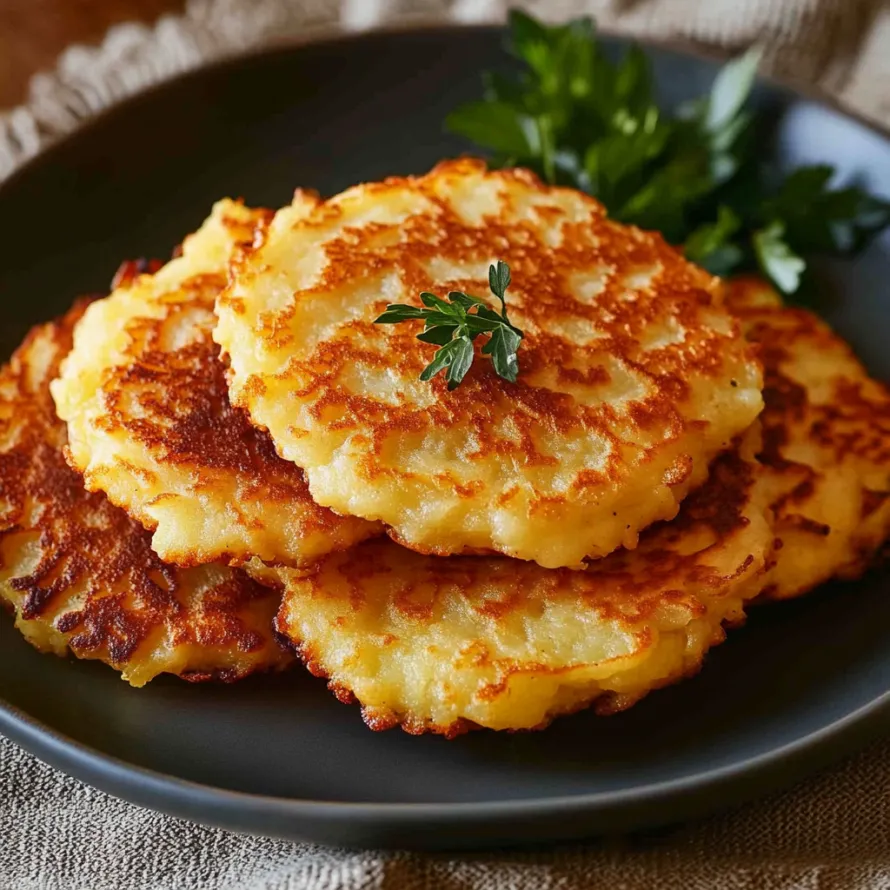
Crispy, cheesy spud fritters make the ultimate comfort snack for any get-together. These crunchy treats mix the filling goodness of russets with the bold taste of Parmesan and cheddar, making an addictive dish that vanishes fast from plates. My bunch can't get enough of them alongside Sunday morning meals or as a hearty mid-day bite.
I stumbled on this dish ages ago while trying to use up spare spuds. After tweaking it many times to nail the right feel, I landed on this mix that balances starchy potatoes with just enough cheese and spices. My kids beg for these fritters at least twice monthly, and they've become what we always bring to family potlucks.
Superior Ingredient Breakdown
- Russet potatoes: The high starch helps create that amazing crunch outside while keeping things fluffy inside. Pick firm ones without any green patches or shoots.
- Eggs: These stick everything together so it doesn't fall apart. Room temp eggs mix in much better than cold ones.
- Milk: Adds wetness and makes the mix smoother. Full-fat gives the best flavor, though any type will do.
- All-purpose flour: Builds the structure and soaks up extra wetness from the potatoes. Try to sift before measuring for best results.
- Parmesan cheese: Brings a nutty, salty kick that boosts overall flavor. Grate it fresh instead of buying pre-shredded.
- Cheddar cheese: Makes those yummy melty spots throughout each fritter. Go for sharp cheddar for the biggest flavor punch.
- Bacon bits: You can skip them but they add amazing smoky notes. Go with real bacon pieces instead of the fake stuff.
- Seasonings: The mix of onion salt, baking powder, salt and pepper creates the ideal savory taste.
- Corn oil and butter: This combo works magic for frying, with butter adding taste and oil letting you cook at higher temps.
Mastering Your Fritter Technique
- Getting Potatoes Ready:
- Strip off all the peel from your russets and cut out any bad spots. Shred them with the big holes on your grater or in a food processor. Wrap the shreds in a clean dish towel and squeeze out all the water you can, which is key for getting that perfect crunch.
- Mixing Everything Up:
- In a big bowl, beat the eggs and milk together till they're smooth. Toss in your squeezed potato shreds and mix lightly. Sprinkle on the flour, both cheeses, bacon pieces, onion salt, baking powder, salt, and pepper. Use a fork to fold it all together just until mixed, and don't go overboard with stirring.
- Frying Them Up:
- Get a big pan hot over medium heat, then add your oil and butter. Once the butter's completely melted and starts to sizzle, scoop out portions using a 1/4 cup measure and drop them into the hot pan, making sure to leave some space between each one. Pat them down gently with the back of your cup.
- Getting That Perfect Crunch:
- Let them cook without touching for about 4 minutes until you can see the edges turning a nice golden color. Flip them carefully with a thin spatula and cook another 3-4 minutes. They should end up deeply golden on both sides with crispy edges.
- Last Steps:
- Put your cooked fritters on a plate lined with paper towels to soak up extra oil. If you want them extra crunchy, you can keep them warm in a low oven at 200°F while cooking the rest.
The Parmesan in this mix has always been my hidden trick. Its savory kick makes all other flavors pop while creating those super crunchy edges everyone fights over. My grandpa was a cook who always threw a bit of good Parmesan in his potato dishes, and I've kept doing the same. When my oldest kid first tried these fritters, he said they were 'way better than fries,' which means they're basically perfect in our house.
Mouthwatering Pairing Suggestions
These adaptable potato fritters work in so many different meals. For breakfast, put a runny egg on top with some fresh herbs. At dinner, they go great next to a juicy chicken breast or steak. For lunch boxes, wrap them in foil while they're still warm, and they'll stay tasty until lunch. My favorite way to eat them is with a spoonful of sour cream mixed with freshly snipped chives.
Creative Twist Ideas
Change up these fritters to fit different diets or taste preferences. For folks who don't eat meat, skip the bacon bits and add 1/4 cup more cheese. If you can't have gluten, just swap in the same amount of gluten-free flour blend. Make them more exciting with different cheese combos like smoked gouda or pepper jack for some heat. Want more freshness? Mix in 2 tablespoons of chopped fresh herbs like chives, parsley, or dill.
Smart Storage Approach
Keep any extra fritters in a sealed container in your fridge for up to three days. To keep them from sticking together, put some parchment paper between layers. When it's time to eat them again, warm them in a toaster oven or pan instead of the microwave to bring back the crunch. They also freeze really well for up to three months if you wrap each one in plastic and then put them all in a freezer bag.
When I think about why I love these cheesy potato fritters so much, it comes down to how flexible they are. Beyond tasting amazing, they work as a starting point for so many food ideas. I've tried countless ways to change them up over time, and they always turn out great. That mix of crispy outside and soft, gooey inside wins over anyone who tries them. Whether you serve them plain on the side or dress them up with fancy toppings, these fritters have earned their spot in my go-to cooking lineup.
Recipe Q&A
- → Can I swap out the cheese?
- Absolutely! Mozzarella melts well, but cheddar, gouda, or monterey jack work nicely for variety.
- → What’s the best way to keep leftovers?
- Pop cooled patties into an airtight container in the fridge for up to three days. Warm them back up in a skillet or oven to keep them crispy.
- → Are these patties freezer-friendly?
- Totally! Freeze the cooked patties flat, then toss them into a freezer bag. Warm them straight from frozen in a 375°F oven for about 15 minutes.
- → What’s good to serve with these?
- They’re tasty with sour cream, applesauce, or a simple salad. Pair them with eggs for breakfast or protein for dinner!
- → Can I prep them ahead?
- Yes, you can! Mix and shape the patties, then store them in the fridge overnight. Bread and fry them fresh when you’re ready to eat.