Delicious Homemade French Bread

Featured in: Master the Art of Traditional Bread Making

You'll love how this French bread takes only 90 minutes start to finish, making it great for busy evenings or when guests drop by unexpectedly. You'll end up with two gorgeous loaves featuring that trademark golden, slightly crunchy outside and the tender, chewy inside everyone craves. The mix comes together fast with stuff you already have - flour, water, yeast, salt, sugar, and a bit of olive oil. The shaping is straightforward and gives you that real French bread look without fancy tools. You can tweak how crunchy or soft you want the crust, and any leftovers freeze wonderfully for up to three months. It's fantastic for making sandwiches, pairing with pasta, or just enjoying warm with a pat of butter.
Chef with a smile, ready to cook and serve.
Updated on Thu, 13 Mar 2025 18:21:55 GMT
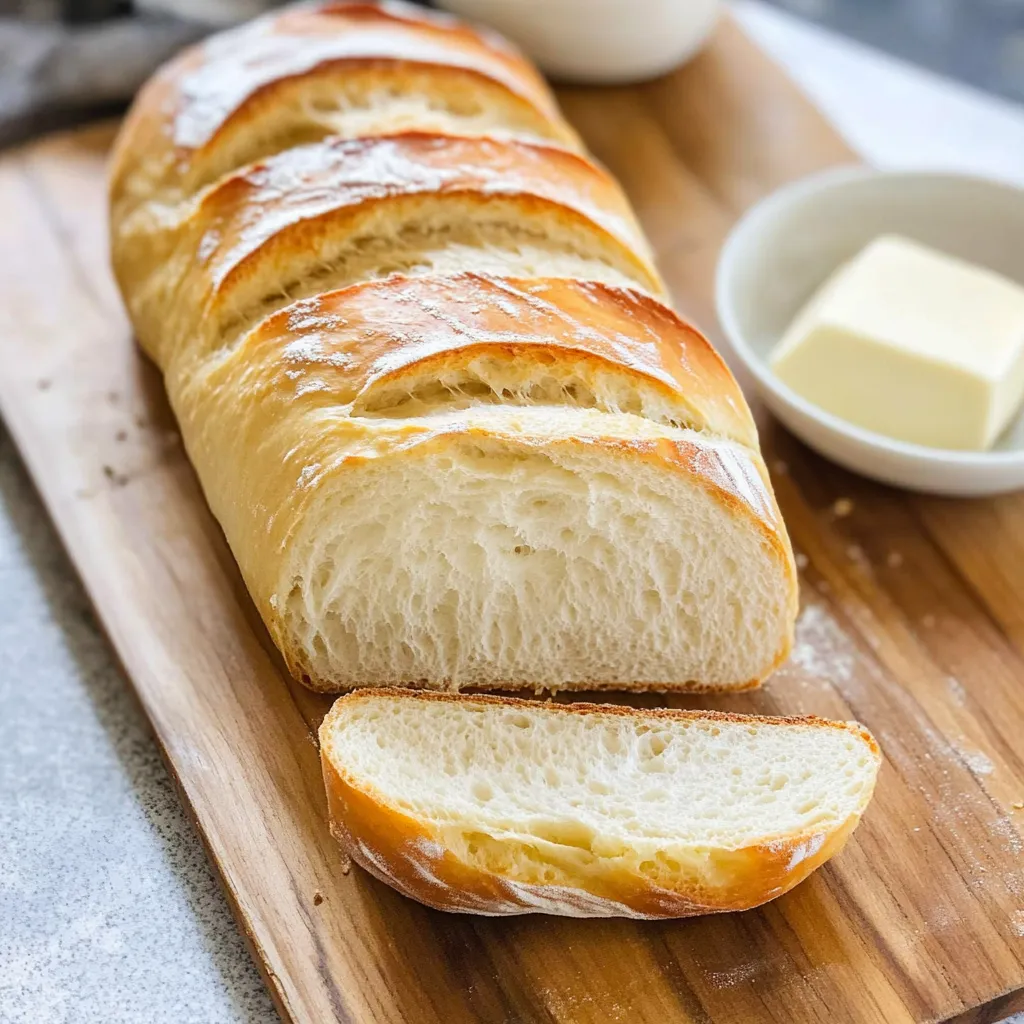
A loaf of bread is sliced and ready to be eaten. Pin it
A loaf of bread is sliced and ready to be eaten. | yummygusto.com

Nothing beats the smell of homemade French bread filling your home. This bread has a crunchy outer layer and soft, fluffy inside that makes any dinner extra special. I've spent many years tweaking this 90-minute technique in my kitchen, and I'm sure you'll get results that are just as good as what you'd find at your neighborhood bakery.

The first time I pulled this bread from the oven, my family crowded around, tearing off warm chunks and watching them steam. Seeing their happy faces reminded me that bread made at home has something magical that you just can't find in store-bought loaves.

Key Ingredients Breakdown

  • Bread flour: Has more protein than regular flour, giving you that nice chewy feel and firm crust that makes French bread so good
  • Active dry yeast: The key to making your dough rise, always go for new packets for the best results
  • Warm water: Needs to be exactly 110°F to wake up the yeast without damaging it, ensuring proper bubbling
  • Fine sea salt: Brings out all the flavors and helps control how the yeast works, creating that perfect texture

Making Your Beautiful Bread

Waking The Yeast:
Mix 110°F water with yeast and a tiny bit of sugar in a clear bowl. You'll soon see it turn into a bubbly, sweet-smelling mixture that shows your yeast is alive and ready.
First Mix:
Slowly add your flour to the yeast mixture, waiting until each scoop disappears before adding more. You'll start to see the dough come together, letting you know when it's ready for the next step.
Working The Dough:
Knead with steady movements, feeling the dough change from rough to silky under your hands. It'll become stretchier and less sticky as you work the gluten.
Forming The Loaves:
Cut your dough confidently, shaping each piece into a tight log. Create a smooth surface by rolling firmly, which helps it rise evenly and look professionally made.
Finishing Up:
Make clean cuts across the top to let the bread expand nicely while baking. A quick spray of water helps create the perfect environment for a crispy crust.
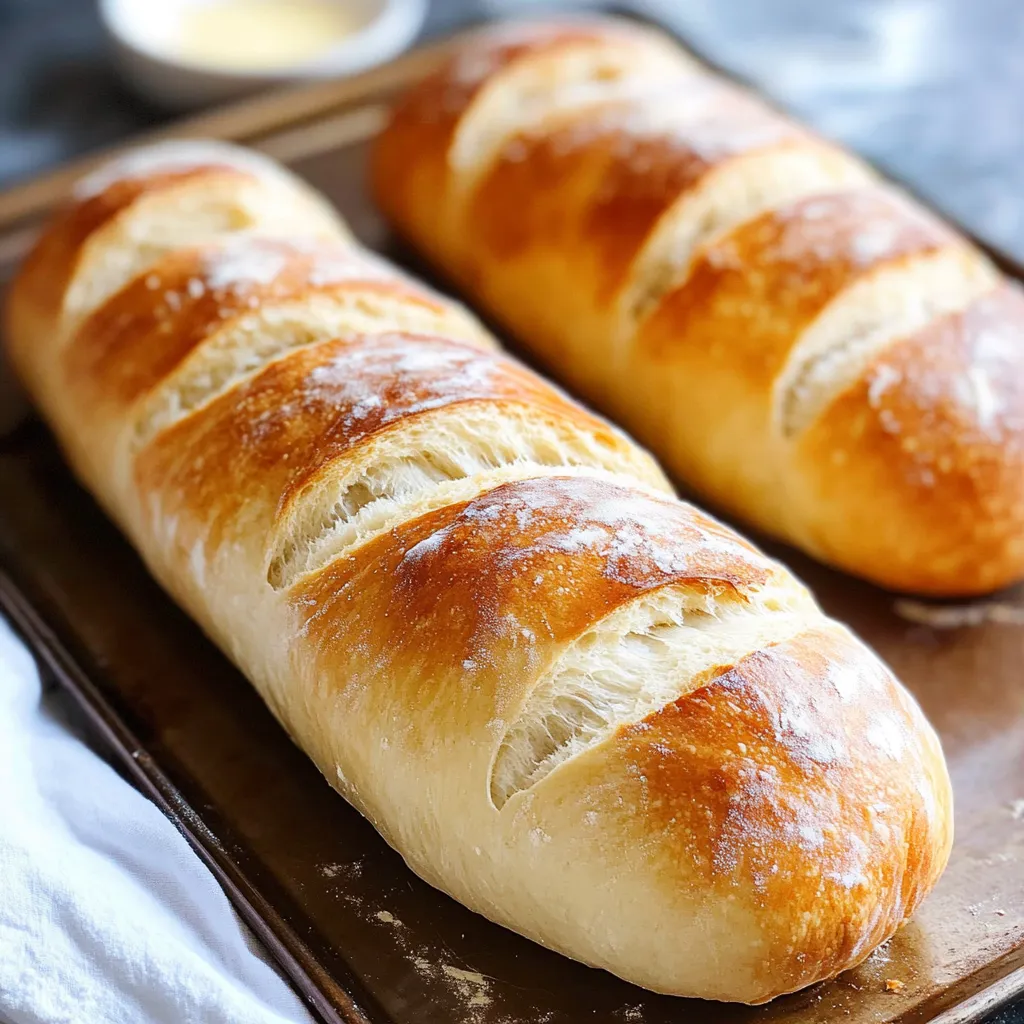
Two loaves of bread on a tray, ready to be baked. Pin it
Two loaves of bread on a tray, ready to be baked. | yummygusto.com

I can still picture my grandma tapping the bottom of every bread loaf, teaching me to listen for that special hollow sound. This simple check has worked every time for me and makes me feel connected to all the bread makers in my family before me.

Tasty Ways To Enjoy Your French Bread

Your fresh bread can be used in so many ways. Cut thick pieces for awesome sandwiches, dice it up for homemade croutons, or eat it alongside your favorite soup. Each way brings out something different about this versatile bread.

Customizing Your Bread

Try mixing in some herbs de Provence for flavor, or use part whole wheat flour for a healthier twist. You can shape the dough into round loaves instead of long ones, or make small dinner rolls that are perfect for family meals.

Storing Your Bread Right

Keep your bread in a paper bag on the counter for up to two days to maintain that perfect crust. If your bread gets a bit stale, just sprinkle it with water and warm it in a 350°F oven for 5-10 minutes to bring it back to life.
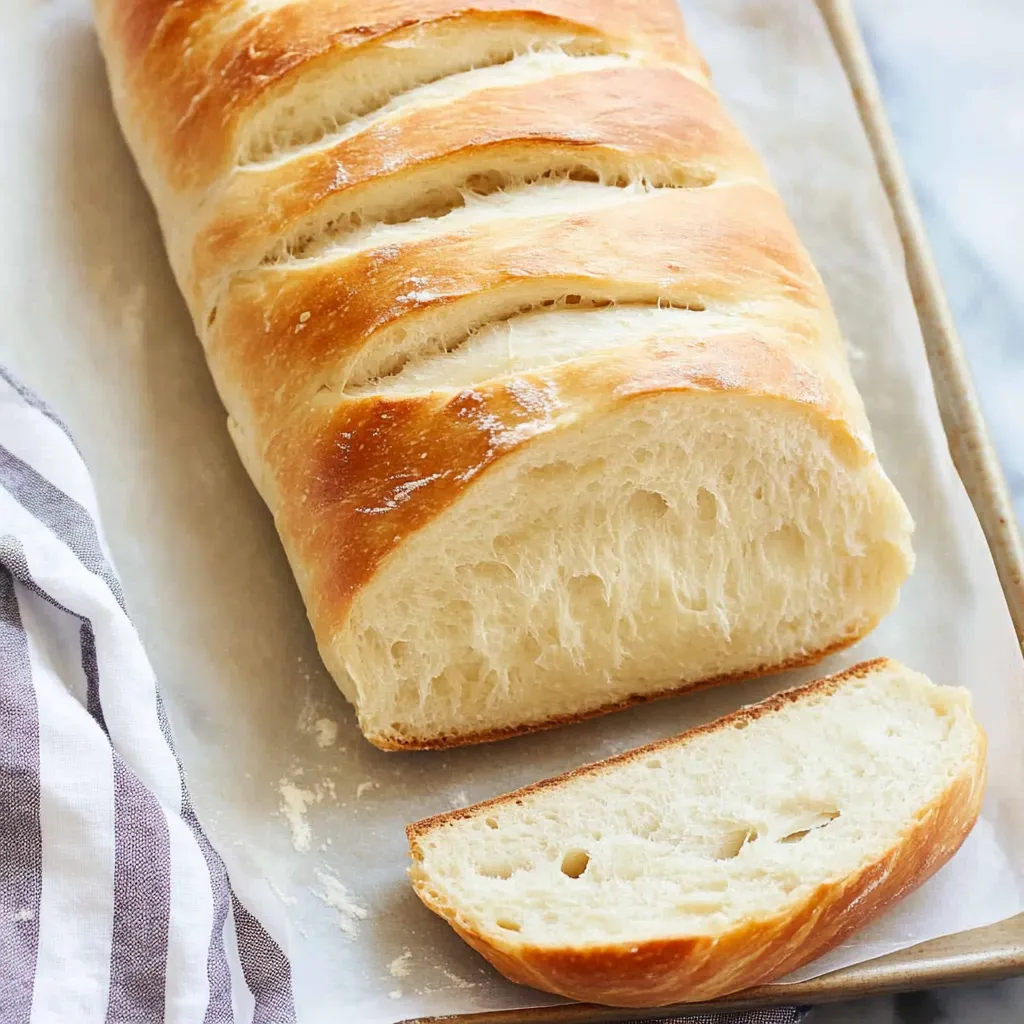
A loaf of bread is cut into slices and placed on a tray. Pin it
A loaf of bread is cut into slices and placed on a tray. | yummygusto.com

Over my years of making this bread, I've learned that taking your time really matters most. The wait for the dough to rise fully and holding back from cutting into hot bread always gives you better results. This recipe has grown into something more than just instructions. It's about honoring traditions, mastering techniques, and enjoying the simple pleasure of sharing bread you made yourself with the people you care about.

Frequently Asked Questions

→ Can I mix this French bread dough by hand instead?
You bet! While using a stand mixer saves time, you can totally mix everything in a big bowl and then knead by hand on a floured counter for about 8-10 minutes until it feels smooth and stretchy.
→ How can I tell when my bread is completely done?
Your bread is ready when you see a nice golden brown crust and it makes a hollow sound when you tap the bottom. If you've got a thermometer, the inside should reach around 190°F.
→ My bread didn't rise much. What went wrong?
This usually happens when your water was too hot (it kills the yeast), your yeast was old, or you didn't wait long enough. Try using water around 105°F and make sure your yeast isn't expired.
→ Can I add other flavors to this French bread?
Definitely! For a tasty herb version, mix in 1-2 tablespoons of dried rosemary, thyme or Italian seasonings. If you want cheesy bread, fold in 1 cup of shredded gruyère or parmesan after the first rise.
→ What's the best way to warm up day-old French bread?
For that fresh-baked feel, lightly dampen the bread with water, wrap it in foil, and warm it at 300°F for 5-10 minutes. This brings back the crispy outside while keeping the middle soft.

French Bread From Scratch

You can make this French bread in only 90 minutes and get that beautiful golden outer crust while keeping the inside soft and chewy.

Prep Time
70 Minutes
Cook Time
20 Minutes
Total Time
90 Minutes
By: Sandra

Category: Rustic Breads

Difficulty: Intermediate

Cuisine: French

Yield: 32 Servings (2 loaves)

Dietary: Vegetarian

Ingredients

→ Basic Dough

01 2 cups lukewarm water (around 105°F)
02 1 Tablespoon dry active yeast
03 2 ½ teaspoons white sugar
04 5 cups (650 g) plain flour or bread flour, with extra for dusting
05 2 ½ teaspoons regular salt or fine sea salt
06 1 teaspoon olive oil

→ Final Addition

07 Melted butter with salt (if you want)

Instructions

Step 01

Combine lukewarm water, yeast, and sugar in a small bowl. Wait 5 minutes until it gets foamy and bubbly. That foam shows your yeast is good to go!

Step 02

Using your stand mixer with paddle attachment or just a big bowl for hand mixing, blend 2 cups flour with salt. Add your frothy yeast mixture and mix at medium-low. Add more flour bit by bit, about ½ cup each time, until your dough feels smooth but not tacky. You might need a bit more or less than 5 cups total depending on how humid your kitchen is.

Step 03

Give your dough ball a light coat of olive oil all over. Drape a kitchen towel over the bowl and let the dough sit for 15-30 minutes. Got spare time? Let it grow for up to an hour for even better results!

Step 04

Dust your counter with flour and place your dough on it. Cut it into two equal parts with a knife or bench scraper. Take one half and roll it into a 15-inch rectangle. Roll it up from the long side to make a cylinder. Seal the edges by pinching them and tuck the ends under. Make the edges rounded and put your loaf on a baking sheet. Do the same with the other half.

Step 05

With a sharp knife, make three slanted cuts across each loaf top. This helps them expand while baking and makes them look fancy too! Cover both loaves with a clean towel and let them puff up again for 30-60 minutes. The longer they rise, the better they'll be.

Step 06

Heat your oven to 400°F and put parchment paper or a silicone mat on your baking sheet. Bake the loaves for 17-23 minutes until they turn a nice golden brown on top. Want to check if they're done? Tap them gently. They should sound hollow! If they brown too fast, loosely put foil on top and turn down the heat to 375°F.

Step 07

For extra flavor, brush the hot bread with melted butter. Cut and eat while still warm for that amazing fresh-baked taste!

Notes

  1. For a crunchy, glossy top, coat the loaves with a mix of 1 beaten egg white and a teaspoon of water before baking. Tossing a few ice cubes in the oven creates steam for a crunchier crust.
  2. Keep this handmade French bread in a paper bag on your counter to keep its texture just right.
  3. To save for later, cool the bread fully, then wrap in a big ziplock bag (better to freeze whole than sliced). Push out all air and freeze up to 3 months. Let it thaw overnight and warm at 300°F for 5 minutes to freshen up.

Tools You'll Need

  • Stand mixer with paddle attachment (or big mixing bowl)
  • Baking sheet
  • Silicone mat or parchment paper
  • Kitchen towel
  • Sharp knife

Allergy Information

Please check ingredients for potential allergens and consult a health professional if in doubt.
  • Has wheat/gluten
  • Added butter has dairy

Nutrition Facts (Per Serving)

It is important to consider this information as approximate and not to use it as definitive health advice.
  • Calories: 92
  • Total Fat: ~
  • Total Carbohydrate: ~
  • Protein: ~