
 Pin
Pin
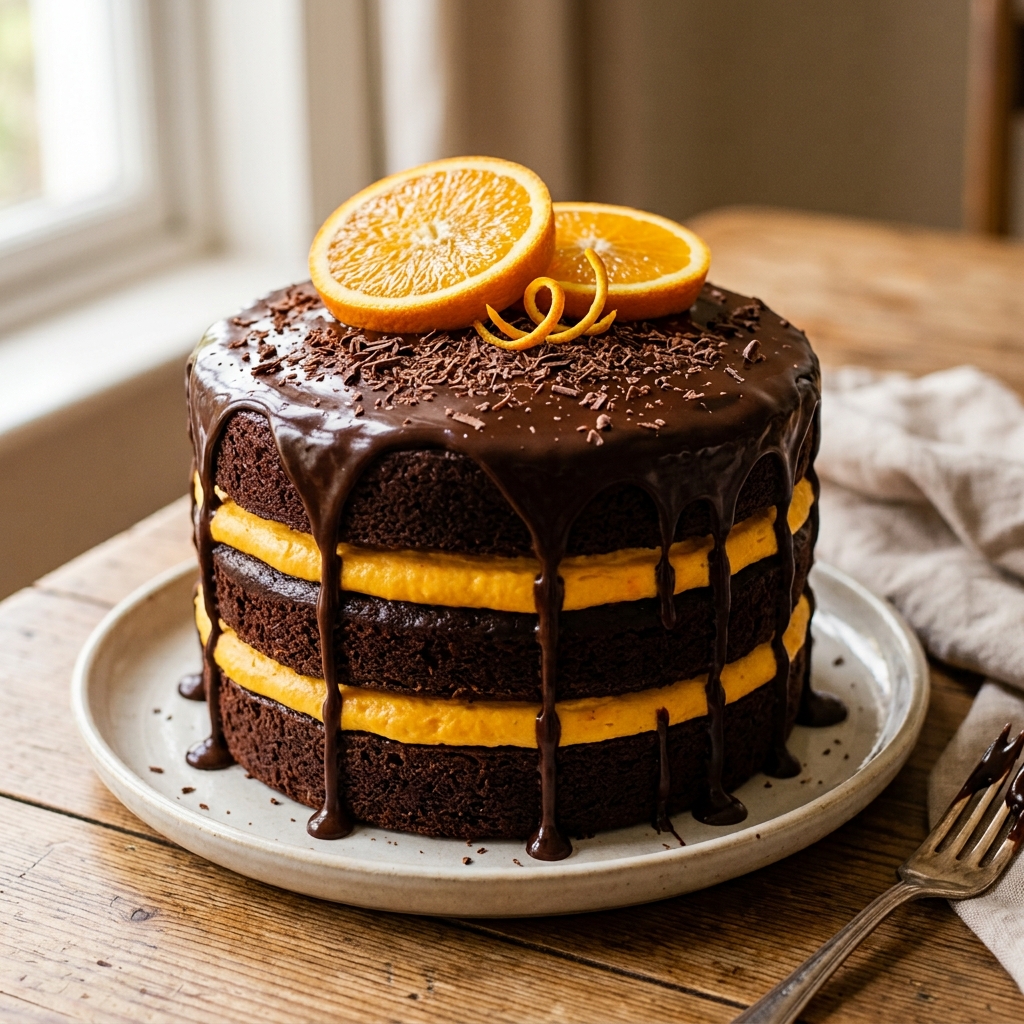
This chocolate orange layer cake is the kind of showstopper dessert you break out for birthdays or holidays but somehow crave all year round. Dark chocolate and sweet citrus come together in every bite with soft layers and plush orange cream. Each forkful tastes nostalgic but fresh and utterly decadent.
I started baking this after a Christmas exchange gifted me a chocolate orange and the cake has not left our table for winter celebrations since. The first time I made this for my sister’s birthday everyone asked for seconds and the leftovers vanished by breakfast. It is that good and always the first dessert gone at parties.
Ingredients
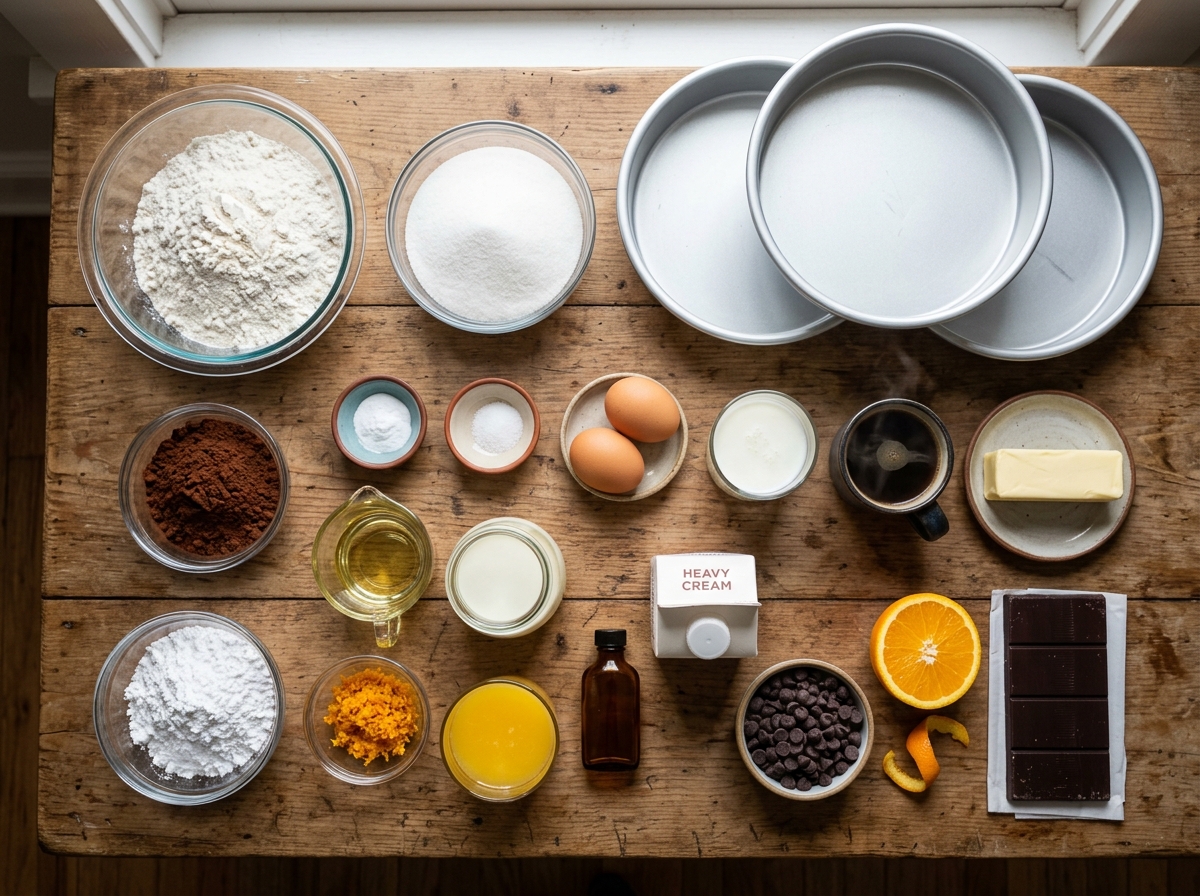
- All purpose flour: gives the structure you want for a tall fluffy cake. Look for unbleached flour if possible for gentler flavor
- Granulated sugar: sweetens the batter and locks in moisture. Go for fine grain to avoid grittiness
- Dark cocoa powder: brings an intense chocolate base. Unsweetened Dutch process gives the deepest color
- Baking soda: is your leavening for a light crumb. Check the expiry every few months
- Salt: sharpens chocolate flavor and balances sweet orange
- Large eggs: bind and create richness to hold the cake layers together
- Vegetable oil: creates a tender open crumb and stays soft for days
- Buttermilk: brings a gentle tang and super moist texture
- Hot coffee: deepens and blooms cocoa powder. Brew fresh and use hot
- Unsalted butter: is best for controlled flavor in the orange cream. Softened for smooth mixing
- Powdered sugar: builds the creamy filling and silky frost. Sift before adding for a lump free finish
- Orange zest: gives bright natural citrus perfume. Use a firm washed orange and avoid the bitter white pith
- Fresh orange juice: brightens and sweetens. Squeeze just before using
- Orange extract: intensifies the orange note without making it tart
- Heavy cream: makes a lush silky ganache for the top
- Dark chocolate chips: melt quickly into glossy ganache. Choose at least 60 percent cocoa for deep flavor
- One fresh orange: decorates the cake and gives pop of color. Use for half slices and a peel twist
- One block of good dark chocolate: creates those elegant chocolate shavings
- Three 8 inch round cake pans: let you make perfect layers. Line with parchment for easy release
- A sturdy electric stand mixer: makes blending the orange cream effortless and fluffy
Instructions
- Prepping and Lining the Pans:
- Prepare three 8 inch cake pans by lining the bottoms with parchment paper. Lightly dust the edges with flour so the cake unmolds easily and stays intact
- Mixing the Dry Ingredients:
- In a large mixing bowl add flour granulated sugar cocoa powder baking soda and salt. Whisk for one full minute to blend completely and avoid any pockets of cocoa or soda which causes streaks or holes in the crumb
- Combining Wet and Dry Ingredients:
- Break eggs into the mixture then pour in vegetable oil and buttermilk right over top. With a large spatula or mixer blend until barely combined and most flour patches are gone. Do not overmix
- Adding Hot Coffee to Bloom Cocoa:
- Carefully pour in the very hot coffee and whisk just until the mixture is smooth and glossy. The coffee brings out chocolate depth and makes the batter pourable
- Dividing and Baking Cake Layers:
- Pour the batter evenly into your prepared pans. Use a scale or cup to keep layers equal. Bake at 350 degrees for 30 to 35 minutes. Check with a toothpick for moist crumbs but no wet batter. Cool fully on racks before layering
- Making the Orange Cream Filling:
- Soften unsalted butter and beat on medium high in your stand mixer for five minutes until very pale and fluffy. Gradually add powdered sugar in stages beating well after each addition. Add orange zest orange juice and orange extract. Mix until smooth thick and pastel orange in color
- Assembling and Layering:
- Place your first cooled cake on a pretty plate. Spread with a thick layer of orange filling to all the edges. Top with the second cake layer and repeat. Add the third cake and finish with the last of the frosting. Chill the stacked cake for at least twenty minutes to set the layers
- Preparing and Pouring Ganache:
- Heat heavy cream just to steaming in a small pot. Pour over chocolate chips and let sit for two minutes to melt. Stir with a spatula until glossy smooth and thick. Pour the ganache slowly over the center of the chilled cake letting it drip naturally down the sides
- Decorating the Top:
- Cut two fresh orange halves and make a twist of peel. Sprinkle the cake with delicate dark chocolate shavings. Place the orange slices and peel twist on top for a vibrant finish
I absolutely love the orange zest in the frosting. Just grating the zest perfumes the entire kitchen and makes baking extra special. My favorite memory was making this cake as a team with my little ones who were in charge of adding zest and sneaking orange segments between layers
Storage Tips
Store the finished cake covered at room temperature for up to two days or in the refrigerator for five days. Bring slices to room temperature before serving for a silky soft crumb and fluffier frosting
Ingredient Substitutions
If you prefer a sweeter cake use milk chocolate chips in place of dark for the ganache. You can swap buttermilk for plain yogurt thinned with a bit of milk in a pinch. For dairy free baking use neutral oil based margarine instead of butter and coconut cream for the ganache
Serving Suggestions
Serve thick slices on bright plates to show off the layers. This cake pairs beautifully with black coffee espresso or even a scoop of vanilla ice cream for extra decadence. For a playful twist try topping each slice with a small wedge of candied orange peel
Cultural and Seasonal Context
Chocolate and orange together is a classic British holiday treat but this cake is fitting for any season. In winter fresh oranges feel extra special while in spring and summer you can swap in blood orange for a vivid color twist. This cake makes a brilliant centerpiece for festive or family gatherings
Seasonal Adaptations
Swap blood orange for the freshest flavor in winter or spring. Shave chocolate curls from a high cocoa block for bolder garnish. For summer serve slightly chilled for a bright cool dessert
Success Stories
Friends and family rave about this cake at every gathering. My cousin once texted ahead of her birthday simply to make sure I was bringing THIS cake
Freezer Meal Conversion
Cool the assembled unfrosted layers completely then wrap each tightly. Freeze for up to three months. Thaw layers overnight in the refrigerator then assemble with fresh orange cream and ganache for best flavor and texture
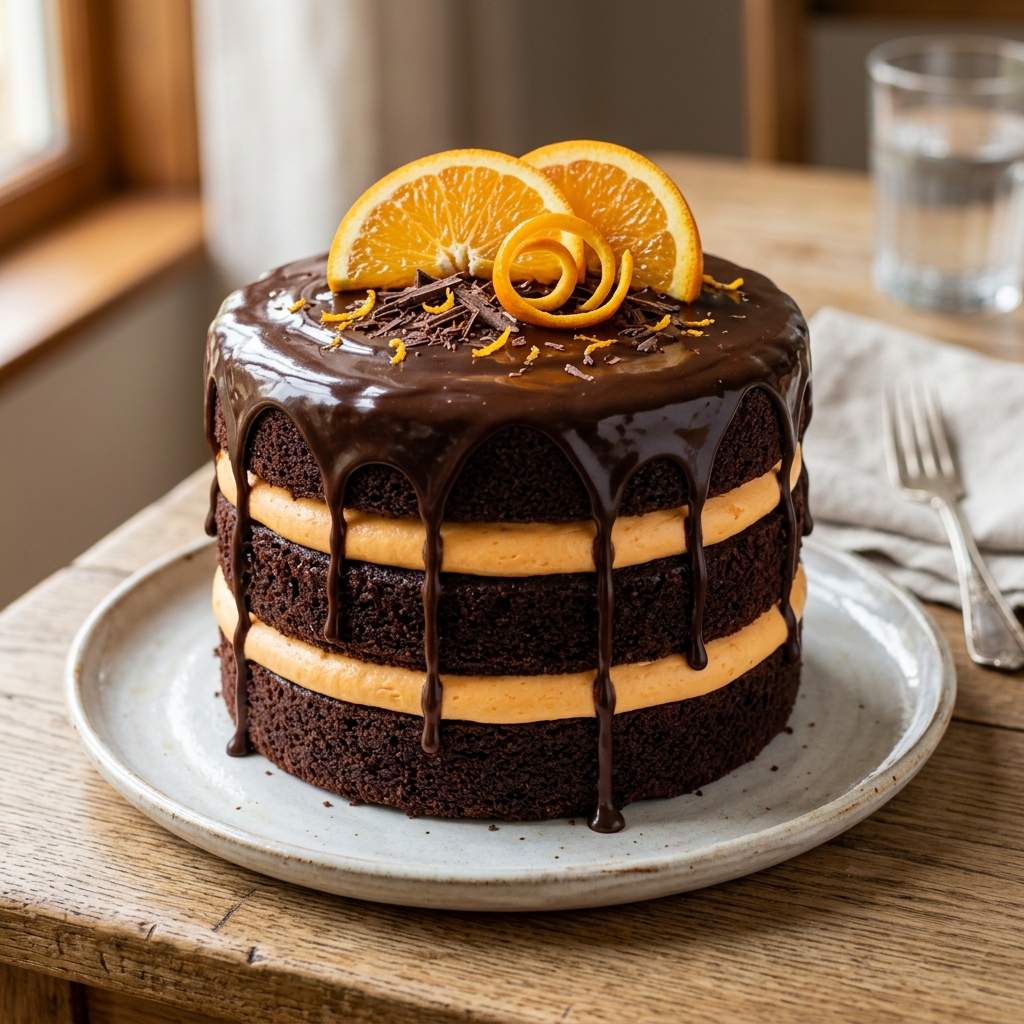
This cake is pure joy to bake and unforgettable to serve. Give it a try and let the bright chocolate orange flavors become your new tradition.
Recipe Q&A
- → How do you achieve a moist chocolate cake?
Use buttermilk and hot coffee in the batter; these create a tender crumb and enhance chocolate flavor.
- → What brings out the orange flavor in the filling?
Fresh orange zest, juice, and orange extract infuse the cream with bright citrus notes.
- → Can I make the cake layers ahead of time?
Yes, cool completely and wrap tightly. Layers keep well in the fridge or freezer until ready to assemble.
- → How should the ganache be made for a glossy finish?
Pour hot heavy cream over dark chocolate chips, let sit, and stir gently until smooth and shiny.
- → What garnishes work best for presentation?
Fresh orange slices, a twist of peel, and delicate chocolate shavings create an eye-catching finish.