
 Pin
Pin
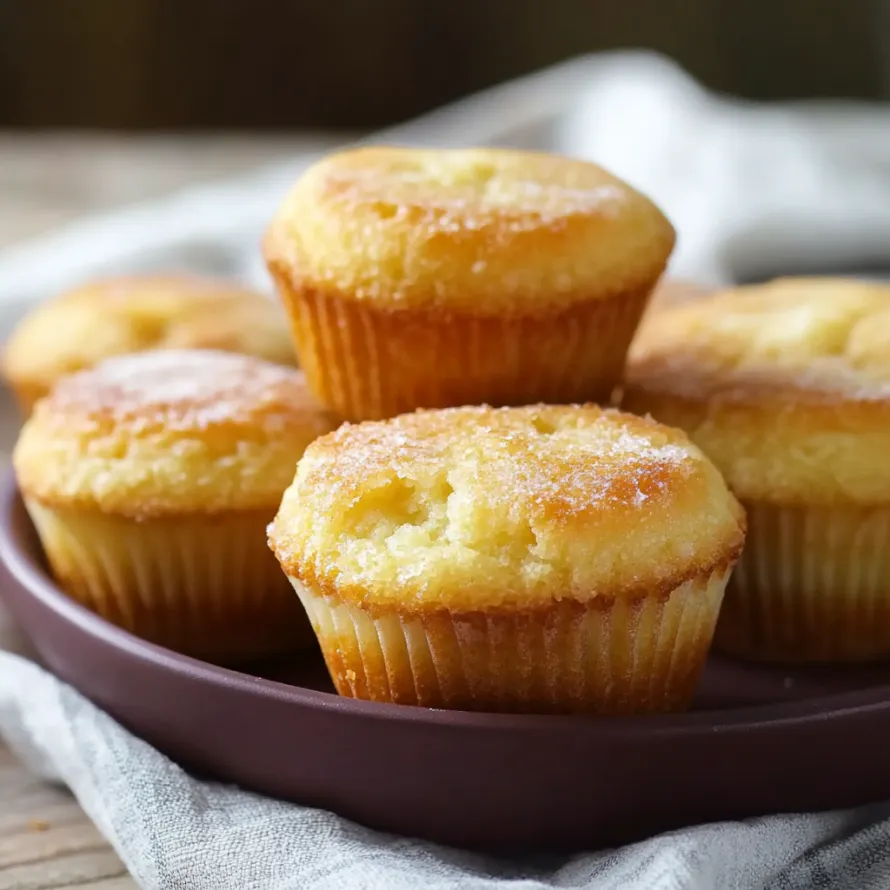
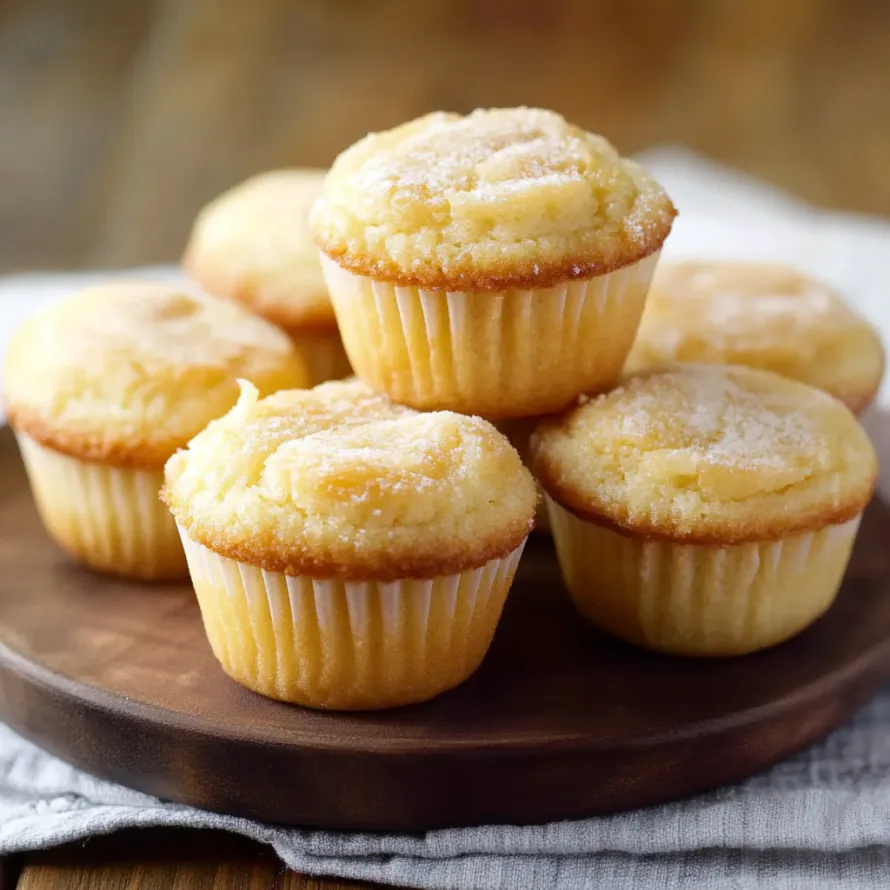
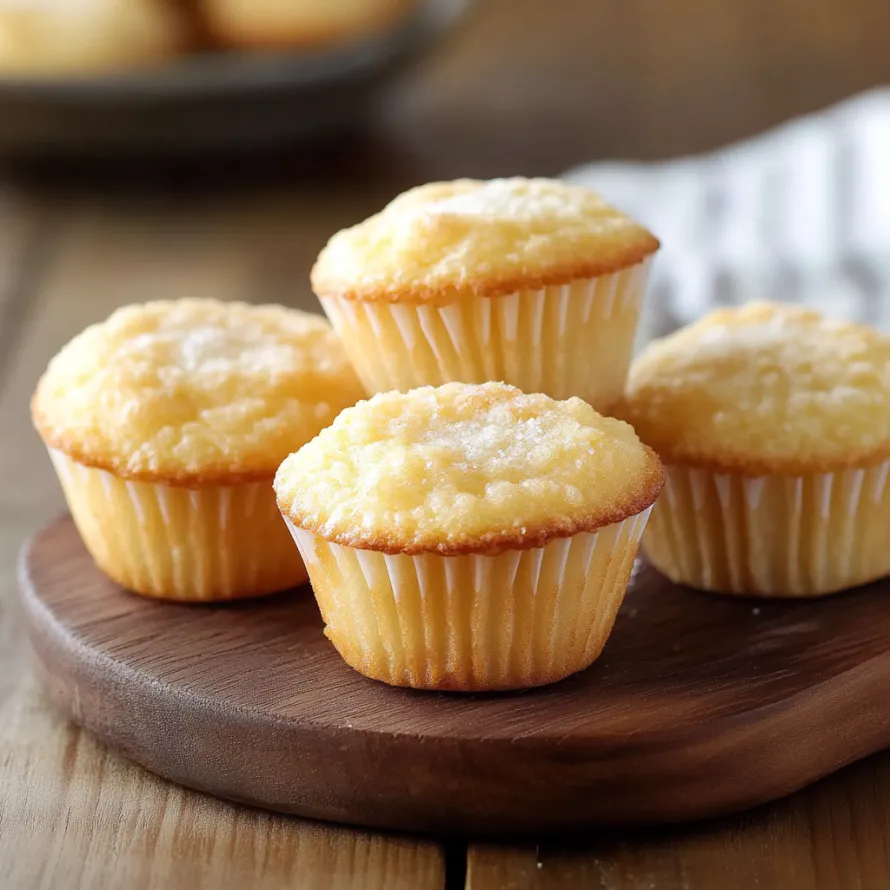
These portable Hawaiian butter mochi treats give you that amazing chewy goodness in a handy muffin form. We've mixed sweet rice flour with creamy coconut milk to nail that signature stretchy bite everyone craves while keeping them just sweet enough to make you reach for seconds.
I first baked these for our block party and they vanished before anything else on the dessert table. Now I always stock Mochiko flour because my kids beg me to make them every single week.
Ingredients
- Unsalted butter: Adds a velvety richness and helps make the edges tender
- Granulated sugar: Gives just enough sweetness without going overboard
- Large eggs: Use them at room temp for better mixing and proper texture
- Vanilla extract: Brings a cozy background note that works well with coconut
- Mochiko flour: The star ingredient that creates that stretchy, bouncy bite
- Baking powder: Provides slight rise while keeping the dense chew we want
- Evaporated milk: Packs in dairy goodness without watering down your mix
- Coconut milk: Gives that unmistakable island flavor that defines mochi
Step-by-Step Instructions
- Get Everything Ready:
- Heat your oven to 350°F and line muffin pans with paper cups or grease them well. I've found that silicone cups work amazingly for this recipe since they let the mochi pop right out without any sticking issues.
- Mix Your Foundation:
- In a big bowl, stir together melted butter and sugar until they're completely combined. Don't worry about making it fluffy. We actually want it dense, not airy like regular cake batters.
- Add Structure Elements:
- Drop in eggs one by one, mixing each one fully before adding the next. This slow approach keeps the batter from separating and builds the right texture. You'll notice it getting smoother and lighter with each egg.
- Boost The Taste:
- Mix in vanilla throughout the batter. It might seem tiny but this little splash connects all the flavors, bringing together the dairy and coconut in a way that makes everything tastier.
- Build The Chew Factor:
- Add your Mochiko flour and baking powder, stirring until mostly mixed but not completely. Stop when it's about 90% combined. Mixing too much now can make them tough instead of pleasantly chewy.
- Finish Your Batter:
- Pour both milks into the bowl and stir until everything looks perfectly smooth. Take your time here. Any flour lumps left will mess up that awesome mochi texture we're after.
- Bake Them Up:
- Fill each muffin cup about 3/4 full and bake for 45 minutes. They're done when a toothpick comes out mostly clean with just a few crumbs. Look for golden tops with slight doming and maybe some cracking.
- Let Them Rest:
- Leave muffins in the pan for 10 minutes before moving to a cooling rack. They need this complete cooling time because their texture keeps developing as they cool down.
I learned how crucial coconut milk is when I ran out once and tried using regular milk instead. The muffins tasted okay but missed that wonderful island aroma and richness that makes butter mochi so darn good.
Keeping Them Fresh
These mochi muffins actually get better with time as everything melds together. Keep them in a sealed container on your counter for three days max. They'll stay perfectly chewy without drying out. Need them to last longer? Pop them in the fridge for up to a week, but let them warm up before eating. For much later, wrap each one in plastic and throw them in a freezer bag for up to three months.
Try These Twists
You can easily change up this basic butter mochi recipe. Toss in 1/2 cup coconut shreds for extra texture, or mix 1 cup fresh blueberries into the batter for fruit flavor. If you love chocolate, add 1/3 cup tiny chocolate chips. For a Japanese twist, blend in 2 tablespoons matcha powder. During autumn, I love mixing in 1 teaspoon cinnamon and 1/4 teaspoon nutmeg to make them warm and cozy.
The Background Story
Butter mochi came from Hawaii's melting pot of foods, blending Japanese mochi traditions with Western baking. It shows Hawaii's diverse culture, especially how Japanese workers who came for sugar plantations influenced local cooking. In Japan, traditional mochi means pounded sticky rice cakes, but Hawaiians created this baked version as an easier way to get that chewy goodness while using ingredients they had around like coconut.
You'll end up with soft, stretchy, buttery muffins that capture the spirit of Hawaiian treats while being simple enough for anyone to pull off at home.
Recipe Q&A
- → What is Mochiko flour and can I swap it?
Mochiko is a brand of glutinous rice flour and gives these muffins their amazing chewy feel. If you can't find that exact brand, any glutinous (or sweet) rice flour works fine. Be sure not to use regular rice flour because it won’t produce the same sticky result.
- → Why are my muffins turning out heavy?
If they're too dense, it's probably because of overmixing or measuring the ingredients wrong. Make sure the wet and dry ratios are correct, don’t overmix the batter, and check your baking powder is fresh since old leavening won't give it the necessary lift.
- → How do I store these treats?
Once cooled, keep them in an airtight container at room temperature for a max of 3 days. For extended storage, place them in the fridge for up to a week. Freezing is an option too—store for up to 3 months and warm up slightly when ready to eat for the best texture.
- → Can I mix other flavors into my muffins?
Go wild with flavors! Some fun options include matcha powder, black sesame paste, cocoa powder, or even citrus zest. For toppings, try shredded coconut, a sprinkle of kinako, or a light dusting of powdered sugar.
- → Why did my muffins collapse in the center?
This can happen if they’re underbaked or if the oven is too hot. Also, opening the oven door too early can lead to sinking. Bake at the right temp and don’t disturb them until you’re sure they’re done. Test doneness with a toothpick; if it comes out clean, you’re good!
- → How are butter mochi muffins different from mochi?
Mochi is traditionally made by pounding steamed rice into a dense, sticky paste. These muffins instead use rice flour and are baked into a spongy yet chewy dessert. While both have the classic mochi feel, the muffins also have a cake-like texture.