
 Pin
Pin
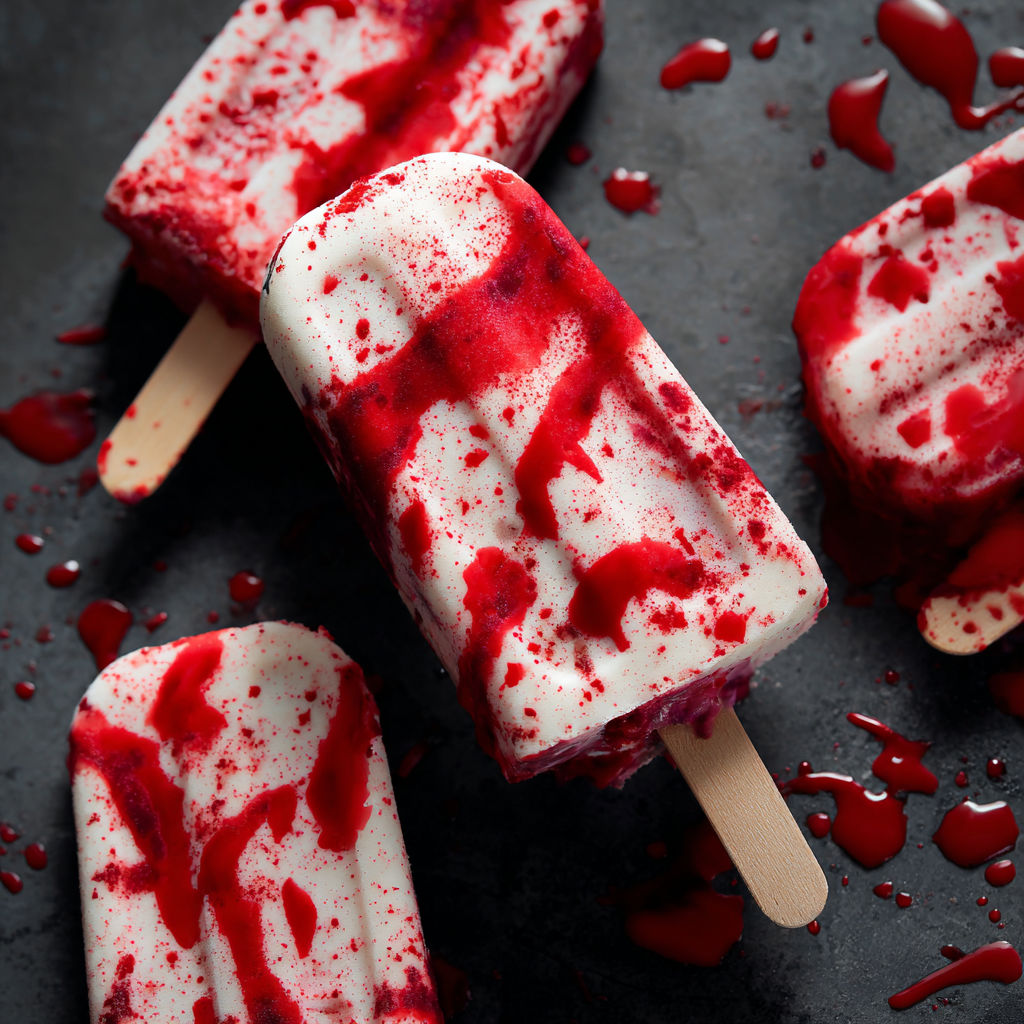
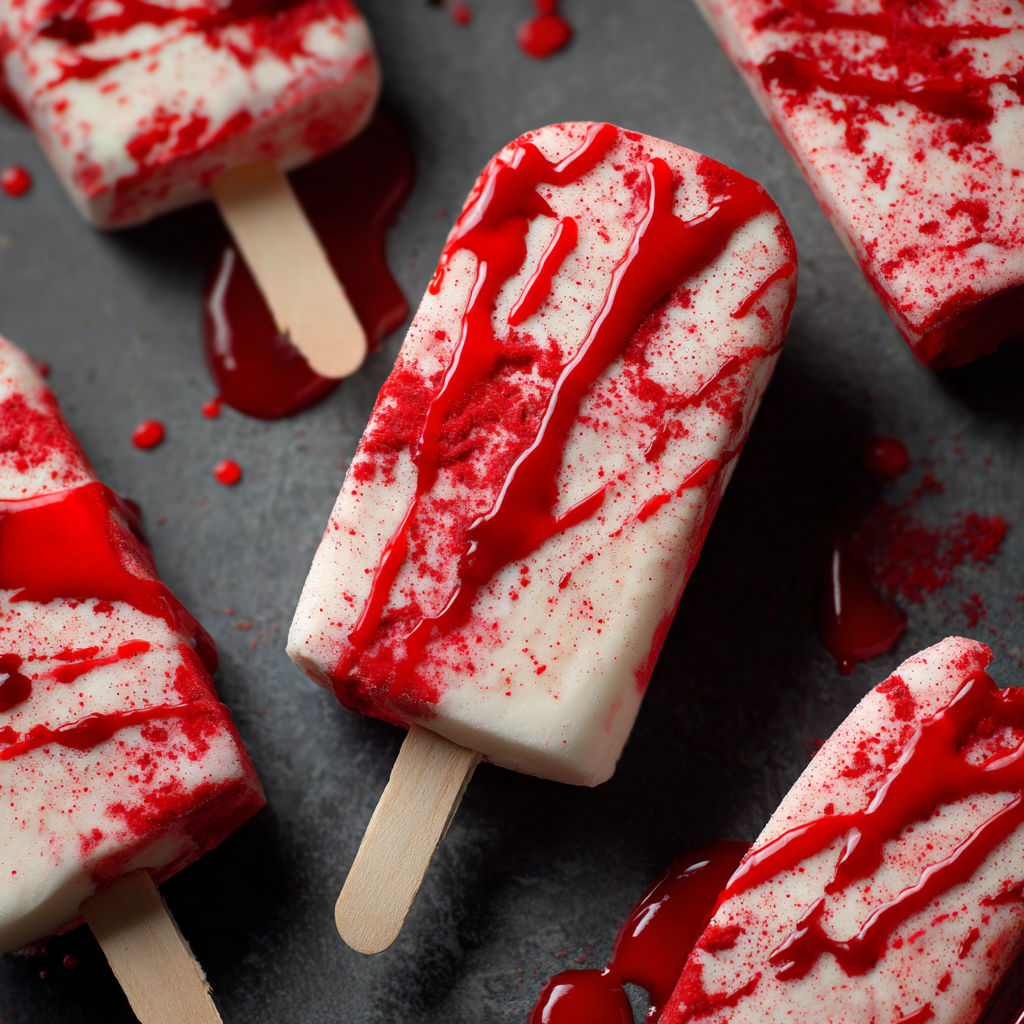
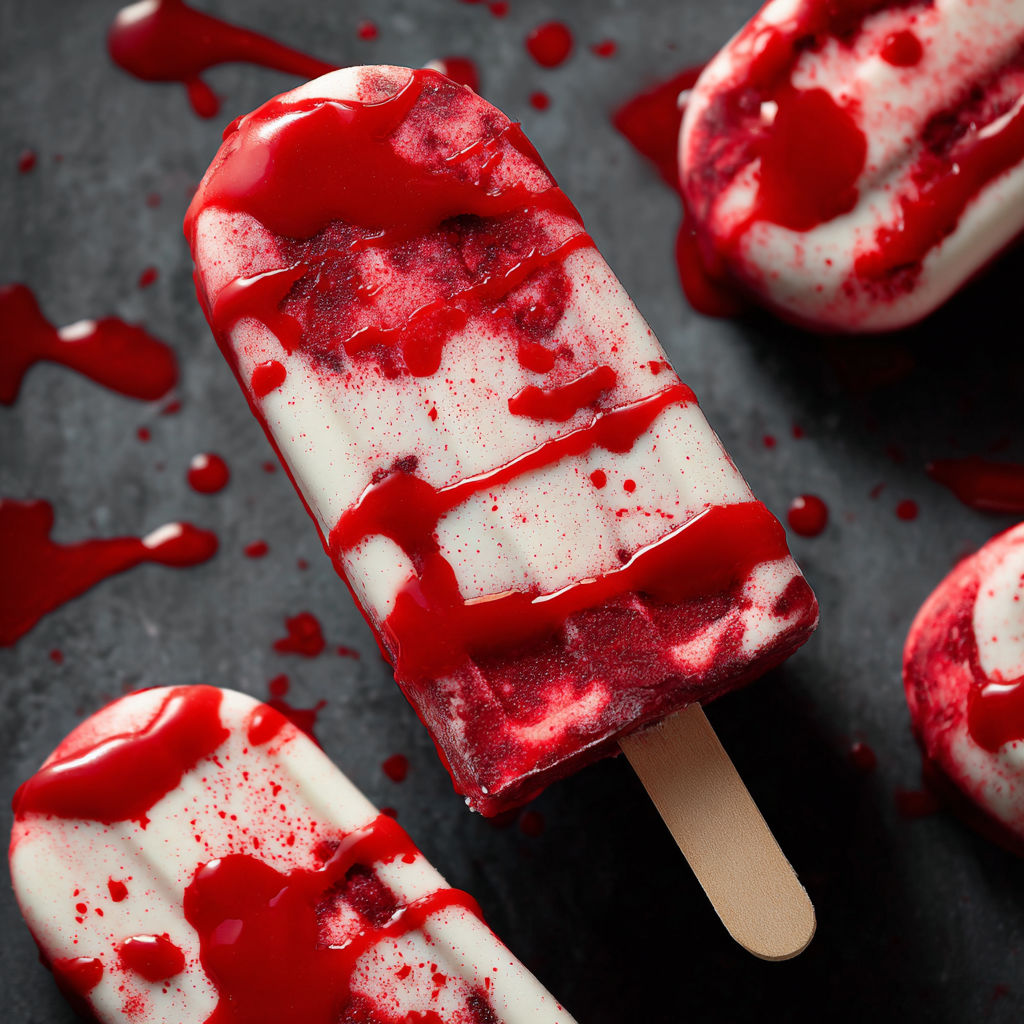
Delightfully spooky and sweet these Blood Splatter Cakesicles are my go to Halloween treat for parties movie nights or whenever you want to make dessert a little dramatic. They are the perfect blend of creamy red velvet cake covered in smooth white chocolate with a splash of crimson candy melt that looks eerily like blood spatter. Prep is simple and fun and the results never fail to start conversations at the sweets table.
My first batch completely wowed my niece who immediately dubbed them the coolest scary snacks ever and now they are a must make for every October
Ingredients
- Red velvet cake mix: boxed gives you a fast flavorful base look for brands with a rich cocoa aroma
- Eggs: fresh eggs help the cake rise and add richness large size works best
- Vegetable oil: keeps the cake moist stick to a neutral oil like canola or sunflower for the best flavor
- Cream cheese: bring to room temperature for easier folding in it makes the cakesicle tender and creamy
- White chocolate almond bark: melts smoothly be sure it looks glossy with no chalky spots
- Red candy melts: vivid color and easy to work with choose a brand with a deep red hue for a true dramatic blood effect
- Popsicle sticks: strong wooden ones will make your cakesicles sturdy for dipping
- Cakesicle mold: choose a silicon mold for the easiest release and cleanest finish
Instructions
- Prepare the Cake:
- Preheat your oven to three hundred fifty degrees Fahrenheit and lightly grease a nine by thirteen inch pan. In a large mixing bowl combine the red velvet cake mix water eggs and vegetable oil. Whisk thoroughly until completely smooth ensuring no lumps remain. Pour the batter into the prepared pan and spread evenly before placing in the oven. Bake for thirty minutes checking with a toothpick for doneness.
- Make the Cakesicle Dough:
- Remove baked cake from the oven and let it cool until you can handle it. Crumble the entire cake by hand or with a fork into fine crumbs in a large bowl. Add the softened cream cheese and use your hands or a spatula to work it in until you have a moist dough that holds together when pressed.
- Shape and Chill:
- Take about one tablespoon of dough and press it firmly into each cavity of your cakesicle mold making sure the top is smooth and the dough reaches all corners. Carefully insert a popsicle stick into the center of each mold and press gently to anchor it. Place the filled mold in the freezer for ten minutes so the cakesicles can firm up and hold their shape for dipping.
- Coat with White Chocolate:
- Break up the almond bark and melt it according to the package instructions using a microwave or double boiler until smooth. Gently remove the chilled cakesicles from the molds and dip each one into the melted white chocolate covering completely. Let any excess drip off and place each dipped cakesicle onto a parchment lined tray to set.
- Create the Splatter:
- Melt the red candy melts in a small bowl following package instructions until fluid. Dip a clean fork into the red melt and use a quick flicking motion of your hand to splatter red streaks across the surface of each white cakesicle. Allow everything to dry fully at room temperature before serving.
My favorite part is letting the younger kids help with the splatter step—they create wild splashes and truly make each treat unique. The first time my son saw the finished tray he gasped and said these looked just like something out of his favorite monster movie
Storage Tips
Store your finished cakesicles in an airtight container in the refrigerator. They will stay fresh and moist for up to five days. If making ahead let them come to room temperature for about fifteen minutes before serving for the best texture.
Ingredient Substitutions
If you cannot find white almond bark you can swap in good white chocolate chips. Red food coloring gel mixed into melted white chocolate can stand in for candy melts. In a pinch homemade red velvet cake from scratch also works but the mix saves time and consistently gives great results.
Serving Suggestions
Serve your Blood Splatter Cakesicles on a black tray lined with parchment for a spooky touch. Pair with other Halloween treats like candy eyes or gummy worms. For a party bar set up a decorate your own cakesicle station with extra sprinkles and toppings.
Cultural and Historical Context
Cakesicles riff on classic cake pops turning homemade cake and frosting into a fun handheld treat inspired by ice cream bars. Their gory splatter design makes them a staple of modern Halloween celebrations where playful foods add to the festive spooky spirit.
Seasonal Adaptations
Dress them up with green or purple splatter for a monster theme Swap in orange for a candy corn twist Use gold accents for a magical Halloween party vibe
Success Stories
A good friend brought these to her daughter’s school party and the PTA moms raved so hard she was asked to teach a mini class on Halloween snack making. These cakesicles also made me an instant favorite at my cousin’s horror movie marathon.
Freezer Meal Conversion
You can freeze finished cakesicles for up to one month. Wrap each one tightly in plastic and layer in a covered container. Thaw in the refrigerator overnight and let come to room temp before sharing.
Enjoy making these Blood Splatter Cakesicles with your family for a deliciously spooky Halloween treat — they are sure to disappear fast from any party plate
Recipe Q&A
- → How do you get cakesicles to hold their shape?
Combining cake crumbs with cream cheese forms a moldable dough that holds together well after chilling in the freezer.
- → What is the best way to coat cakesicles in chocolate?
Dip each chilled cakesicle in melted white chocolate almond bark, ensuring complete coverage, and let set on a flat surface.
- → How can I create the blood splatter effect?
Melt red candy melts, then use a fork or your hands to flick the melted candy over the cakesicles for dramatic splatter.
- → Can I use a different cake flavor?
Yes, you can substitute the red velvet with other flavors, but the red coloring enhances the visual effect for this treat.
- → Do cakesicles need to be refrigerated after making?
Keep cakesicles chilled in an airtight container to maintain freshness and prevent the chocolate from softening.