
 Pin
Pin
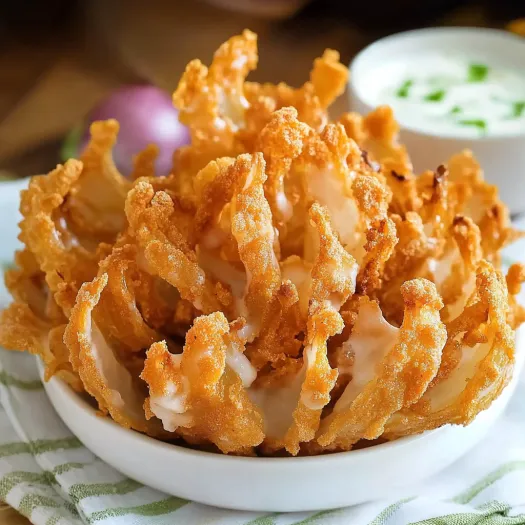
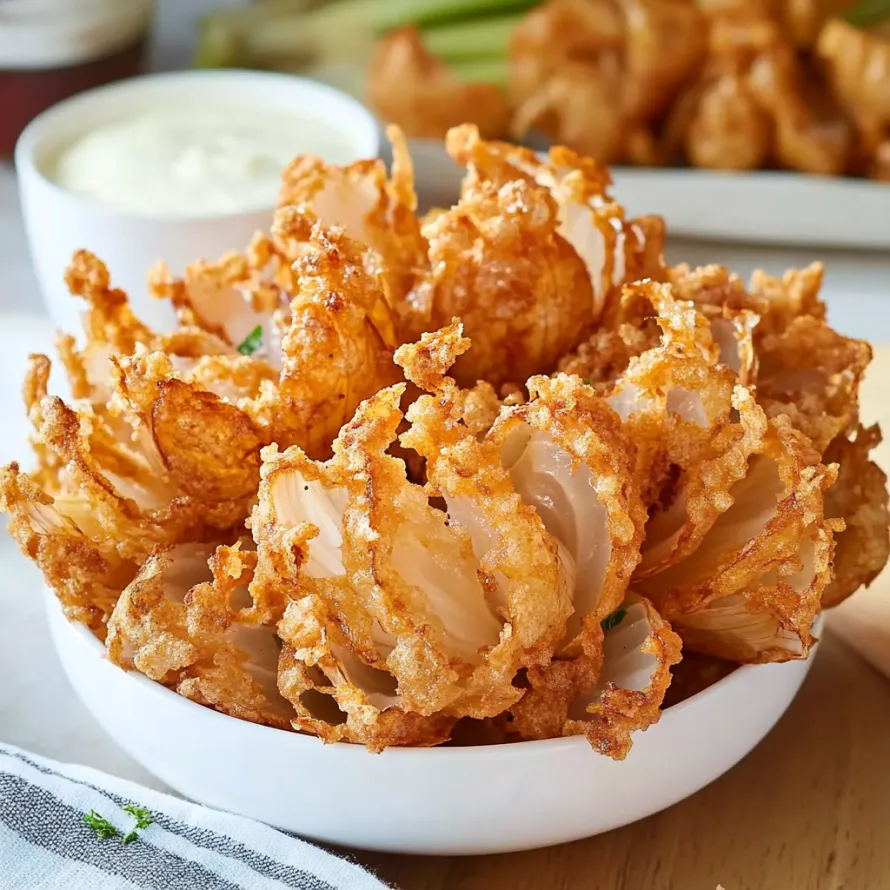
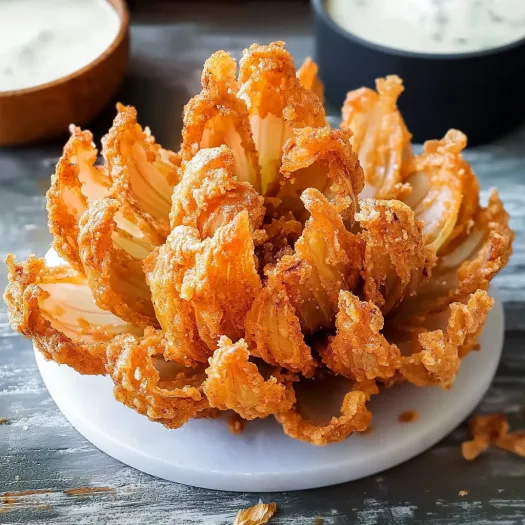
This golden, crunchy blooming onion turns an everyday onion into a jaw-dropping starter that's better than what you'd get eating out. When fried, the well-seasoned layers fan out like a blossom, creating a beautiful dish that's super fun to tear apart and dunk.
I first whipped this blooming onion up during a Super Bowl get-together, and it was gone in minutes—faster than anything else I served. These days, my friends ask for it at every party and crowd around my kitchen waiting for it to come out of the fryer.
What You'll Need
- Mayonnaise: Makes the smooth foundation for this can't-stop dipping sauce
- Sour cream: Gives a zingy taste and cools down the spice
- Creamy horseradish: Adds that must-have tangy punch
- Ketchup: Brings sweetness and tomato goodness
- Paprika: Gives nice color and subtle smokiness
- Garlic powder: Adds flavor depth without being too strong
- Cayenne pepper: Brings just enough kick
- Eggs: Help the coating stick properly
- Milk: Makes the egg mix the right consistency
- All purpose flour: Forms that delicious crunchy layer
- Paprika: Creates lovely color and gentle flavor
- Ground cumin: Adds rich, warm notes
- Dried oregano and thyme: Give fragrant herby touches
- Salt: Brings out all other tastes
- Cayenne pepper: Offers a nice warmth
- Black pepper: Provides gentle spiciness
- Garlic powder: Creates savory taste in every bite
- Sweet onions: Are ideal since they're not too sharp when fried
- Vegetable oil: Won't burn at high temps for crispy results
Easy Cooking Method
- Mix Your Dipping Sauce:
- Put mayonnaise, sour cream, horseradish, ketchup, paprika, garlic powder, and cayenne pepper in a bowl. Stir until it's all smooth and one color. Cover it and stick it in the fridge while you work on the onion.
- Make The Egg Mixture:
- Take a big, deep bowl and crack two eggs into it. Pour in the milk. Whisk it all up until it's fully mixed and a bit bubbly.
- Prepare The Flour Mix:
- In another wide bowl, dump in flour, paprika, cumin, dried oregano, thyme, salt, cayenne pepper, black pepper, and garlic powder. Mix well so all the spices spread out evenly.
- Get The Onion Ready:
- Set your onion on a cutting board with the root facing down. Cut off the top part, then slice downward to make the petals. Turn it over and push gently to spread it out.
- Cover The Onion:
- Sprinkle the onion with your spiced flour, dunk it in the egg mix, then coat again with flour to get a nice thick layer.
- Fry Until Crunchy:
- Heat your oil to 375°F. Cook the onion with root side up for 7-10 minutes until it's a deep gold color. Take it out and let it drain on paper towels.
- Time To Eat:
- Put your blooming onion on a plate with the dipping sauce. Dig in right away.
In my house, everyone grabs for those little crunchy bits that fall on the plate when we're eating. I always make more dipping sauce than needed because people don't just use it for the onion—they dip everything else in it too!
Choosing Your Ideal Onion
Finding the right onion makes all the difference for an amazing blooming onion. Sweet types like Vidalia, Walla Walla, or Spanish onions are fantastic because they get even sweeter when fried. Go for onions that feel hard with dry, tight outer layers and seem heavy for their size. Onions that are round with slightly flat bottoms will sit nicely on your plate and look better when served. Size matters too—pick medium onions about 3 inches across for even cooking without wasting too much oil.
Keeping Your Oil Just Right
Getting your oil temperature spot-on is super important for a great blooming onion. If the oil's too cold—under 350°F—your onion will get greasy and soft instead of crispy. If it's too hot—over 400°F—the outside will burn while the inside stays raw. Grab a candy or frying thermometer to check it properly. Only drop your onion in when the oil hits exactly 375°F, knowing the temp will dip a bit when the cold onion goes in. Adjust your burner as needed while cooking. It's best to fry just one onion at a time so the oil stays hot enough.
Prep Work You Can Do Early
Though you'll need to fry your onion right before eating, you can get other stuff ready ahead of time. The dipping sauce can be made up to three days early and kept in a sealed container in your fridge. The flour and spice mix can be combined and stored at room temp for weeks. You can even cut and coat your onions up to two hours before frying. Just keep these prepped onions in the fridge loosely wrapped in plastic. Let them warm up on the counter for about 20 minutes before frying for best results.
You'll blow your guests away with this tempting treat that looks as good as it tastes. Trust me, it's totally worth the effort!
Recipe Q&A
- → How do I keep the onion from falling apart when cutting it?
Always leave about 1/2 inch at the bottom root end when you cut. Start by cutting the onion in quarters, then make more cuts in each quarter. Cut downward from the top but never cut through the root base that keeps everything together.
- → What type of onion works best for this dish?
Go for sweet onions like Vidalia, Walla Walla, or Spanish varieties as they taste milder and sweeter when cooked. Pick medium or large onions to make a more impressive looking dish.
- → Can I make the blooming onion ahead of time?
It's best eaten right after frying when it's super crispy. If needed, you can cut and bread the onion a few hours early and keep it in the fridge before frying. You can make the dipping sauce a day ahead.
- → What oil is best for frying the blooming onion?
Stick with neutral oils that can handle high heat like canola, peanut, or regular vegetable oil. You'll need enough to cover the onion fully, and keeping the oil at 375°F is key for good results.
- → How can I tell when the blooming onion is done cooking?
Look for a golden brown, crispy outside after about 7-10 minutes of frying. For really big onions, you might need to carefully turn it over halfway through cooking to get even browning.
- → Can I make this dish less spicy?
Sure thing, just cut back or skip the cayenne pepper in both the coating mix and the sauce. You can also use less horseradish in the dip if you want it milder.