
 Pin
Pin
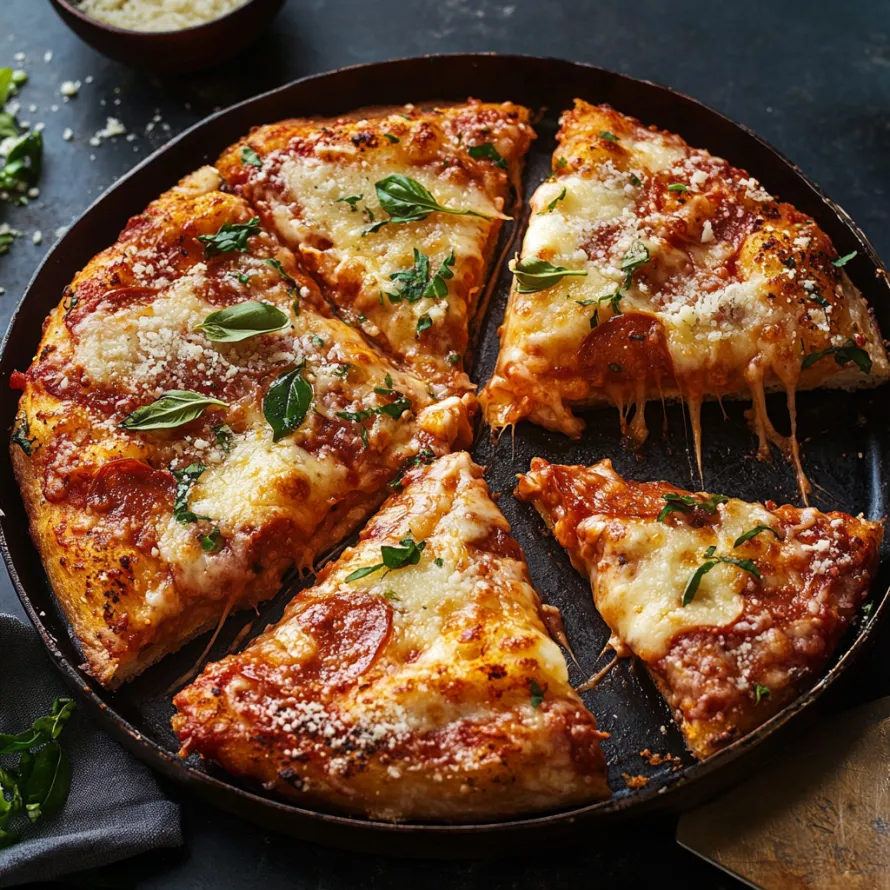
The pan pizza with its crispy cheese edges won Arthur's top spot in 2020 with good reason. You'll hear the crunch as you bite through the perfect outer layer into a substantial yet soft crust. The way the cheese runs right to the edge makes a caramelized border that'll have you reaching for another slice right away.
I stumbled onto this method while trying different recipes during lockdown, and it quickly turned into our end-of-week must-have. My kids now beg for it every Friday and have started making up their own topping mixes.
What You'll Need
- All Purpose Flour: Gives just the right structure without getting heavy. King Arthur flour works best because its protein level doesn't change
- Salt: Brings out flavors and helps control how the yeast works for better texture
- Instant yeast: Makes the dough rise without much work
- Water: Wakes up the yeast and makes air bubbles for a fluffy crust
- Olive oil: Adds taste and helps the outside get crispy in the pan
- Mozzarella cheese: Gives that pull-apart stretch everyone loves. Get the low moisture kind for best results
- Tomato sauce: Adds flavor without making things soggy when you put it on right
- Optional hard cheeses and fresh herbs: Take your pizza up a notch with deeper flavors
Easy Cooking Guide
- Mix It Up:
- Stir flour, salt, yeast, water and 1 tablespoon olive oil just until wet throughout. The dough should look rough and feel sticky. Don't mix too much or you'll make the dough too tough.
- Build Strength With Folds:
- Skip the kneading and do four rounds of folding with 5 minutes between each. Just grab the bottom edge, pull it up and over the top, then turn your bowl and repeat. This gentle way makes nice air pockets.
- Chill It Out:
- Put a cover on the dough and stick it in the fridge for at least 12 hours but you can go up to 3 days. This slow cold rise brings out amazing flavors while the yeast works slowly. Makes it easy to fit around your busy day.
- Oil The Pan:
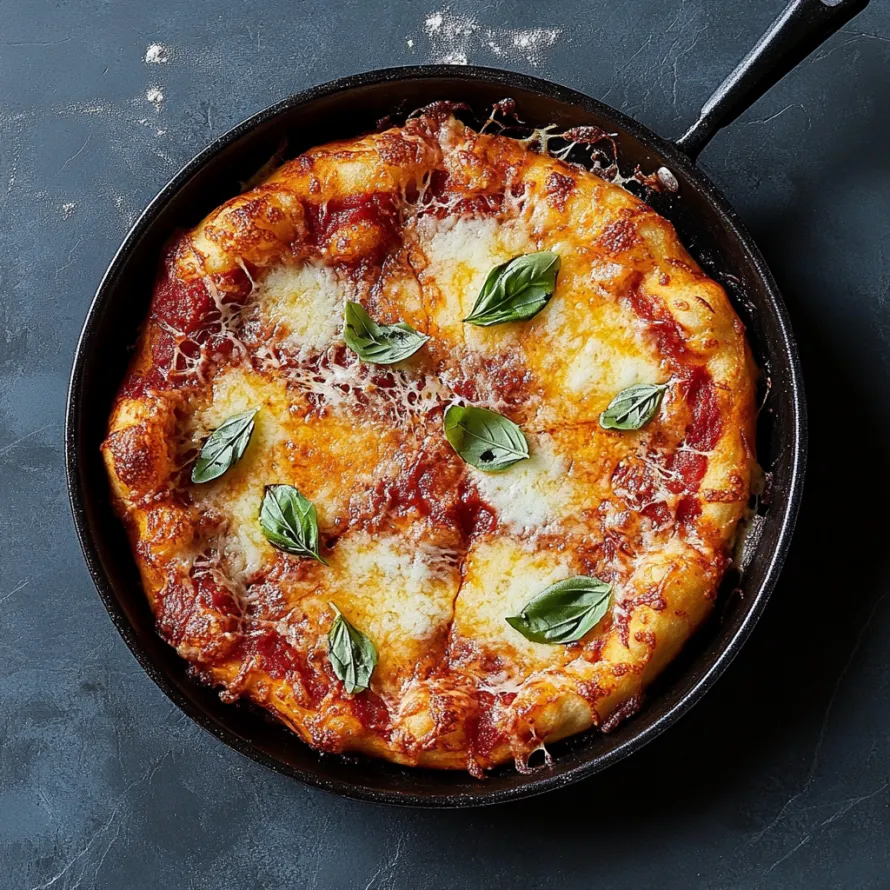
- Pour plenty of oil into your cast iron pan, making sure to get the sides too. The oil helps make that amazing crust and stops sticking. Cast iron holds heat really well for even cooking.
- Push It Out:
- Drop the dough into your oily pan, flip it once to get oil on both sides. Use your fingertips to push toward the edges while making little dents. If the dough fights back, let it rest 15 minutes. The little dents stop huge bubbles but add nice texture.
- Let It Grow:
- Leave the shaped dough out uncovered for 2 hours until it puffs up and wobbles when you shake the pan. This final rise makes it light inside while the top dries a bit to stay crisp.
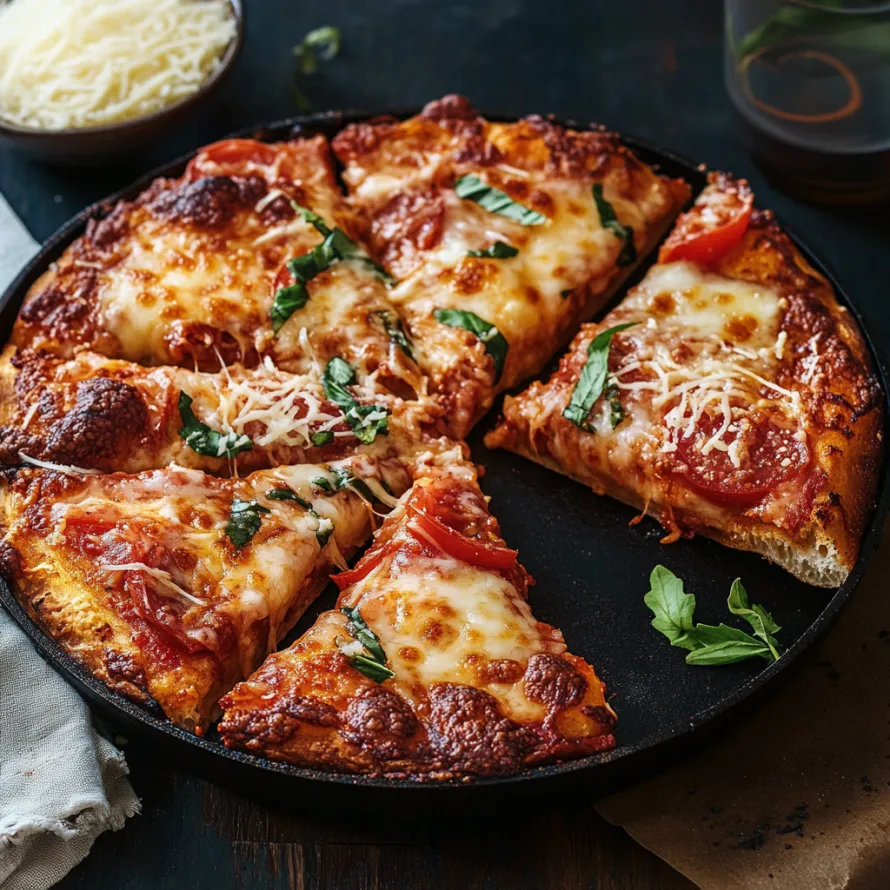
- Smart Layering:
- Spread most cheese all over the dough first, then dot sauce on top and finish with the rest of your cheese. Putting cheese down first keeps sauce from making your crust soggy and gets you those tasty browned edges.
- Bake It Right:
- Cook on the bottom rack at 450°F for 18-20 minutes until the bottom turns deep golden and the top bubbles. Lift with a spatula to check the bottom and move racks if needed for better browning.
The thing I love most about this pizza is how the outside gets so crispy from soaking in olive oil while the inside stays light and fluffy. The first time I made it, I heard this awesome crackling as I ran my spatula around the edge, and I knew it was going to be amazing before I even took a bite.
How To Get That Amazing Crust
Getting this pizza right really depends on how you prep your pan. Cast iron works so well because it heats up slowly but holds that heat forever. This gives your pizza bottom that slow, thorough bake that makes it perfectly crispy. If your crust isn't browning enough, try warming your pan for 5 minutes before you add the dough. Just remember that a hot pan will make your pizza cook a bit faster.
Keeping Leftovers Fresh
This pizza tastes best right away, but you can keep leftovers in a sealed container in the fridge for up to 3 days. Don't use the microwave to reheat it or you'll end up with a soggy mess. Instead, put slices in a dry pan over medium-low heat and cover them for about 5 minutes. This brings back the crispy bottom while warming the top gently. If you need to store it longer, you can freeze fully baked pizza for up to 2 months. Wrap each slice in parchment paper then foil before putting them in a freezer bag.
Making It Your Own
Though this pizza shines with just cheese and sauce, you can top it with almost anything you want. Just remember that wet toppings need to be cooked first to get rid of extra moisture. For meats like sausage or bacon, cook them fully and drain off the fat before adding them. Veggies like mushrooms, peppers and onions do better if you quickly cook them in a pan first to remove water and soften them up. Don't go overboard with toppings though – too much stuff can keep the crust from cooking properly.
Your family and friends will be blown away when you serve this crispy pan pizza!
Recipe Q&A
- → What makes this pan pizza special?
This pizza really stands out thanks to its crunchy golden edges, gooey cheese spread right to the border, and a thick but tender crust. It relies on four key tricks: folding instead of kneading for air bubbles, chilling overnight for better flavor, baking in cast iron for that amazing crunch, and putting cheese down first to keep the bottom from getting soggy.
- → Can I make this without a cast iron pan?
You sure can! While a heavy cast iron pan gives the crunchiest bottom, you can also use any other oven-safe heavy pan about the same size, a 10" round cake pan, or even a 9" square baking dish. What matters most is using something that holds heat well to get that crispy bottom.
- → How do I prevent a soggy crust?
This way of making pizza tackles sogginess by putting down cheese first as a shield, then adding small spoonfuls of sauce on top. This stops the sauce from soaking into your dough. Also, moving the pizza to a cooling rack shortly after it comes out of the oven helps keep that crunch.
- → Can I add different toppings?
For sure! Feel free to add whatever toppings you love, but remember to cook any veggies or meats beforehand and spread them in one layer over the cheese and sauce. Other sauces like pesto or white sauce work great too, just stick to the same layering pattern and amounts.
- → How long does the dough need to rest?
The dough needs at least 12 hours in the fridge (though you can leave it up to 72 hours for even better flavor), then another 2 hours sitting at room temperature before baking. This long, slow rising time is key to getting amazing texture and rich flavor.
- → Can I make this for a larger group?
Definitely! Just double all the ingredients and split the dough between two pans. Follow the steps exactly as written, and you'll end up with twice as much pizza to feed more people.